
Advanced Shopify Import: Shopify XML Import
![]()
When it comes to multiple file types that can carry your data updates, Shopify presents a singular demand: the use of CSV files for both import and export processes. But you can easily run Shopify XML import with the help of proper tools. With the default instruments, however, you a bound to lots of manual transformations, converting XML into CSV – a process notorious for its inefficiency and time consumption. Thankfully, a more streamlined approach is introduced in the . This application supports not only CSV imports and exports but also a bunch of other file formats so that you can easily import XML into Shopify.
In this guide, we shall unravel the intricacies of importing XML files into Shopify. You will face the difficulties of the default import of XML into Shopify, comparing this process with a more advanced and automated procedure. Yet, before we embark on this enlightening journey, let us first delve into the nuanced disparities between CSV and XML. For further information on how to improve your e-commerce routine, follow our Shopify Cookbook which stands ready with a trove of valuable insights. So, how to import XML to Shopify? Let’s see!

Table of contents
Shopify Import: XML vs. CSV
A CSV (comma-separated values) file is essentially a text file that utilizes commas as delimiters to separate distinct data blocks.
An XML file, in turn, employs a somewhat more intricate approach to data storage and transmission. It is an extensible markup language file that incorporates tags and textual elements to structurally organize data. These tags follow specific syntax guidelines and encapsulate the textual content within the file that is intended for storage.
The fundamental distinction between CSV and XML file formats lies in the fact that CSV is a straightforward text format in which values are delimited by commas (hence the name, Comma-Separated Values), whereas XML utilizes tags to denote relationships between entities and store data related to complex objects.
CSV offers high convenience and requires fewer technical skills. Additionally, it is considerably more compact than XML, demanding fewer computational resources and processing power.
As for XML, it is a more flexible and extensible format, rendering it suitable for the storage and exchange of intricate, structured data.
Here are five benefits of using Shopify XML import over the default CSVuploads:
- Structured Data: XML provides a structured way to store and organize data using tags, making it easier to represent complex and hierarchical data relationships, such as nested data or metadata.
- Data Validation: XML allows for the definition of data validation rules using Document Type Definitions (DTD) or XML Schema Definition (XSD), ensuring data accuracy and consistency.
- Extensibility: XML is highly extensible, allowing for the addition of new elements and attributes without disrupting the existing structure, which is particularly useful when dealing with evolving data requirements.
- Interoperability: XML is a widely accepted standard for data interchange, ensuring compatibility across various platforms, programming languages, and applications.
- Human-Readable: XML files are human-readable, which makes them easier to understand and modify without the need for specialized software.
These advantages make XML a preferred choice for scenarios where structured, validated, and extensible data representation is crucial.
How to import XML file into Shopify with the default tools
If you want to import XML files into Shopify using the default tools, there is only one way that involves converting XML into CSV:
- XML to CSV Conversion: Employ an XML to CSV converter. You can utilize a tool such as XMLGrid. Upload the XML file and utilize the tool to transform it into the CSV format.
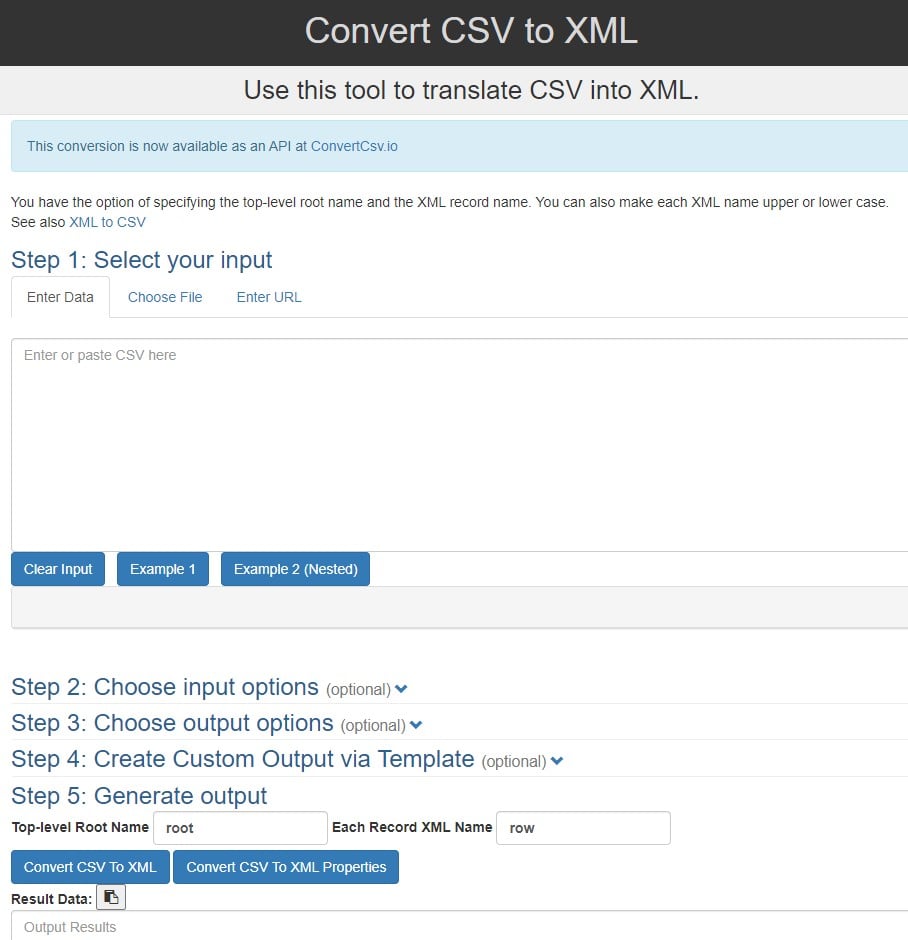
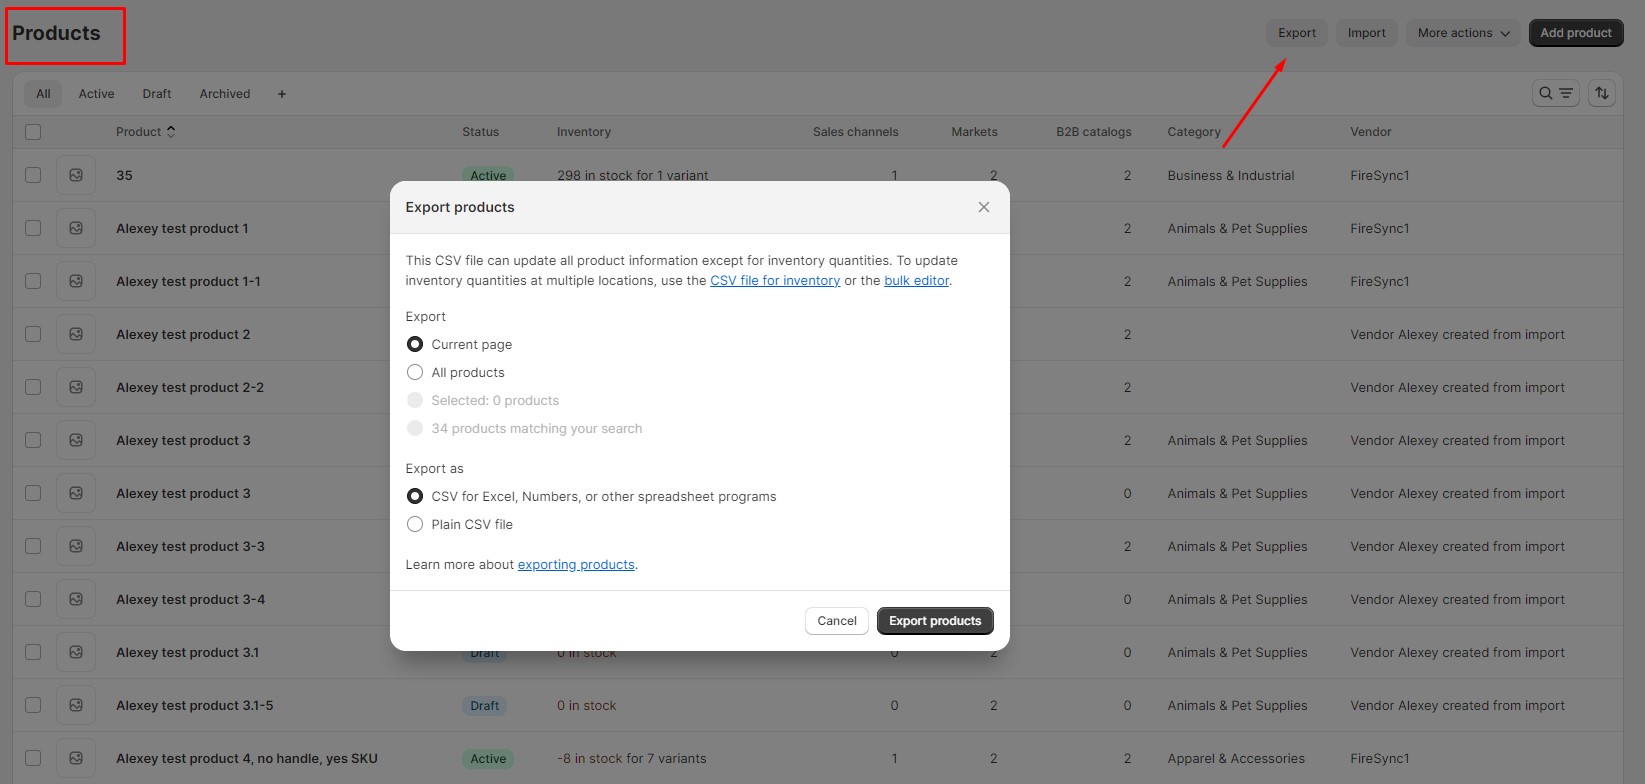
- Sample CSV Export: Export a sample CSV file directly from your Shopify website. This sample file must conform to the structure and formatting prerequisites specified by Shopify for import purposes.
- Comparative Analysis: Compare the converted CSV file with the sample CSV file obtained from Shopify. Scrutinize the files for any inconsistencies, deviations, or disparities.
- Resolution of Discrepancies: If you identify discrepancies within the converted CSV file, make the necessary adjustments to align it with Shopify’s import requirements. Rectify any formatting issues, address discrepancies in data types, and ensure there are no missing fields.
- Import XML into Shopify: Once your CSV file complies with the import specifications set by Shopify, you can proceed to import the data directly into your e-commerce website.
Following these steps guarantees that your XML data can be effectively imported into Shopify. However, it is not a Shopify XML import as you might have expected. You have to perform the standard CSV upload with additional headaches. Let’s see how to import XML files into Shopify without conversions (headaches). You will need a specific file structure.
Shopify Import: XML File Structure
If you want to avoid file conversions and freely import XML files to Shopify, use the Improved Import & Export Tool and a specific document tree. Organize your XML files as follows prior to importing them to Shopify:
|
1 2 3 4 5 6 7 8 |
<list> <item> … </item> <item> … </item> </list> |
Store your column names (attributes or properties) between <item> and </item>.

How to import XML into Shopify without conversion
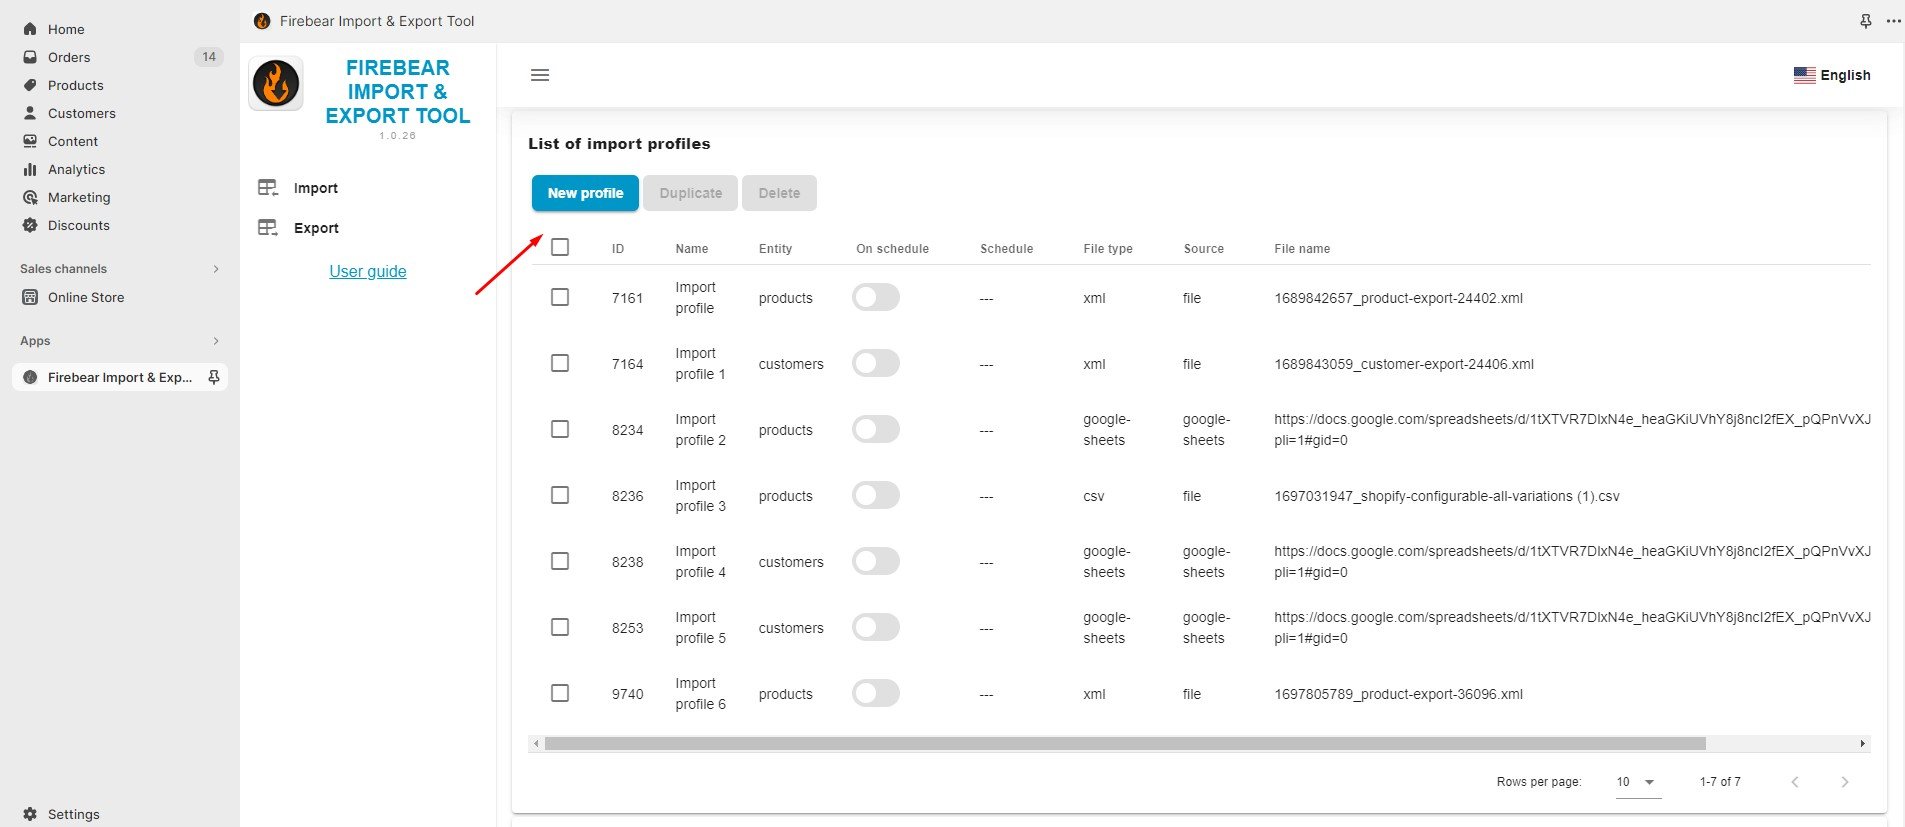
Now, when your XML file is ready, create a new import profile to import XML into Shopify:
Step 1: Access the Import Profile
Go to Apps -> Firebear Import & Export Tool -> Import and click the “New Profile.” This creates a new import profile.
Step 2: Select File
You are on the “Select File” screen. Follow these steps to configure your Shopify XML import: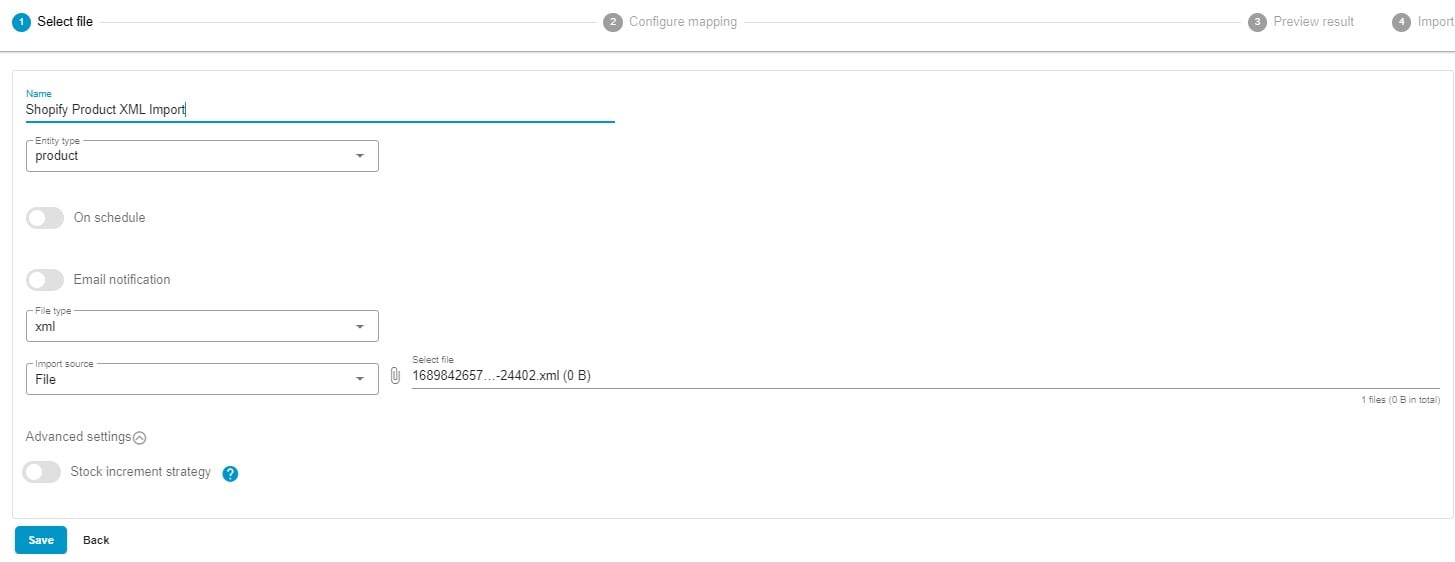
- Type a title for your import profile, e.g., Shopify Product XML Import.
- Select the entity you want to import. Opt for Products to import product XML to Shopify. The module also lets you import customers and we are working on the update that supports orders.
- If needed, create a schedule for your imports to automate further data transfers.
- Configure email notifications if you wish to stay informed on successful and failed imports.
- Select XML as your file format. Our app can also import XLSX and CSV files or transfer updates from Google Sheets spreadsheets.
- Now, choose your import source for XML Shopify imports: FTP, URL, Google Drive, or manual file uploads.
- Before going any further, finetune advanced settings which include a stock increment strategy configuration.
Step 3: Configure Mapping
While on the mapping screen, specify which columns from your XML file should correspond to the product properties in your Shopify store. If your XML update contains column names that don’t meet Shopify’s requirements, you can readily substitute them with appropriate ones.
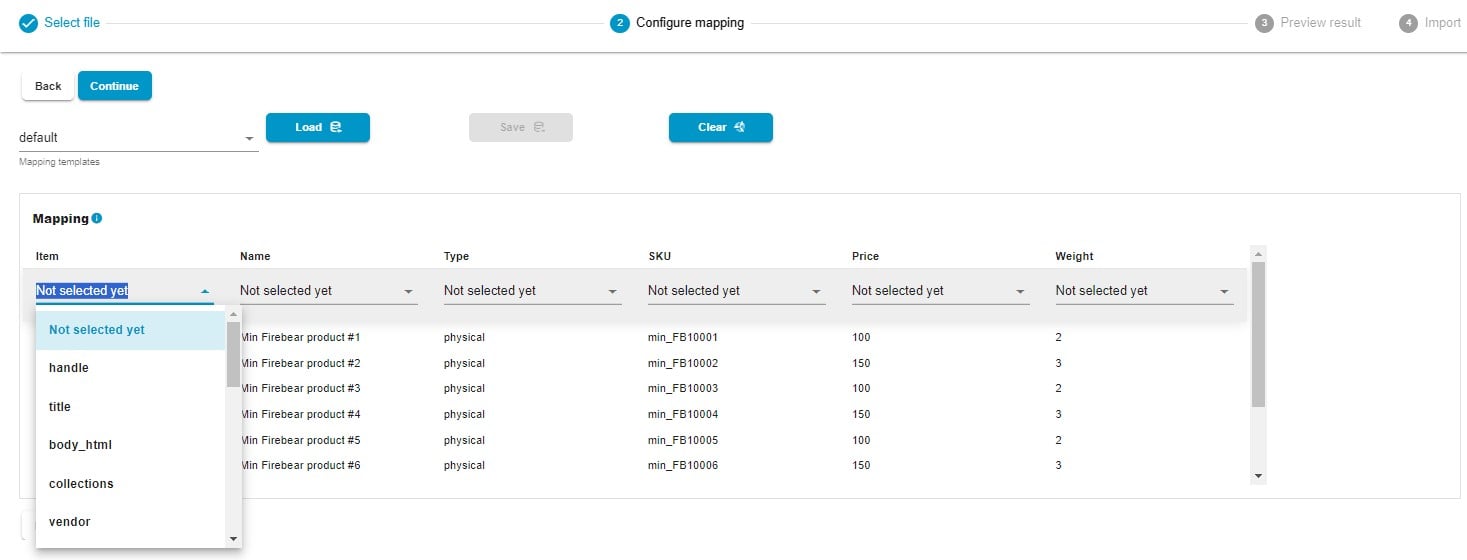
Click “Continue” to proceed to the next section.
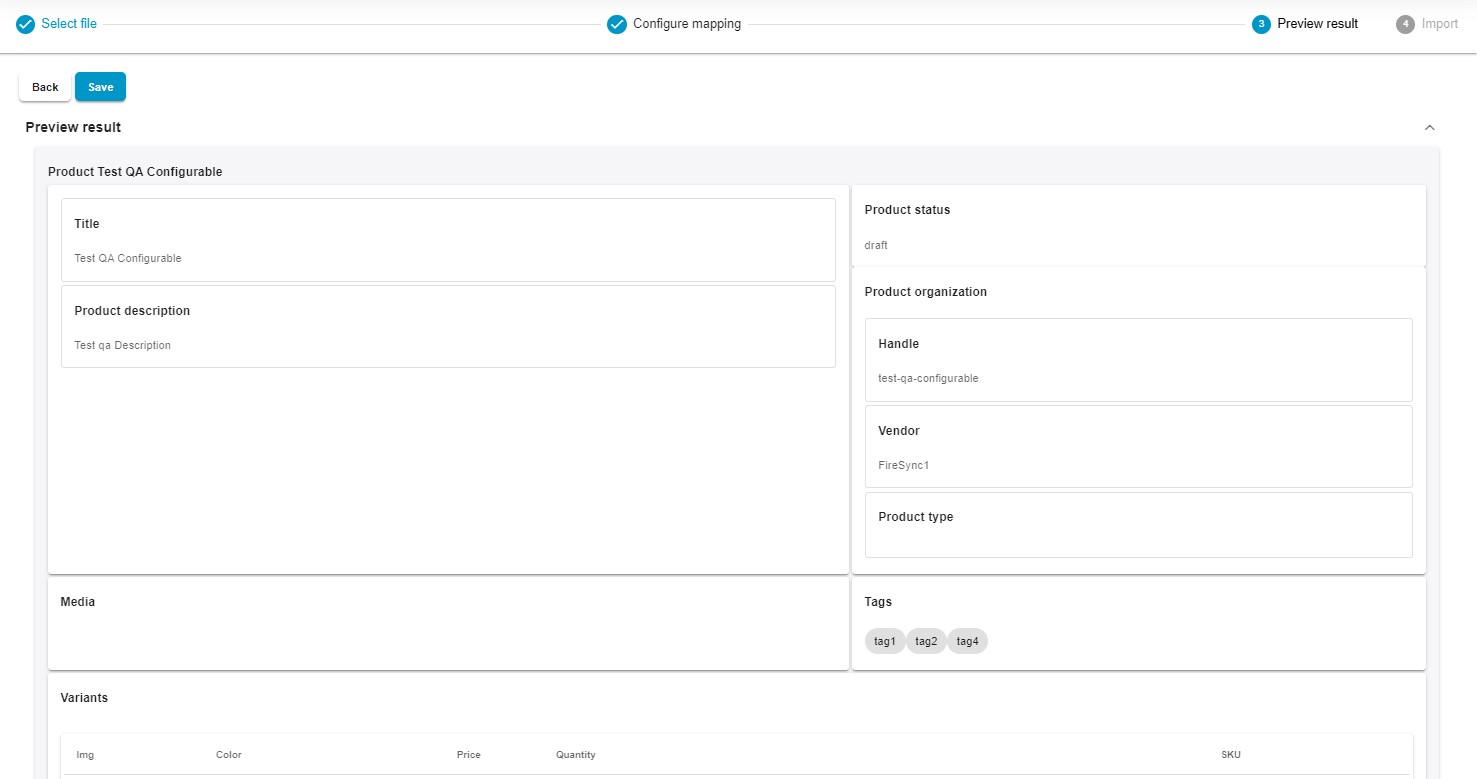
Step 4: Preview Results
The Import & Export Tool previews how your products appear after importing them via XML. Here, if you spot any mistakes or inconsistencies, you can return to the previous step to address them.
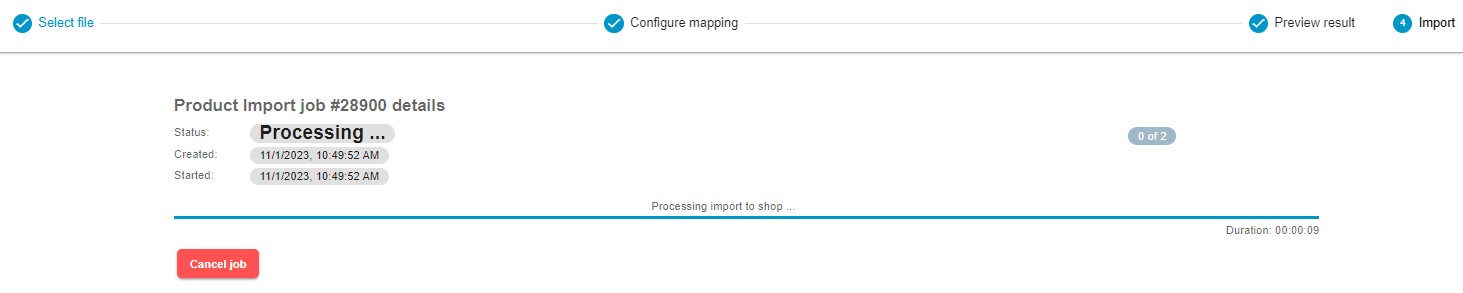
Step 5: Import
Finally, click the “Save” button to save your Shopify XML import profile. When you’re ready to import, click the “Import” button. The app will initiate the data transfer of XML files to your Shopify website.
For more detailed information on enhancing your Shopify import, refer to our “Improved Import & Export Tool Manual.”
Other Features
The Firebear Import & Export Tool stands as the ultimate solution, addressing the common challenges that Shopify store owners encounter during their import and export operations. In addition to helping you import XML to Shopify, it elevates and diversifies your data management capabilities in the following ways:
- Comprehensive Product Import and Export: Effortlessly import and export products, complete with customizable properties and attributes, allowing you to tailor your listings to your specific requirements.
- Effortless Customer Data Import and Export: Simplify the management of customer data, including addresses, providing you with a comprehensive view of your clientele.
- Seamless Order Import & Export: Easily handle orders and consolidate sales data from various sources, bringing them together under one roof for improved order management.
- Product Properties Mapping and Mapping Presets: Efficiently map product properties and employ presets for precise data alignment with your store’s specifications, streamlining repetitive import processes.
- Scheduled Import and Export Operations: Automate data transfers at intervals that suit your needs, ultimately saving you time and effort.
- Versatile File Format Support: Collaborate with a variety of file formats, including CSV, XLSX, and XLSX, catering to diverse data sources and formats.
- Effortless Google Sheets Integration: Seamlessly integrate with Google Sheets for real-time collaborative data management.
- Direct File Uploads: Simplify data transfer with convenient direct file uploads, streamlining the import process.
- Secure FTP/FTPS Uploads: Ensure data transfer security and integrity with support for FTP and FTPS uploads, safeguarding your data.
- Flexible Google Drive Shopify Integration: Enhance data management by integrating Google Drive for your uploads, further extending your data management capabilities.
These features provide you with precise control over your data, offering a comprehensive solution for the efficient management of your store, and Shopify XML import is only a single advantage that you can get with our application. For detailed information on other features, please refer to our documentation: