Shopify Admin Essentials: Navigating Key Features for Seamless Store Management in 2026
To fully manage your e-commerce store, the Shopify admin panel serves as the central hub for customizing settings and overseeing business operations. When you access the Shopify admin through a web browser, you gain full control over every aspect of your store, from product listings to customer management. While the mobile app version of the Shopify admin offers more limited functionality, it still allows you to manage orders, review recent activity, and update your catalog on the go. In the following 2026 guide to Shopify admin essentials, we’ll explore each core feature of the platform’s administration panel in detail, with links to comprehensive guides for further reading.

Table of contents
- Shopify Admin’s Home Page 2026 Review
- Search in The Shopify Administration
- Shopify Orders in The Admin Panel
- Products in Your Shopify Backoffice
- Shopify Customers in The Admin Interface
- Content: Customize Your Website from Within
- Discover Shopify Admin Analytics & Reveal Your Store’s Performance
- Marketing: Tools Built Into Your Admin
- Shopify Discounts: Attract More Buyers from The Admin
- Apps and Sales Channels Related to Your Shopify Website
- Shopify Store Settings in The Admin
- Shopify’s Default Import & Export
- Conclusions: Shopify Admin 2026 — All E-Commerce Tools In One Place
- FAQ about Shopify Admin
Shopify Admin’s Home Page 2026 Review
The Home page is the first screen after logging into your Shopify admin. This page provides an overview of your store’s recent activities and daily tasks, and it suggests the next steps to help you grow your business. The core elements available here include:
- Sales summary. The sales data for your store is shown on the right sidebar of your home screen. You can switch between “All channels” and a specific channel. Also, it is possible to select a time range to display the data.
- Activity. The right sidebar shows all recent store activity, including access granted to apps, staff changes, product publishing, etc. Click “View all recent activity” to see more information.
- Notifications. On the Shopify admin’s Home screen, you can also find notifications regarding orders that might need your attention.

- Home Cards. Cards introduce regularly updated blocks of information that help you run your business. Shopify displays them according to your store’s recent activity. Cards usually include updates on new features and various recommendations on how to manage your Shopify website.
- Today’s store activity. Your store’s most recent visitor activity is also displayed in the Shopify admin. You can see, for instance, the total number of orders or live visitors.
- Metrics. Here, you can find a sales summary for your overall business and specific data for active sales channels, such as sales and engagement information.
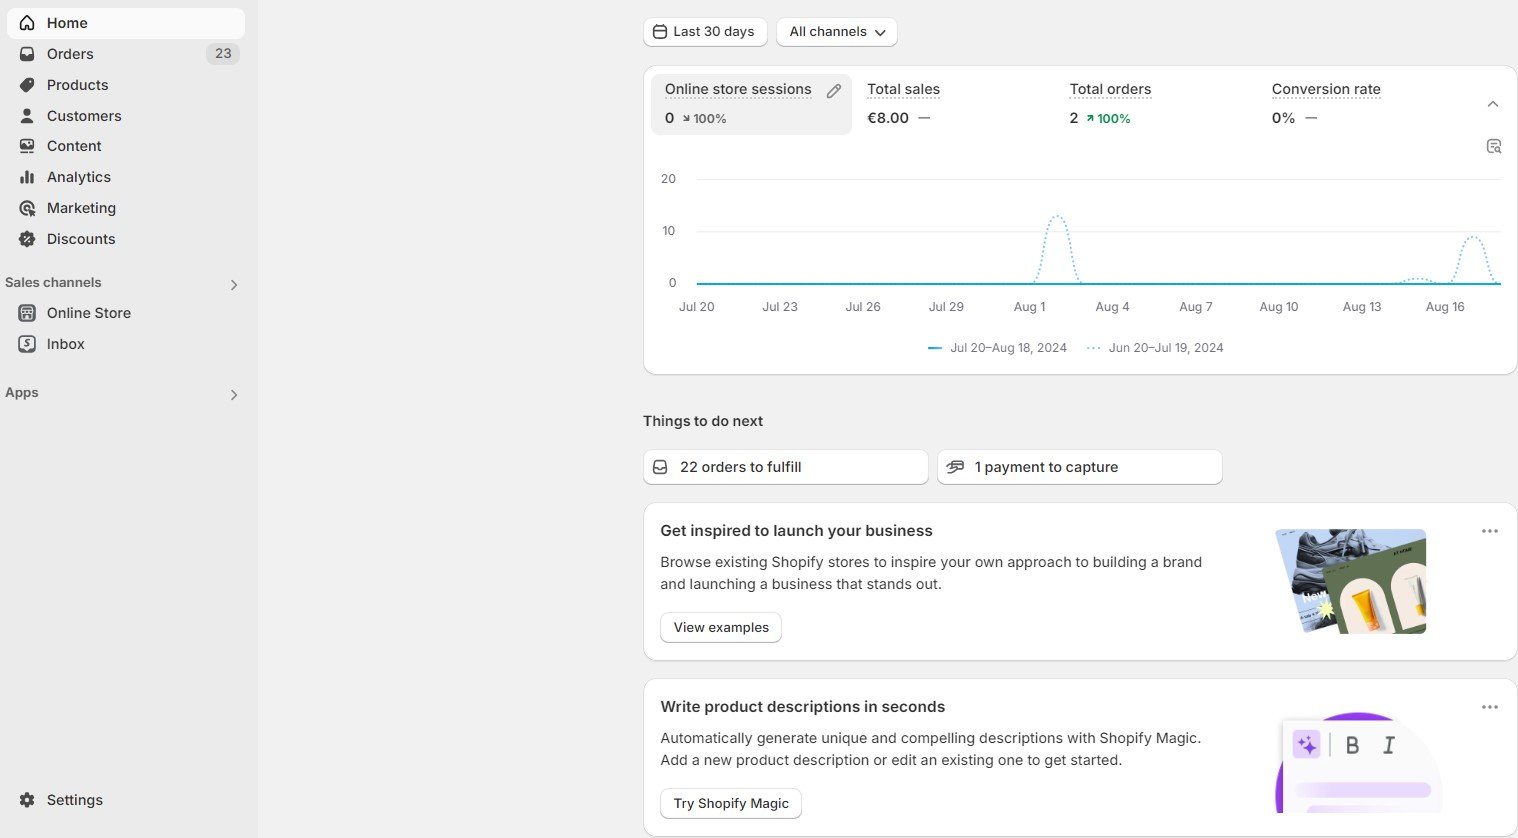
On the left-hand sidebar, you can easily navigate to different sections of the Shopify admin, including:
- Pages related to essential aspects of your business, such as orders and customers;
- An analytics section for reporting;
- Tools for managing promotions and marketing;
- General store settings.
Search in The Shopify Administration
In your Shopify admin, the search box allows you to quickly find sales channels, apps, products, pages, and other data. Located at the top of the admin interface, the search bar can be accessed by clicking on it or using shortcuts – press Ctrl + K on a PC or Command + K on a Mac. To search with the Apps filter enabled, press o+a, or use o+c for the Channels filter. Note that it is possible to perform a search from any page within your Shopify admin.
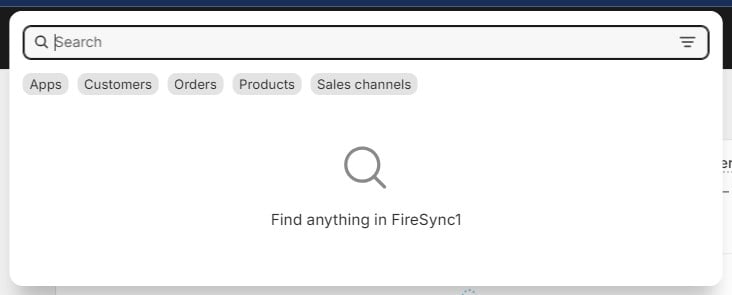
Additionally, the Shopify admin saves your most recent searches to streamline future queries. You can further refine your search using five clickable buttons: Apps, Customers, Orders, Products, and Sales Channels.
Shopify Orders in The Admin Panel

In the corresponding article on our website (Shopify Orders Guide), you’ll discover all the essential details about managing Shopify orders from the admin perspective. You’ll learn how to fulfill orders, handle Shopify draft orders, and manage those placed by your customers. We also cover Shopify recurring orders, explain the process of setting up pre-orders, and provide guidance on canceling orders. Additionally, the article includes steps for editing customer information, attaching files, and adding internal notes to orders. If you’re looking to import orders into Shopify but aren’t sure how this guide will help.
Products in Your Shopify Backoffice
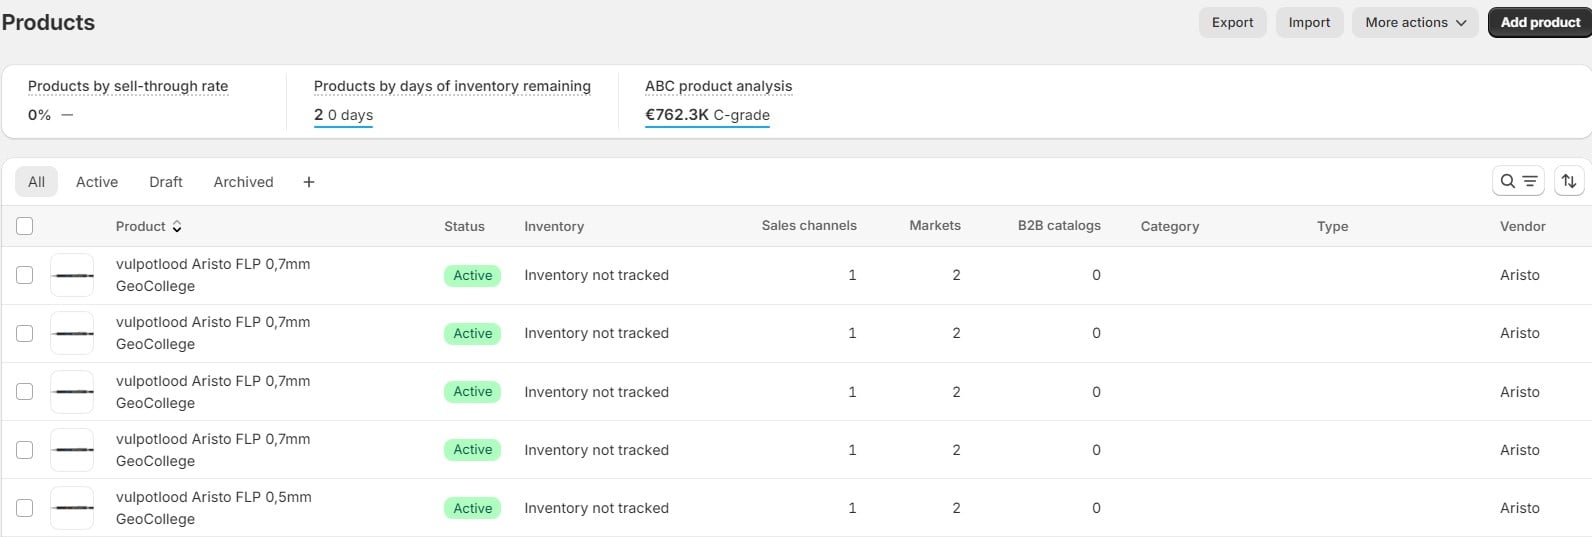
Shopify products encompass a wide range of offerings that any online store can sell, including physical items, digital downloads, services, and gift cards. In the corresponding article (link above), we’ll guide you through the process of adding products to your Shopify store, from specifying product details to uploading photos or importing them in bulk. You’ll discover the steps to add products in the Shopify admin, explore the nuances of product import, and learn how to sell digital products seamlessly.
We also explain what product variants are and how to configure them to offer different options like sizes or colors. The article includes a detailed breakdown of each admin screen, complete with illustrations that guide you through every step, ensuring that you understand even the smallest details of the workflow. Whether you’re new to Shopify or looking to optimize your product setup, this guide provides everything you need to manage your store’s products effectively. You can also learn about Shopify metafields.
Inventory Management

Our in-depth exploration of Shopify inventory management covers everything from uploading and managing your inventory to understanding inventory transfers. You’ll find answers to key questions like “How do I upload inventory to Shopify?” and “What are inventory transfers?”
While Shopify makes inventory management straightforward and intuitive, certain subtleties deserve your attention to ensure you make the most of the platform. We also walk you through the process of tracking inventories on Shopify, showing you how to organize your products effectively. Even though the procedure isn’t particularly complex, arranging your Shopify products correctly is crucial for efficient inventory management. Dive into this guide to master the essentials of Shopify inventory management and keep your store running smoothly.
Transfers

While Shopify inventory management includes the handling of inventory transfers, we cover this topic in detail in a separate article. Inventory transfers in Shopify are a key component of managing stock across different locations, whether you’re moving inventory between warehouses, retail locations, or other facilities.
In the detailed guide, we walk you through every step of managing inventory transfers within the Shopify admin. You’ll learn how to initiate and process transfers, track their status, and update your inventory records accordingly. Each screen associated with Shopify transfers is explained, providing insights into how to efficiently move and manage your stock.
Additionally, we explore how inventory transfers can streamline your operations by ensuring that products are correctly allocated to different locations and maintain accurate stock levels. This comprehensive guide will help you understand the full range of opportunities that inventory transfers offer for optimizing your inventory management strategy.
Collections

In this article, we dive into the concept of Shopify collections, a crucial feature that helps organize your products and enhance the shopping experience. Collections on Shopify are groups of products that you can organize based on certain criteria, such as product type, season, or promotional campaigns. Our guide explores the two primary screens related to this feature: the Shopify Collections page, where all your collections are listed, and the collection details page, where you can manage individual collections.
You’ll learn how to create collections on Shopify, with a focus on the two types available: automated collections, which use conditions to automatically include products, and manual collections, where you handpick the items. Additionally, we’ll show you how to add products to these collections, either by setting conditions for automatic inclusion or by manually selecting products for a specific collection. Understanding these processes is key to effectively managing your store’s inventory and enhancing the customer journey.
Gift Cards

Shopify gift cards are a versatile tool for boosting sales and enhancing customer experience. By default, these gift cards are offered as digital products through your online store, allowing customers to purchase and receive them online. You can also choose to send gift cards directly to customers via email, at no extra charge.
In our detailed guide, we cover everything you need to know about Shopify gift cards, including:
- How Shopify Gift Cards Work: Understand the mechanism behind these digital vouchers and how they integrate with your store’s checkout process.
- Supported Types of Gift Cards: Learn about the different forms of gift cards available, including single-use and multi-use options.
- Adding Gift Cards to Shopify: Discover the steps to set up and add gift cards to your store’s product lineup.
- Selling Gift Cards on Shopify: Get tips on how to effectively market and sell gift cards through your e-commerce platform.
- Importing and Exporting Gift Cards: Find out how to manage bulk operations with gift cards, including importing and exporting them as needed.
This article will guide you through the essentials of setting up, managing, and utilizing gift cards in the Shopify admin to enhance your store’s offerings and drive customer engagement.
Price Lists
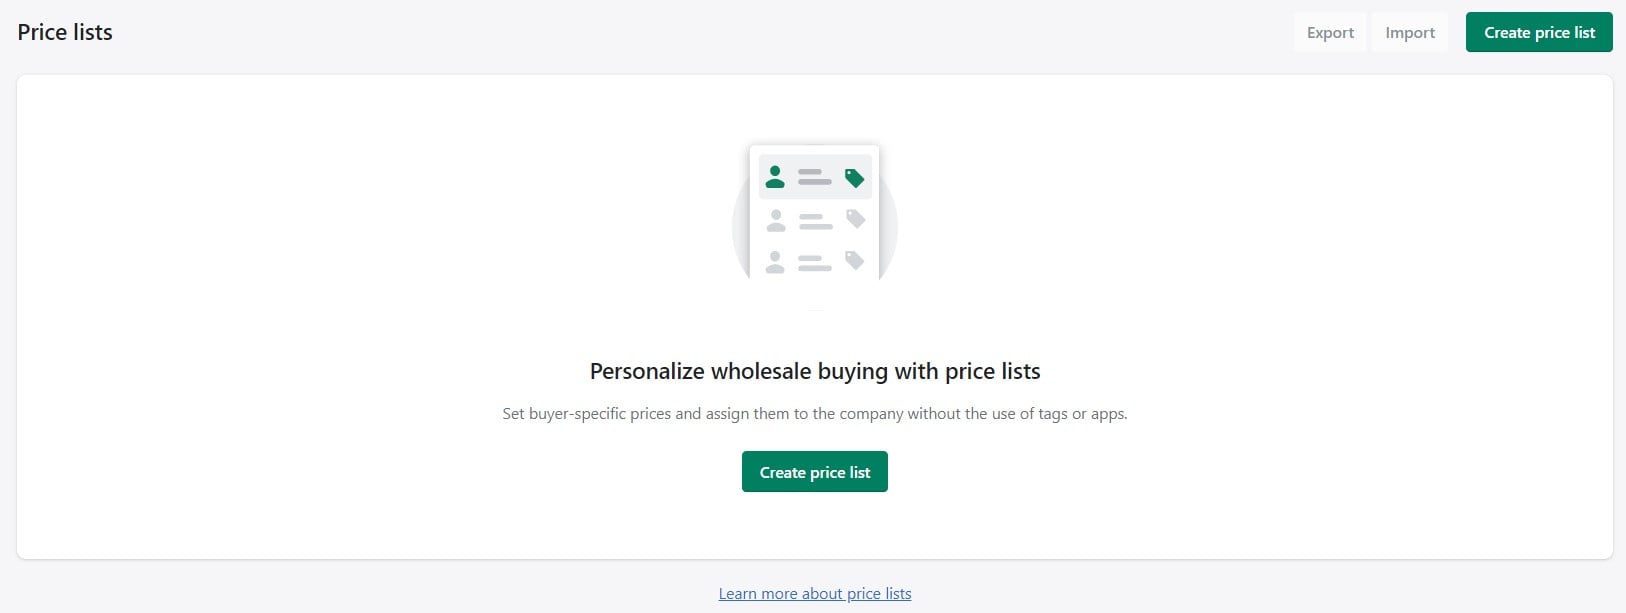
In this article, you’ll learn about wholesale pricing lists in Shopify and how they function. We’ll guide you through the creation and management of Shopify price lists, including how to apply percentage discounts and set up fixed pricing for products.
We also cover how to address any inconsistencies you might encounter. The final section provides detailed instructions on importing and exporting. You’ll discover how to handle bulk data transfers or export individual lists, including a breakdown of the Shopify price list CSV columns and the step-by-step process for importing. This guide aims to equip you with all the knowledge needed to efficiently manage your pricing strategies within Shopify.
Shopify Customers in The Admin Interface

In the Shopify admin, the Customers section is where you manage all your customer information. Here, you can view detailed profiles, track customer activity, and segment your audience for targeted marketing. This section allows you to handle customer interactions, manage contact details, and update customer records to enhance your sales strategy and customer service.
Segments

The Segments screen is available under the Customers section in the Shopify admin. It allows you to create and manage customer groups based on specific criteria. Use segments to categorize your customers by their behavior, purchase history, or other attributes. This segmentation helps in crafting personalized marketing strategies and targeted promotions, optimizing your approach to customer engagement and retention.
Companies

On the Companies screen of the Customer section, you can manage your business partnerships and wholesale accounts. This area of Shopify admin helps you track and organize company details, manage bulk orders, and facilitate B2B transactions. It’s essential for businesses that operate with multiple companies or have wholesale operations, streamlining interactions and managing company-specific details.
Content: Customize Your Website from Within
The Content section in Shopify admin is where you manage all the custom content related to your online store. You can create, edit, and organize metaobjects and files to enhance the user experience and keep your store’s information up-to-date and engaging for visitors.
Metaobjects

Shopify metaobjects allow you to add custom data fields to your products and other store elements. This feature is crucial for businesses needing to track additional product details or create custom attributes. You can manage and organize this extra data to improve your store’s functionality and product management. In Shopify admin, metaobjects are associated with these two key components:
- Definition which is a group of fields that defines the object’s structure. Note that it is managed in Settings > Custom data.
- Entry is data for the metaobject created and managed under Content > Metaobjects.
Files

The Files section in Shopify admin provides a centralized location to upload and manage files such as images, documents, and other assets. This area helps you keep your store’s media organized and easily accessible. You can upload new files, manage existing ones, and use them across various parts of your store to enhance your content and visual appeal.
Discover Shopify Admin Analytics & Reveal Your Store’s Performance
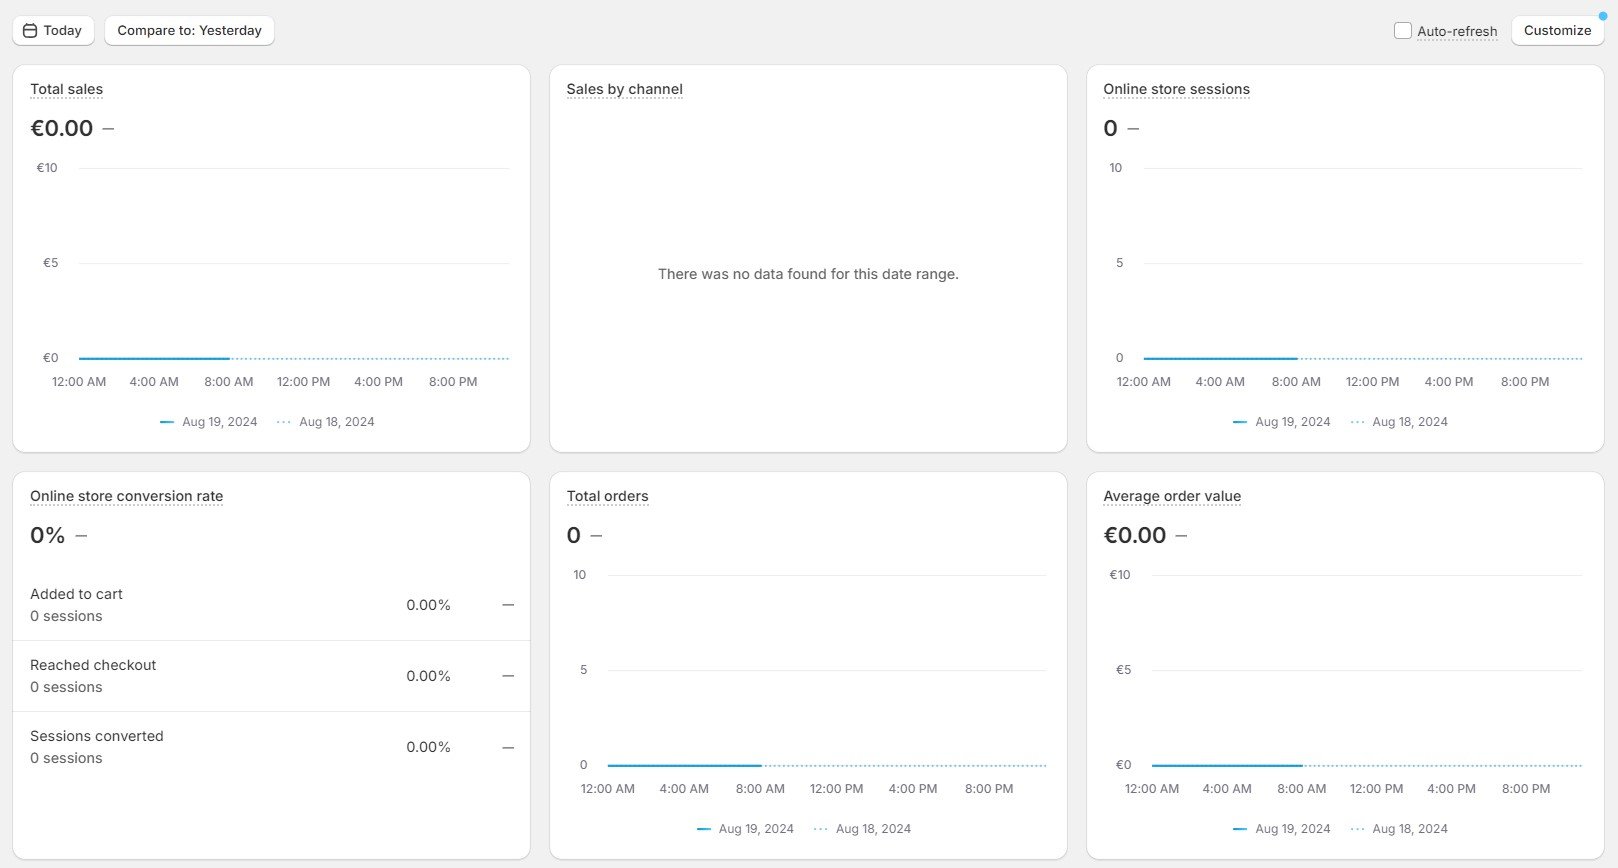
In the Analytics section of the Shopify admin, you gain insights into your store’s performance through various metrics and data visualizations. This includes tracking sales, customer behavior, and other key performance indicators. Analytics helps you make data-driven decisions by providing a comprehensive view of your store’s performance and trends.
Reports

The Reports subsection of the Analytics section offers access to all reports that you can add to the Analytics screen. Here, you can get detailed insights into various aspects of your store’s operations to display. Use reports to analyze trends, measure performance, and make informed decisions to optimize your business strategy. The reporting tools provide actionable data to help you understand and improve your store’s efficiency. Note that you can create custom reports under Shopify admin > Analytics > Reports.
Live View
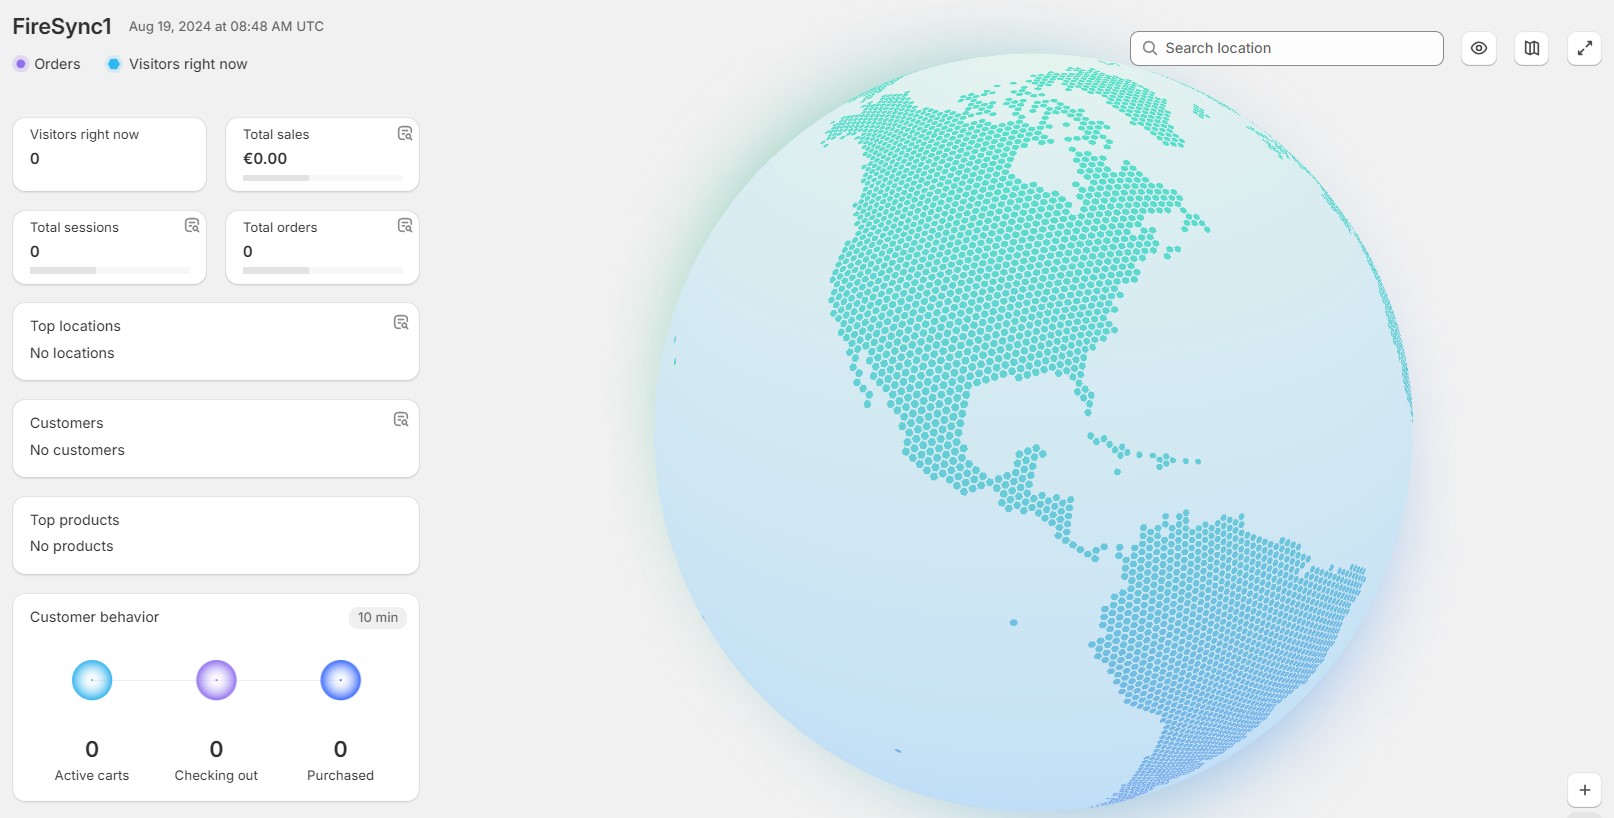
The Live View feature in the Shopify admin provides a real-time overview of your store’s activity. You can monitor current sales, track visitors, and observe real-time interactions with your store. This feature is valuable for understanding live traffic patterns and sales trends, allowing you to respond quickly to changes in customer behavior.
Marketing: Tools Built Into Your Admin
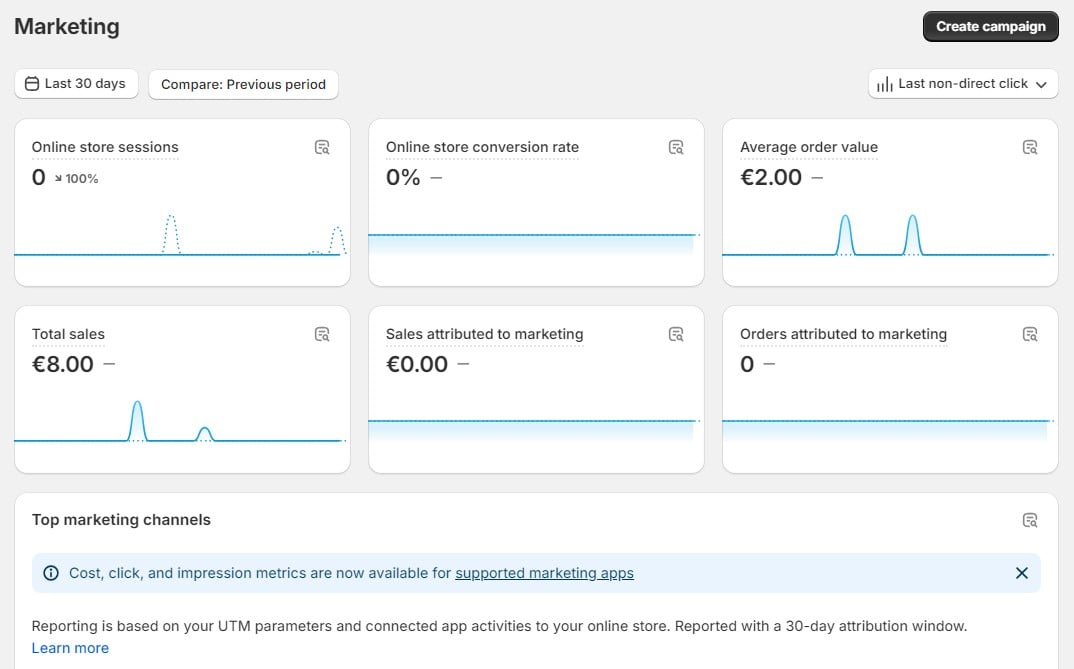
In the Marketing section of Shopify admin, you can manage and create marketing campaigns to promote your store. This includes setting up email campaigns, social media promotions, and other marketing initiatives. The default marketing screen displays core store stats along with two marketing reports – sales and orders attributed to marketing, top marketing channels, installed marketing app activities, and proposed marketing apps. The Marketing page also includes recommendations for improving your marketing strategy.
Campaigns

The Campaigns screen of Shopify’s Marketing section displays marketing campaigns for a specific period. You track and manage various marketing efforts here to drive customer engagement and sales.
Automations
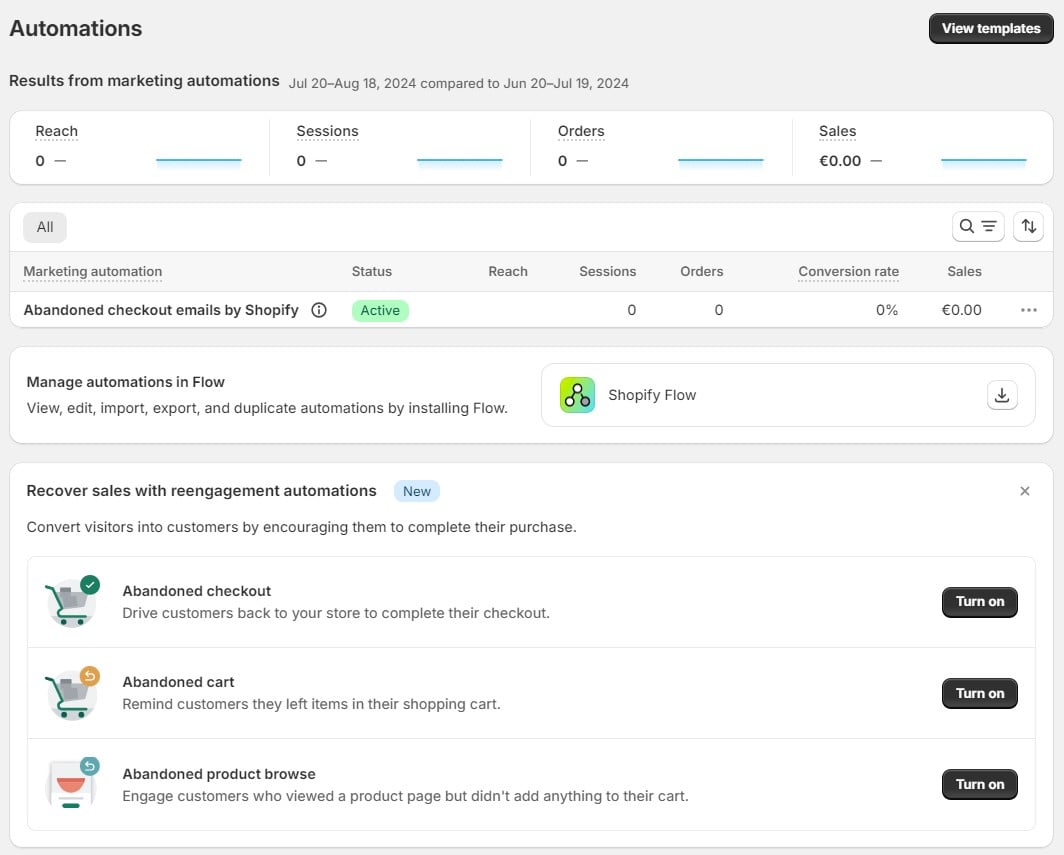
The Automations section enables you to streamline repetitive tasks and workflows associated with your marketing workflow. You can use templates to automate such tasks as sending cart abandonment, back-in-stock, or post-purchase emails. Automations helps you save time and increase efficiency by handling routine operations without manual intervention.
Shopify Discounts: Attract More Buyers from The Admin
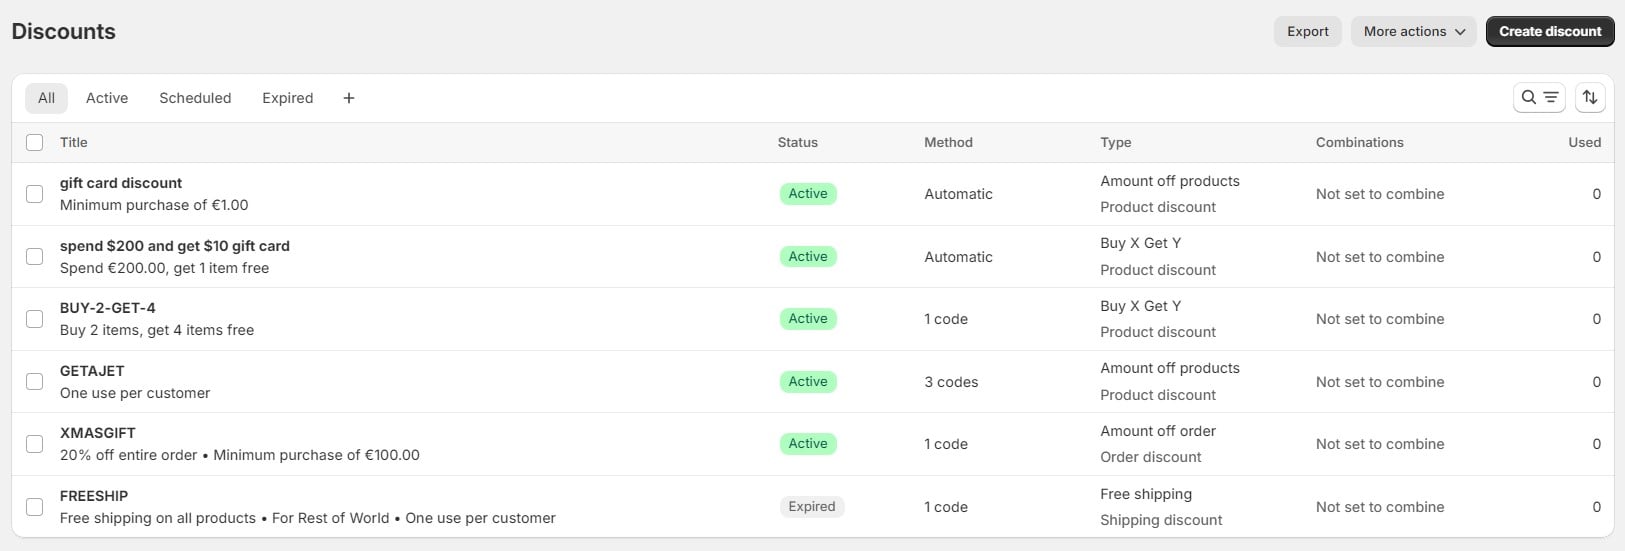
The Discounts section of your Shopify admin lets you create and manage promotional discounts for your store. This includes setting up discount codes, automatic discounts, and special offers to attract customers and boost sales. The discount tools allow you to customize promotions to enhance your store’s marketing efforts.
Apps and Sales Channels Related to Your Shopify Website
In your Shopify admin, the sidebar on the left provides easy access to your applications and sales channels. This section includes:
- Sales channels like your online store or POS system.
- All installed applications for your account.
- The Shop sales channel.
If you manage multiple Shopify stores, you can use the dropdown menu to switch between your accounts seamlessly.
Sales Channels
The Sales Channels section in Shopify admin allows you to manage where and how your products are sold, both online and offline. This section includes your online store, point of sale (POS) systems, inbox, etc. You can add, configure, and monitor various sales channels to expand your reach, track performance, and ensure a consistent shopping experience across all platforms.
Online Store
The Online Store is a primary sales channel in your admin where you can build and customize your e-commerce website. This channel enables you to showcase products, manage content, and control the overall look and feel of your store.
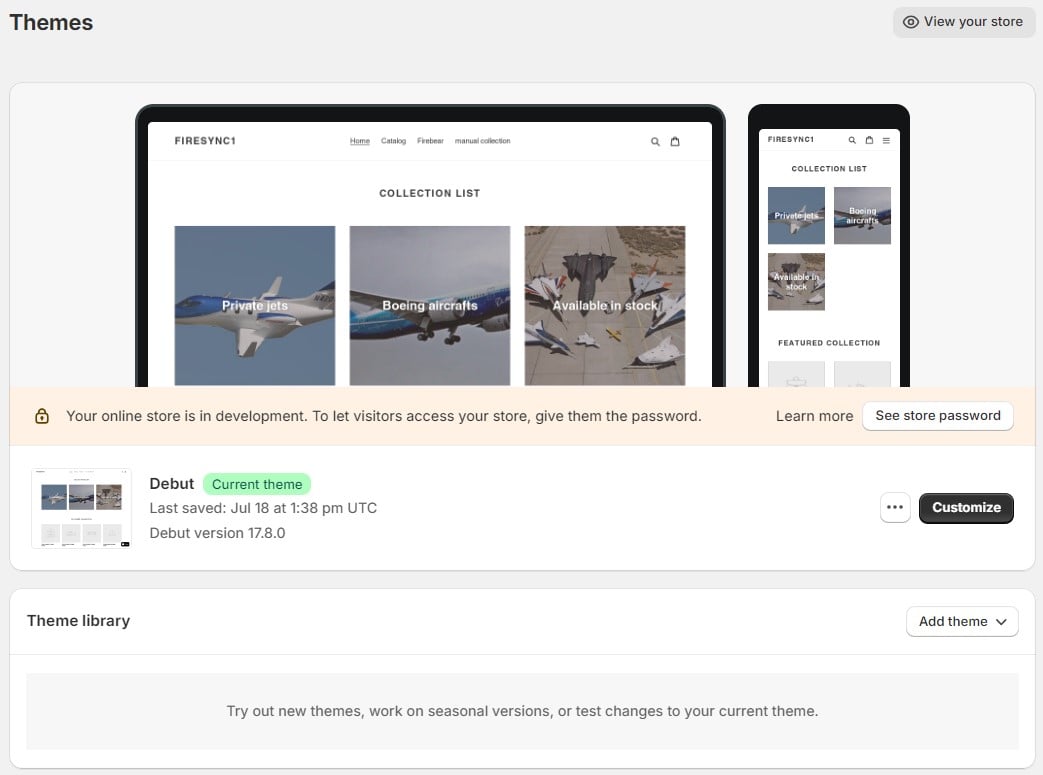
- Themes: Manage the visual design and layout of your online store by selecting and customizing Shopify themes. Here, you can remove Powered by Shopify from the footer.
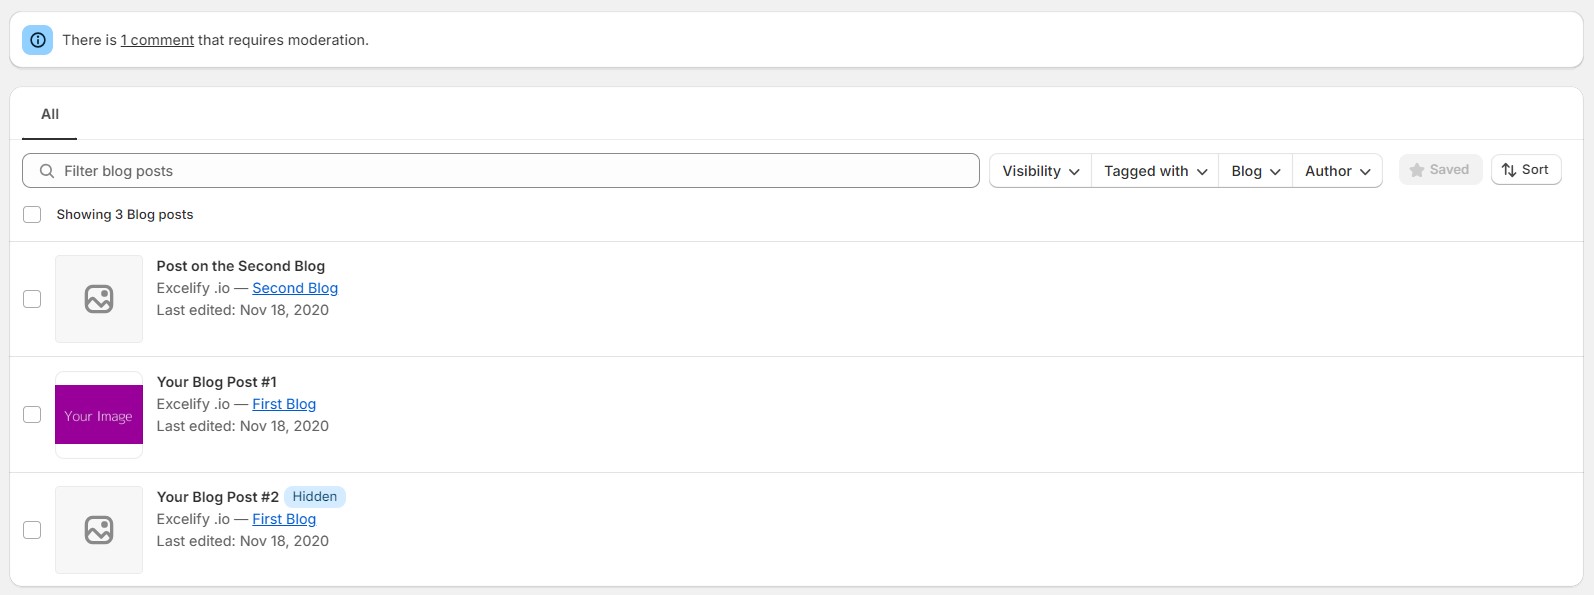
- Blog posts: Create and manage blog content to engage your audience, improve SEO, and drive traffic to your store.
- Pages: Add and edit static pages like About Us or Contact Us to provide essential information to your customers.

- Navigation: Organize and manage the menus and links that structure how customers navigate your online store.
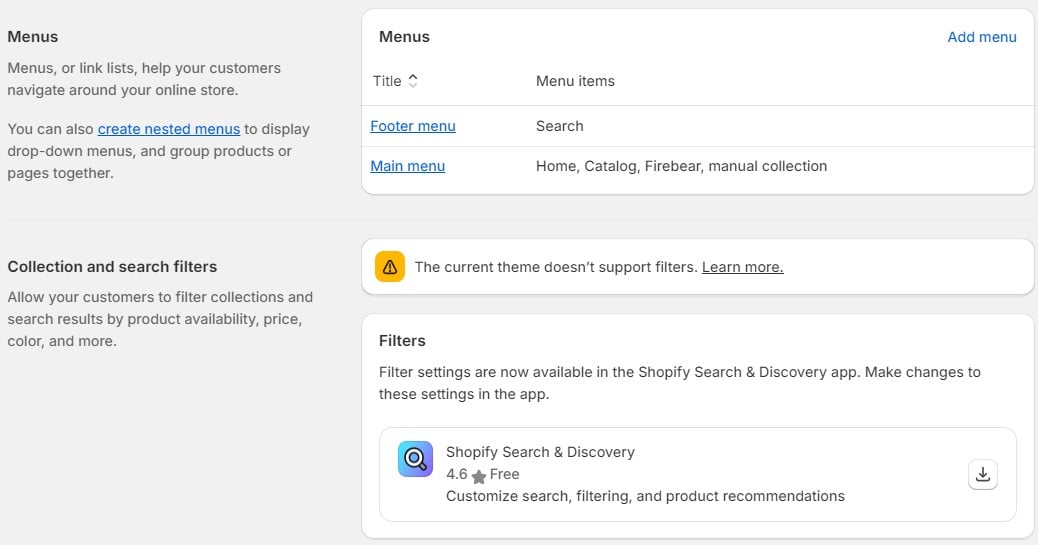
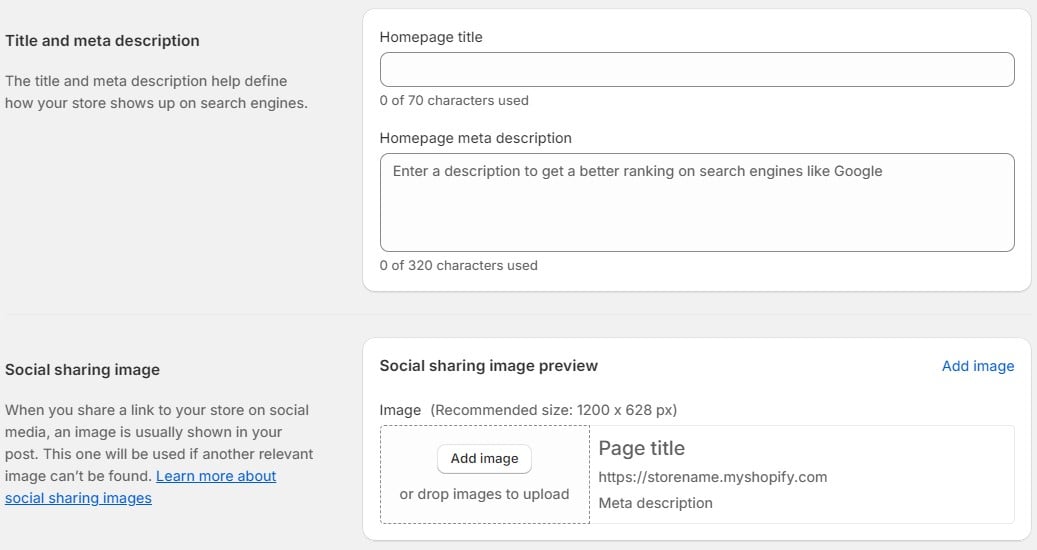
- Preferences: Configure key settings for your online store, including SEO, social media sharing, and storefront password protection.
Inbox

Shopify Inbox is the admin’s section where you can reply to messages from your desktop or in a mobile app. Also, it is possible to configure chat settings here as well as create quick replies.
Apps
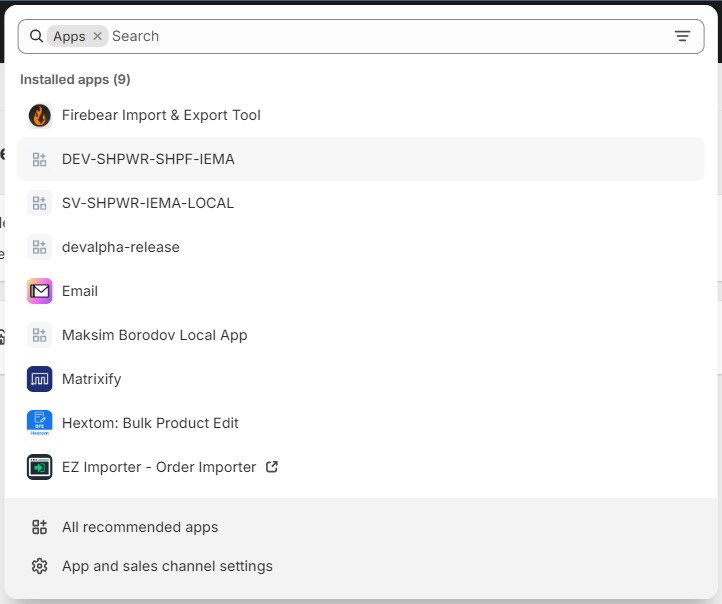
Under apps, you can find all the applications installed on your Shopify website. In this admin section, you can find new tools and manage the existing ones.
To streamline navigation, you can “pin” your favorite apps and channels, which will then appear at the bottom of the item list for quick access. To pin an app or channel, open it from your Shopify admin, then click the pin icon. You can reorder your pinned items by clicking and dragging them to your preferred position in the list. Alternatively, you can drag and drop an app or channel directly into the sidebar to pin it in your desired location.
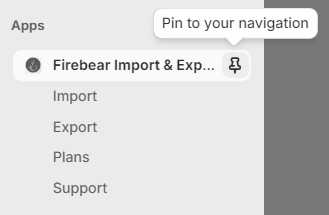
Click the pin symbol at the top of the app or sales channel header to unpin an app or channel. Use the left sidebar navigation or the search box to access this app or channel in the future.
Search Apps and Sales Channels in The Shopify Admin
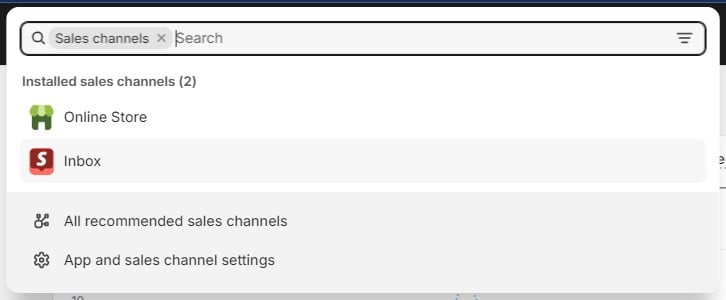
To narrow your search, select one of these buttons in the search bar. Clicking on Apps or Sales Channels, for instance, will display a list of all installed apps or sales channels. Simply click on any item to open it. Customers, Orders, and Products work as filters for the corresponding entities.
Moreover, Shopify admin provides recommendations for apps and sales channels you might consider installing. Click on the “Recommended Sales Channels” button to explore suggested channels or on “Recommended Apps” to view app suggestions tailored for your Shopify store.
Apps and Sales Channel Settings
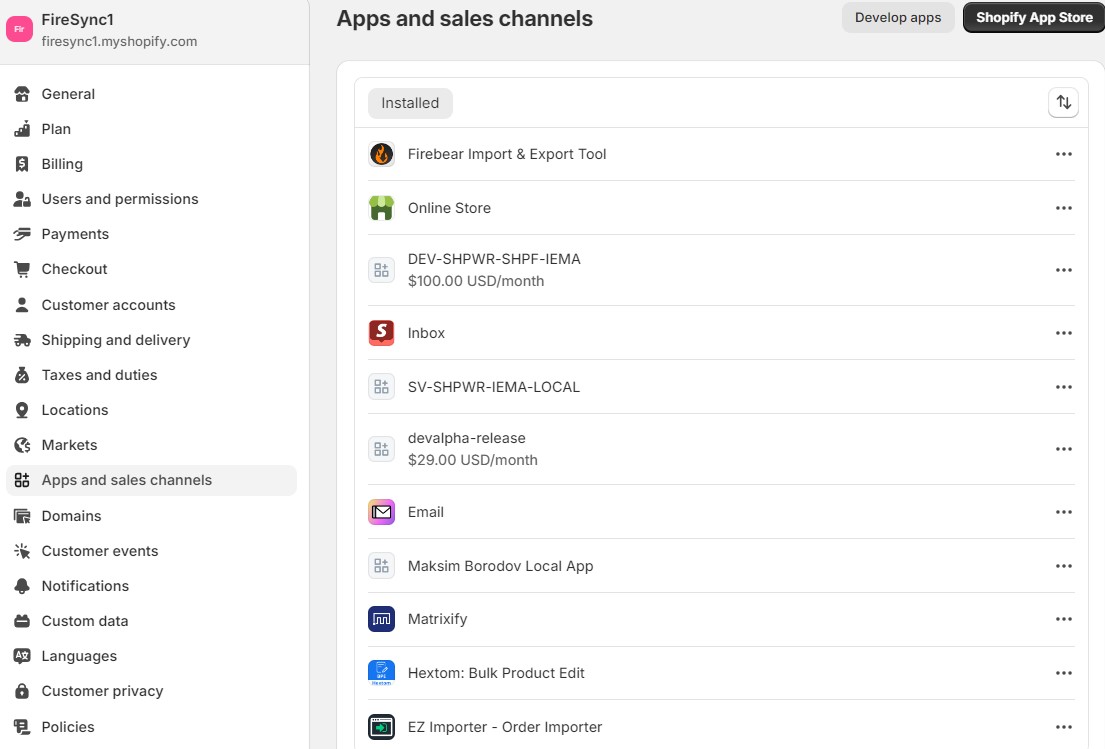
You can access the Settings page for your apps and sales channels directly from the search box or by navigating through the left sidebar: go to Settings -> Apps and sales channels.
Within the settings, you can delete apps or sales channels, visit the Shopify App Store, or find support for specific apps or channels. If you’re using an embedded app, you can access the About page from the overflow menu in the header. This is also where you’ll find the Inbox channel and Shopify Chat.
Shopify Store Settings in The Admin
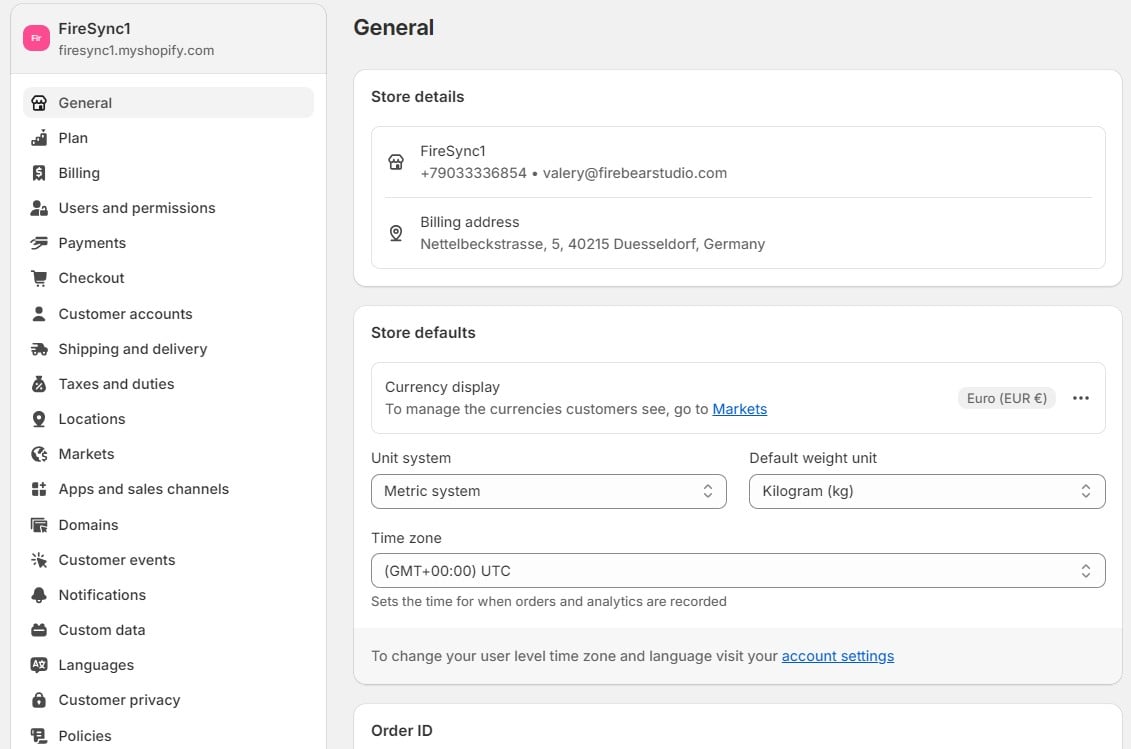
The Settings section in the Shopify admin is where you manage the core configurations of your online store. This area allows you to customize various aspects of your business, including general store information, payment and checkout options, shipping settings, taxes, and notifications. Within Settings, you can also manage your apps and sales channels, set up your domain, and configure account details, ensuring that every element of your store is aligned with your business needs.
Shopify’s Default Import & Export
The platform’s hidden import capabilities are revealed in this Shopify import guide, along with tips on how to make it more user-friendly and effective. We first look at the system’s built-in features before moving on to the most potent third-party solution that can handle any data transfer issues and support any customizations for Shopify imports – .
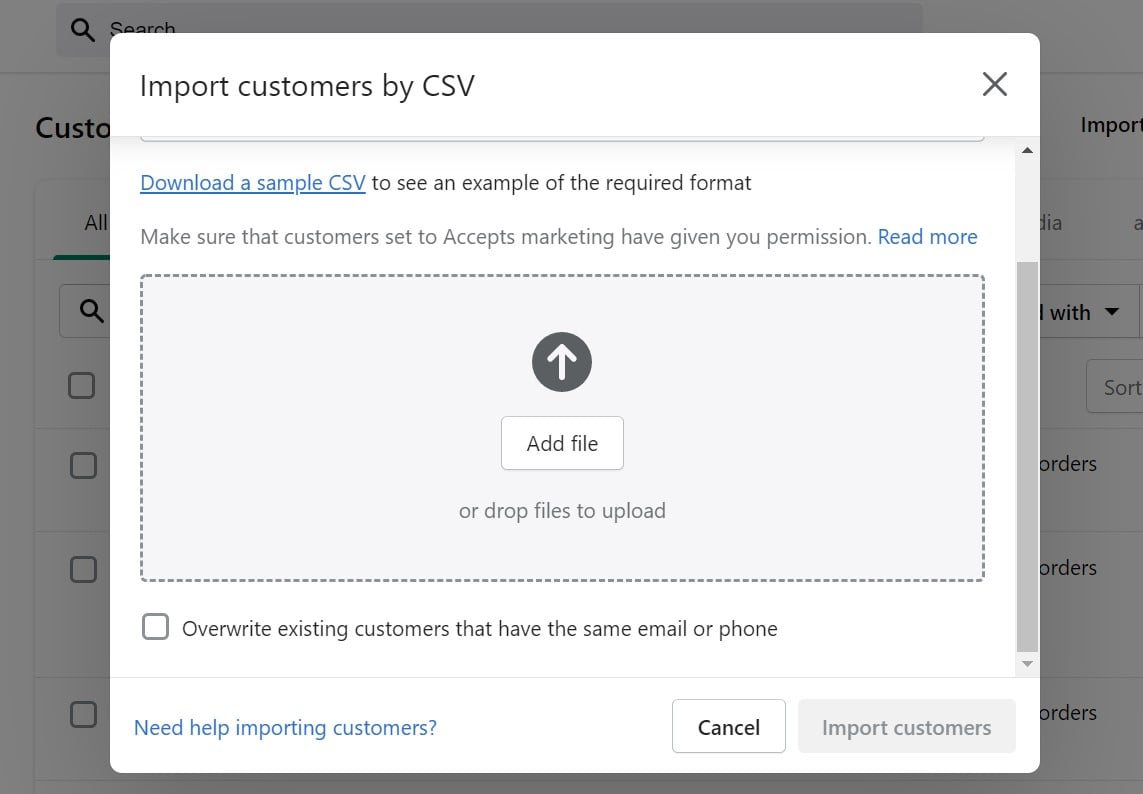
In this article, you can explore Shopify’s essential import features in detail. We explain how to use the platform’s built-in tools to transfer products and other entities into your store. The guide covers two key scenarios: importing items from another Shopify store and importing them from external sources. Additionally, we provide the required CSV file structure to ensure a smooth integration with the Shopify ecosystem.
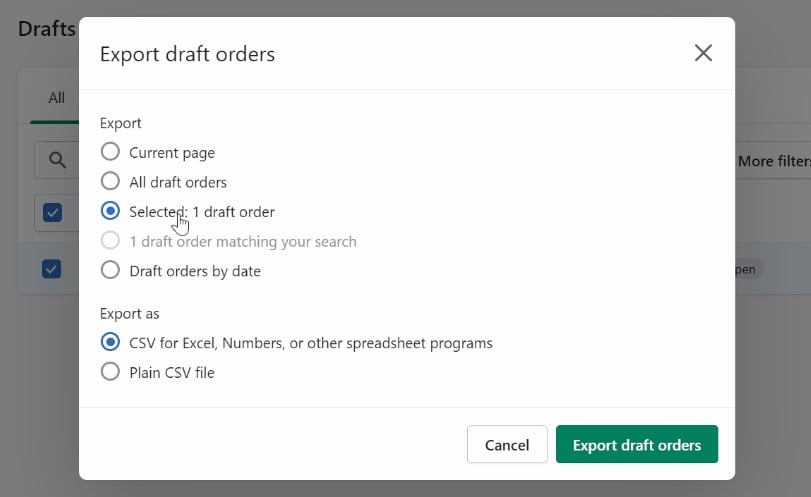
The corresponding export guide covers the basic export capabilities of Shopify, detailing how to transfer products and other entities from your e-commerce store. You’ll learn how to export orders, create CSV files for customers or discount codes, and more. We also provide the necessary CSV file structures for these entities to ensure a seamless export process.
Conclusions: Shopify Admin 2026 — All E-Commerce Tools In One Place
The Shopify admin is the backbone of the world’s leading e-commerce platform, providing merchants with a robust suite of tools to manage their online stores effectively. Known for its user-friendly nature, the admin interface of Shopify empowers business owners with features designed to simplify every aspect of e-commerce, from inventory management to order fulfillment and customer engagement. Whether you’re uploading products, tracking sales, or optimizing your storefront, your Shopify administration ensures a seamless workflow, making it an indispensable resource for building and scaling your online business.
As you can see, navigating the Shopify admin panel is intuitive, even for beginners. It centralizes all essential processes, allowing merchants to oversee their operations effortlessly. The dashboard’s clean layout and well-organized sections enable you to manage inventory, track performance metrics, set up marketing campaigns, and deliver exceptional customer experiences — all from one place. Its flexibility makes it a favorite among small businesses and large-scale enterprises alike.
Explore more essential resources to maximize your success with the platform:
- What’s Wrong with Shopify App Store
- Shopify POS System & Hardware
- Shopify Collective Guide
- Shopify Collabs Guide
- Shopify EP Explained
- How to Delete a Shopify Account
- How to Remove “Powered by Shopify”
- Shopify Capital Explained
- Shopify ERP Integration Guide
- Shopify Authenticator App Explained
- Free Shopify Themes
- Shopify Costs Breakdown: Monthly Pricing and Hidden Fees Explained
- Best Shopify Alternatives for Small Businesses and Growing Brands
- Shopify Domain Guide
- Shopify Order Fulfillment Explained
- Shopify Order Tracking Guide
- How to Import Orders into Shopify: Best Tools and Methods
- How to Merge Customers in Shopify
- How to Block Customers on Shopify: A Complete Guide to Protect Your Store
- Shopify Preorders Explained: How to Sell Before You Stock
- How to Fulfill Dropshipping Orders on Shopify When Your Supplier Has No Integration
- How to Delete Product From Shopify
- How to Archive Products in Shopify
If you experience any difficulties with your Shopify store, contact the platform’s support immediately. Learn how to contact Shopify customer service.
FAQ about Shopify Admin
What is Shopify admin?
Shopify admin is the control center of your Shopify store. It’s where merchants manage everything from products and orders to marketing campaigns and analytics. Accessible via desktop or mobile, Shopify admin is designed to simplify store management for merchants of all levels.
How to get to Shopify admin?
To access your Shopify admin, go to the Shopify login page, enter your store’s domain, email, and password, and click Log in. Once logged in, you’ll see your Shopify admin dashboard.
Where is Shopify admin?
Shopify admin can be accessed via any web browser or through the Shopify mobile app. Simply log in using your credentials to find the admin section, where you can manage your store.
How to add an admin to Shopify?
To add an admin to your Shopify store:
1. Log in to your Shopify admin.
2. Go to Settings > Users and Permissions.
3. Click Add staff or Invite collaborator.
4. Enter the email address of the person you want to add.
5. Set their permissions and send the invite.
Where is settings in Shopify admin?
In the Shopify admin, the Settings section is located at the bottom-left corner of the admin dashboard. From there, you can configure general settings, payments, shipping, and more.
How to customize Shopify admin dashboard?
Currently, Shopify does not allow extensive customization of the admin dashboard, but you can personalize it by adding or removing apps, organizing your menu bar, and customizing notification preferences.
How to manage orders in Shopify admin?
To manage orders:
1. Go to the Orders tab in the admin dashboard.
2. View the list of orders, their statuses, and details.
3. Click on any order to fulfill, update, or refund it.
How to view analytics in Shopify admin?
To view store analytics:
1. Navigate to the Analytics section in the admin dashboard.
2. Review key metrics like total sales, traffic sources, and customer behavior.
3. Customize reports for more detailed insights.
How to update products in Shopify admin?
To update products:
1. Go to the Products section in your admin.
2. Select the product you want to update.
3. Modify details like price, description, or images, and save changes.
How to change Shopify admin password?
To update your password:
1. Log in to Shopify and go to Settings > Account Settings.
2. Click Change Password and follow the instructions.
3. Ensure your new password is strong and unique.
How to access Shopify admin on mobile?
Download the Shopify mobile app from the App Store or Google Play. Log in with your credentials to access a streamlined version of the Shopify admin optimized for mobile use.
What permissions can admins have in Shopify?
Admins can be assigned specific permissions, such as managing orders, editing products, or accessing financial data. These permissions can be customized for each user in the Users and Permissions section of the admin.
Can you track inventory in Shopify admin?
Yes, you can track inventory in Shopify admin by enabling inventory tracking for your products. Go to Products > Inventory, and adjust stock levels or set up automatic tracking.
How to install apps in Shopify admin?
To install apps:
1. Go to the Apps section in the admin dashboard.
2. Click Visit Shopify App Store.
3. Search for the app you want, click Add App, and follow the installation steps.
How to set up shipping rates in Shopify admin?
To configure shipping rates:
1. Go to Settings > Shipping and Delivery in the admin.
2. Select a shipping profile and add rates based on location, weight, or price.
How to create discounts in Shopify admin?
To create a discount:
1. Navigate to Discounts in the admin.
2. Click Create Discount, choose the type (percentage, fixed amount, etc.), and configure the settings.
3. Save and apply the discount.
How to recover deleted data in Shopify admin?
Shopify does not natively offer a data recovery feature. However, you can use third-party backup apps from the Shopify App Store to restore deleted data.
Can I change the Shopify admin language?
Yes, you can change the admin language by going to Settings > Account Settings > Language Preferences and selecting your preferred language.
Is Shopify admin secure?
Yes, Shopify admin is built with security in mind. Features like two-factor authentication, encrypted data, and permission controls ensure your store remains protected.


