
How to Import Product Media to Shopware 6 in Correct Order

Chances are, importing product images to Shopware 6 leads to an unwanted disorder in the media section that has to be fixed manually. However, you can easily transfer product media to Shopware 6 preserving a particular placement of each image. In the following article, we shed light on the Shopware 6 users experience and provide a reliable way to avoid them. You will learn how to import product media to Shopware 6 in any order you wish. For other helpful suggestions, follow our Shopware Cookbook.

Table of contents
Shopware 6 Imports Images in a Random Order
argues that importing products to Shopware 6 leads to a disorder in product images. Instead of fixing everything manually in the admin, the idea was to sort everything via import. However, creating a new import profile according to the official guidelines didn’t bring the desired results.
Moreover, Marc faced the following error:
A file with the name “xxx-yyy-zzz.jpg” already exists.
So, the question is how to export the existing media, re-sort them, and then re-import the file.
Admin API import
According to , the fastest way would be via the . Although we do not agree with the statement that it is the swiftest way, here is the proposed solution.
First, you need to fetch the media mappings for a given product, e.g. via a product number filter, to import product media to Shopware 6 in the correct order:
|
1 2 3 4 5 6 7 8 9 10 11 12 13 14 15 16 17 18 |
// POST /api/search/product-media // Accept: application/json { "includes": { "product_media": ["id", "media", "position", "productId"], "media": ["id", "fileName", "fileExtension"] }, "associations": { "media": [] }, "filter": [ { "type": "equals", "field": "product.productNumber", "value": "EXAMPLE123" } ] } |
You should get a response like this:
|
1 2 3 4 5 6 7 8 9 10 11 12 13 14 15 16 17 18 19 20 21 22 23 24 25 26 27 28 29 30 |
{ "total": 2, "data": [ { "productId": "01dbf9f74b964383b1a5ef931ea39b1e", "position": 1, "media": { "fileExtension": "jpg", "fileName": "foo", "id": "5164cb0e69ad487a92c1fc1f1d4a7505", "apiAlias": "media" }, "id": "3fd590d1e27d425aba6ce4cabd96c4d5", "apiAlias": "product_media" }, { "productId": "01dbf9f74b964383b1a5ef931ea39b1e", "position": 2, "media": { "fileExtension": "jpg", "fileName": "bar", "id": "eec8195fb1cf4ae69f1d7ded85c39111", "apiAlias": "media" }, "id": "4cb8c195612b40d68da0130d48037b99", "apiAlias": "product_media" } ], "aggregations": [] } |
Next, take that entire array from the data property, change the position properties according to your requirements, and update the product with the productId. Don’t forget to remove the nested media properties in the payload to import product media to Shopware 6 in the correct order.
|
1 2 3 4 5 6 7 8 9 10 11 12 13 14 15 |
// PATCH /api/product/01dbf9f74b964383b1a5ef931ea39b1e { "media": [ { "productId": "01dbf9f74b964383b1a5ef931ea39b1e", "position": 2, "id": "3fd590d1e27d425aba6ce4cabd96c4d5" }, { "productId": "01dbf9f74b964383b1a5ef931ea39b1e", "position": 1, "id": "4cb8c195612b40d68da0130d48037b99" } ] } |
Although this solution seems to be a good alternative to the default import that works, it is not suitable for non-technical users. Therefore, let’s look at another way of importing images to Shopware 6 in the correct order.
How to Import Product Media to Shopware 6 in Correct Order
You will need to install the Improved Import, Export, and Mass Actions app on your Shopware 6 website, prepare the import file, and then run the update, following the recommendations below. But first things first.
Prepare your import file
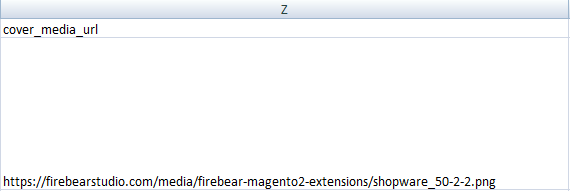
We’ve already explained how to use the cover_media_url and media columns of a product import file in Shopware 6 product import.
Use the cover_media_url column to provide a single link to a cover image of your product. Although it doesn’t impact the order of product photos, it highlights the main image.
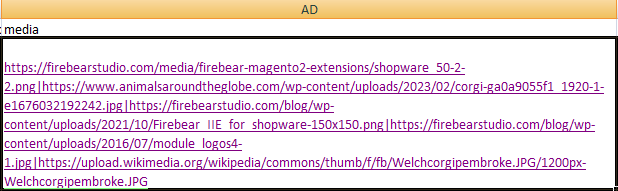
In the media column, provide multiple links to other product images separated by a multiple value separator, such as “|”. Keep in mind that the order of images in the media column is used on a product page after you run the update. Therefore, specify a link to your cover image first and then add links to other media files, separated with “|” (no spaces between links and separators).
Run the update
Now, you should run the update, importing product images to Shopware 6 along with products. The Improved Import, Export, and Mass Actions app lets you replace the existing images with new ones, using the order specified in the import file.
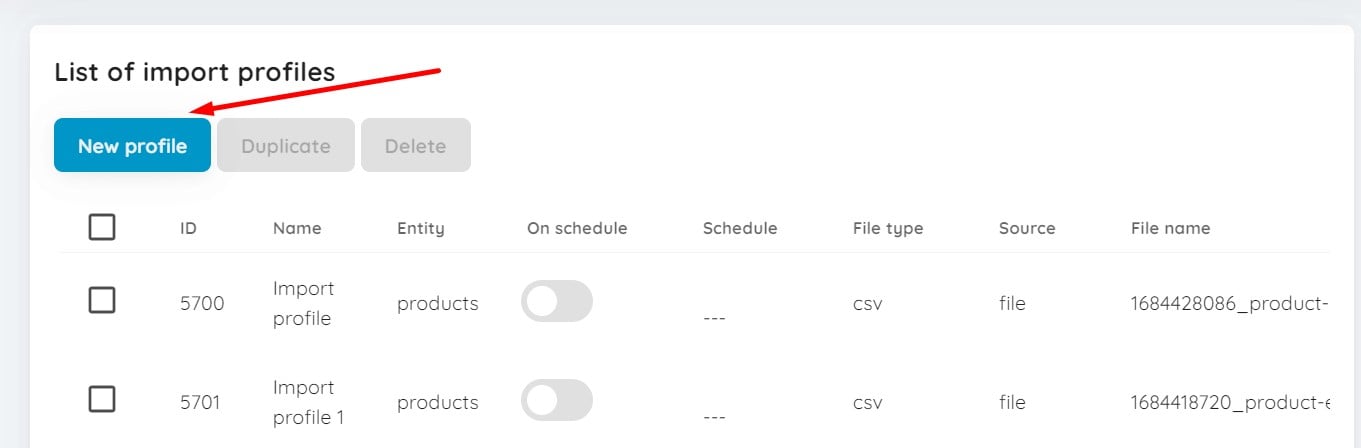
First of all, create a new import profile under Extensions -> Improved Import, Export & Mass Actions -> Product Import by clicking the New Profile button.
The app redirects you to the Select file screen. Follow these steps to configure a Shopeare 6 import procedure that lets you import product images in the desired order:
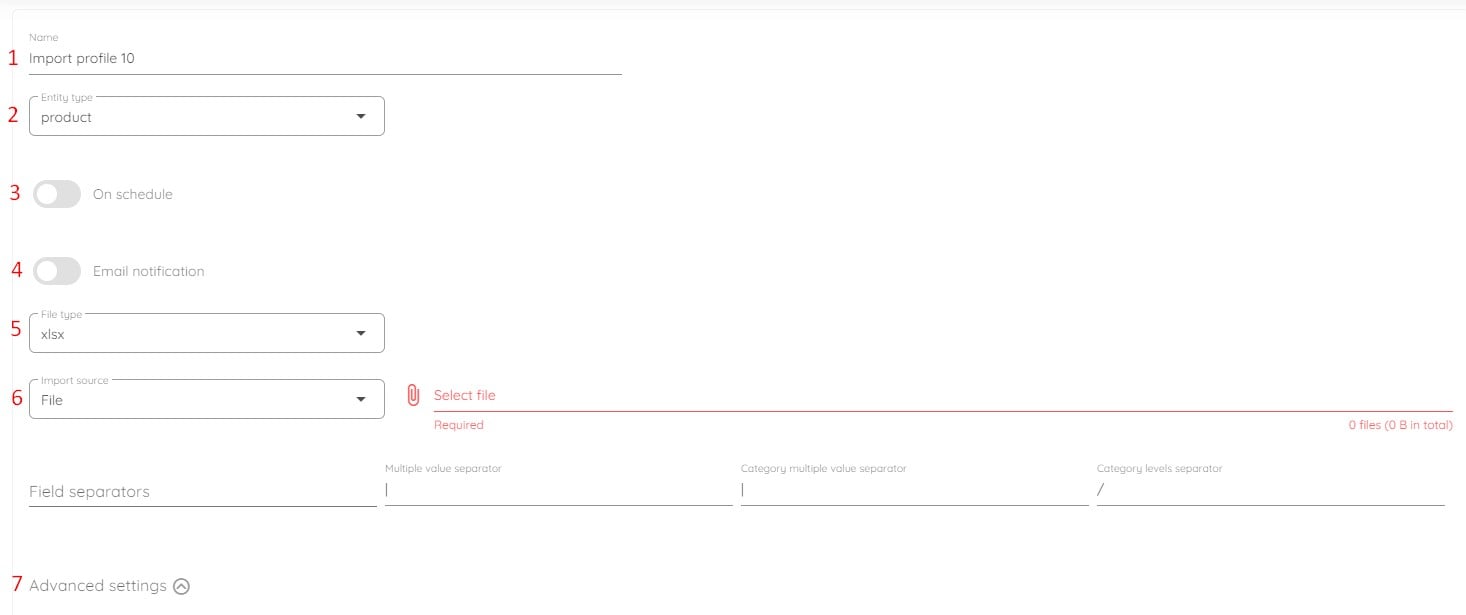
- Provide your profile’s name;
- Select Products as your import entity;
- Create a schedule of updates if you want to automate further imports;
- Configure email notifications if you need to be updated on import results;
- Select your file format (XLSX, XML, or CSV);
- Choose your import source: file, URL, FTP, Google Drive, or Google Sheets.
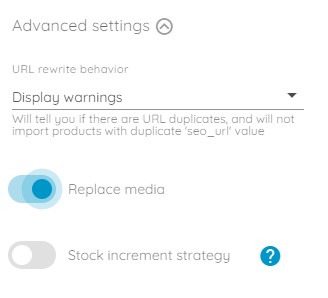
- Configure advanced settings: URL rewrite behavior, media replacement behavior, and stock increment strategy. Turn on the Replace media switch to import products in the exact order specified in the update. This feature replaces product images already available on your website with the ones specified in the import grid.
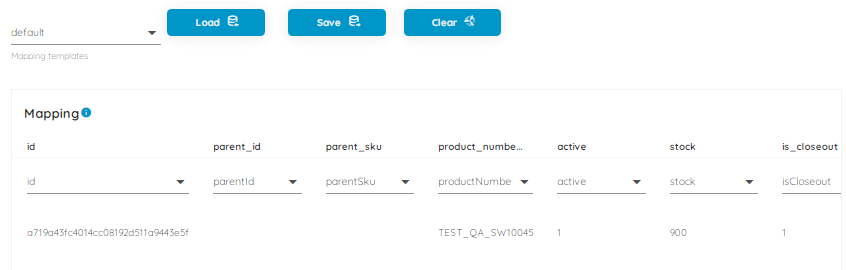
Now, get ready to configure your mappings. It is a revolutionary import feature that lets you transfer any update to Shopware 6. The corresponding screen lets you specify which columns from the imported file match the product properties from your Shopware 6 website.
With the Improved Import, Export, and Mass Actions app, you can preview how products look after import. However, it only shows the product cover image.
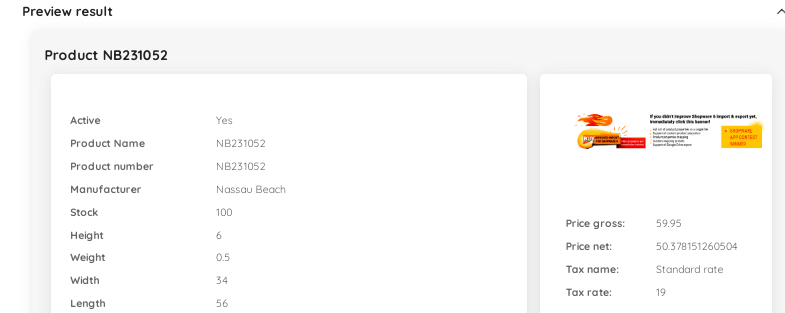
Therefore, you need to wait until the import procedure is finished to view the media order.
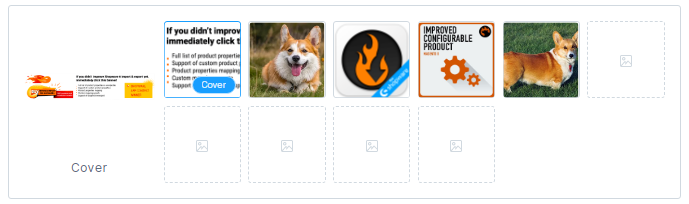
As you can see, the import procedure results in the exact media order that we provided in the import file. You can read more about the Shopware 6 image import here: How to Import Product Images to Shopware 6. The enhanced Shopware 6 import is described in our Improved Import, Export & Mass Actions Manual.
Other Features
The Improved Import, Export, and Mass Actions solution addresses the most prevalent problems with Shopware 6 data transfers. You may, for example, quickly change product photos in a variety of ways. And since Shopware 6 does not allow you to export all of the relevant product information into a single file, you may rely on the Improved Import, Export, and Mass Actions app to do so. Consequently, it is possible to alter products in batches. Other benefits include:
- Product import and export with full support for custom attributes (properties);
- Advanced product image import;
- Full support for product variants with a full set of attributes;
- Customer import and export with full support for addresses;
- Orders export;
- Product properties mapping and mapping presets;
- Full automation with import and export schedules;
- Import and export of CSV, XLSX, and XLSX files;
- Direct file uploads;
- FTP/FTPS uploads.
You can find more information about the Improved Import, Export & Mass Actions app here:
- Improved Import, Export & Mass Actions application for Shopware 6
- Improved Import, Export & Mass Actions Manual
Or just contact us.