
How to Run Shopware 6 Import On Sсhedule

If you deal with regular updates, import automation is a very desired feature. However, Shopware 6 doesn’t support it by default. Therefore, you have to run every Shopware import manually. It won’t take much time if data transfers occur once a week, but what if you have to deal with the hourly? In this case, manual import becomes extremely annoying and time-consuming. However, you can solve this issue with the help of the Improved Import, Export, and Mass Actions app for Shopware 6. The following tutorial will teach you how to import files to Shopware 6 on schedule. You can find other helpful suggestions in our Shopware Cookbook.

How to Run Shopware 6 Import On Sсhedule
The latest release of the Improved Import, Export & Mass Actions application adds the ability to run both import and export processes on schedule. Below, you will learn how to create different plans to automate your data transfers to Shopware 6.
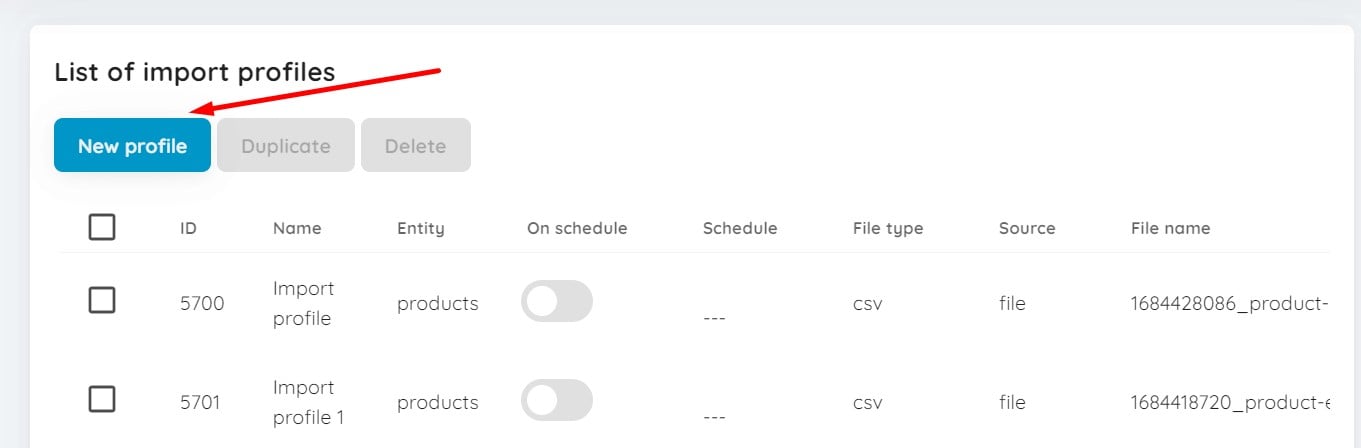
Go to Extensions -> Improved Import, Export & Mass Actions -> Product Import. Click the New Profile button.
The Select file screen is where you configure automated import processes to Shopware 6. Follow these steps to create schedule of update for Shopeare 6 import:
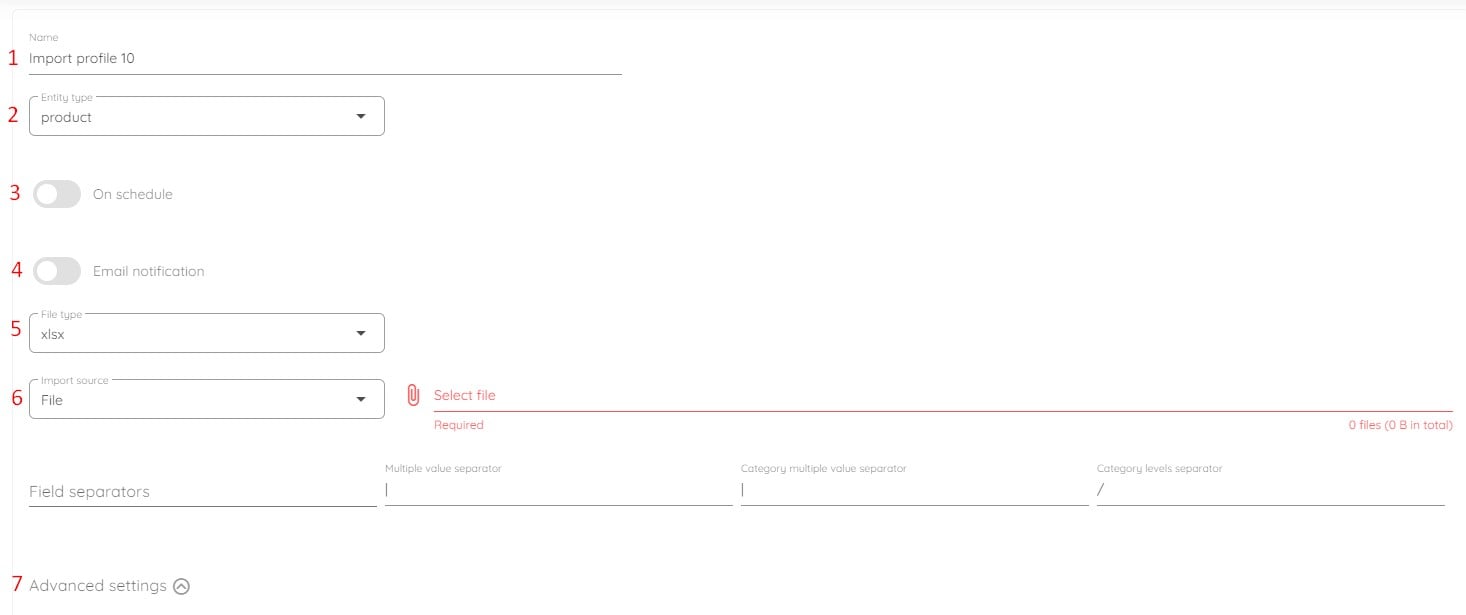
- Specify the name on your import profile;
- Choose an entity you want to import (e.g., products or customers);
- Enable the On Schedule toggle to create a schedule of updates:
- Select your time zone.

- Choose the starting frequency: every hour, day, week, or month.
- For hourly updates, select at what minute to start your import processes;

- For daily updates, select the time of the day to run Shopware import/export;

- For weekly updates, select what day and time to initiate the data transfer;

- For monthly updates, select what date and time to begin the Shopware 6 import.

- Select your time zone.
- Configure email notifications if necessary;
- Select your file format (e.g., CSV, XML, or XLSX);
- Choose your import source (e.g., file, URL, FTP, Google Drive, or Google Sheets);
- Configure advanced settings: URL rewrite behavior, media replacement behavior, and stock increment strategy.
Next, get to the mapping screen. Specify which columns from the imported file should match the properties of the products from your Shopware 6 store.
Note that the app lets you preview how products will look before you import them. When you click the Import button at the bottom of the Preview result page, the extension imports your update file.
You can read more about the enhanced Shopware 6 import in our Improved Import, Export & Mass Actions Manual.
Other Features
The Improved Import, Export, and Mass Actions app tackles the most prevalent concerns that Shopware 6 shop owners encounter during the import and export procedures, such as product bulk editing from a single page. Unlike the standard import and export methods, the app outputs all product attributes in a single file rather than many distinct files for each property. Other key features include:
- Full support for product import and export including custom properties (attributes);
- Full support for customer import and export including addresses;
- Full support for orders export;
- Full support for product variants with a full set of attributes;
- Product properties mapping and mapping presets;
- Import and export schedules;
- Support for CSV, XLSX, and XLSX file types;
- Direct file uploads;
- FTP/FTPS uploads.
You can find more information about the product here:
- Improved Import, Export & Mass Actions application for Shopware 6
- Improved Import, Export & Mass Actions Manual