
How to Change The Information of The Frontend in Shopware
The e-commerce world is gradually changing. Magento that was once oriented towards businesses of all sizes switches attention to bigger clients, creating a gap for other e-commerce platforms to fill in. Therefore, more and more merchants focus on Shopware 6 – the latest version of the most popular German e-commerce system that now goes internationally. New retailers and wholesalers join the ecosystem every day. But since they are new to the platform, people are wondering how to change the information of the frontend in Shopware. Because all the data displayed on the storefront is divided into numerous categories, we’ve created a separate guide per section. Each article describes how to edit your Shopware backend to change the information displayed on the frontend.

Note that we provide Shopware integration with external platforms. Contact our support for further information or try our Improved Import & Export Extension for Shopware.
Table of contents
- 1 Products
- 2 Categories
- 3 Dynamic Product Groups
- 4 Manufacturers
- 5 Product Properties
- 6 Customers
- 7 Files
- 8 Themes
- 9 Shopping Experiences
- 10 Promotions & Discounts
- 11 Address Settings
- 12 International Options
- 13 Delivery Times
- 14 Login & Registration
- 15 Shipping Settings
- 16 Other Details
- 17 Import Data
- 18 Shopware 6 Essentials FAQ
- 18.1 How to create a Shopware account?
- 18.2 What about a Shopware ID?
- 18.3 What is Shopware master data?
- 18.4 How to add a new Shopware shop?
- 18.5 How to add a payment method to your Shopware account?
- 18.6 How to create a deposit in Shopware?
- 18.7 How to purchase Shopware extensions?
- 18.8 How to get support in Shopware?
- 18.9 How to automate import and export processes in Shopware 6?
- 18.10 How to migrate to Shopware 6?
- 18.11 How to integrate Shopware 6 with external systems?
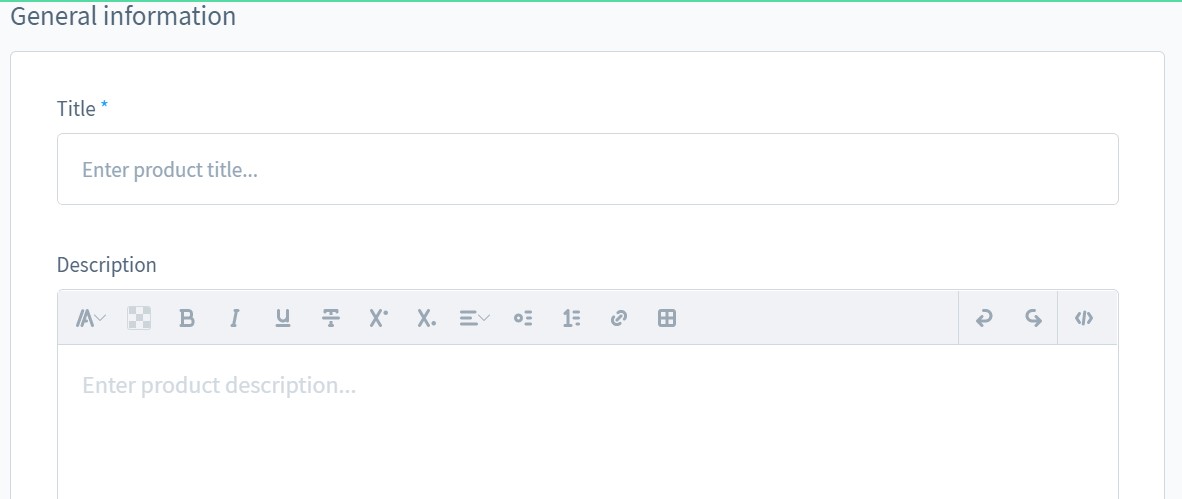
Products
You can change how products are displayed on the frontend from the corresponding admin section of your Shopware 6 website. Follow this link to learn more: How to Create a Product in Shopware 6.
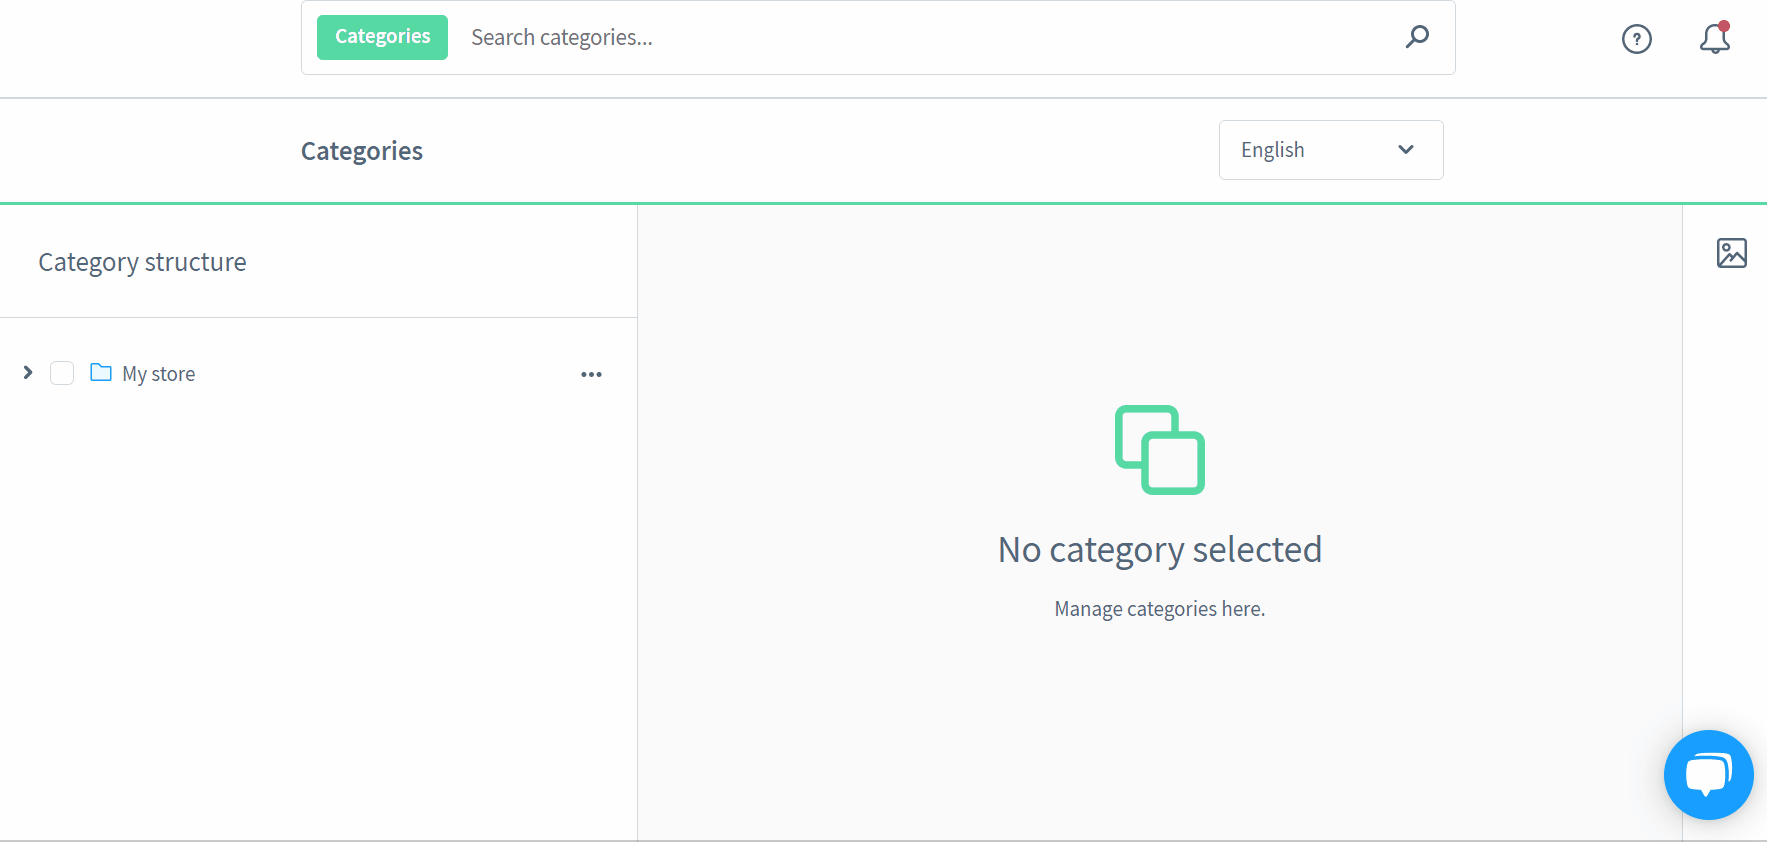
Categories
You can also choose what categories are displayed on the frontend and how they appear on your website. Follow this link to learn more: How to Create Categories in Shopware 6.
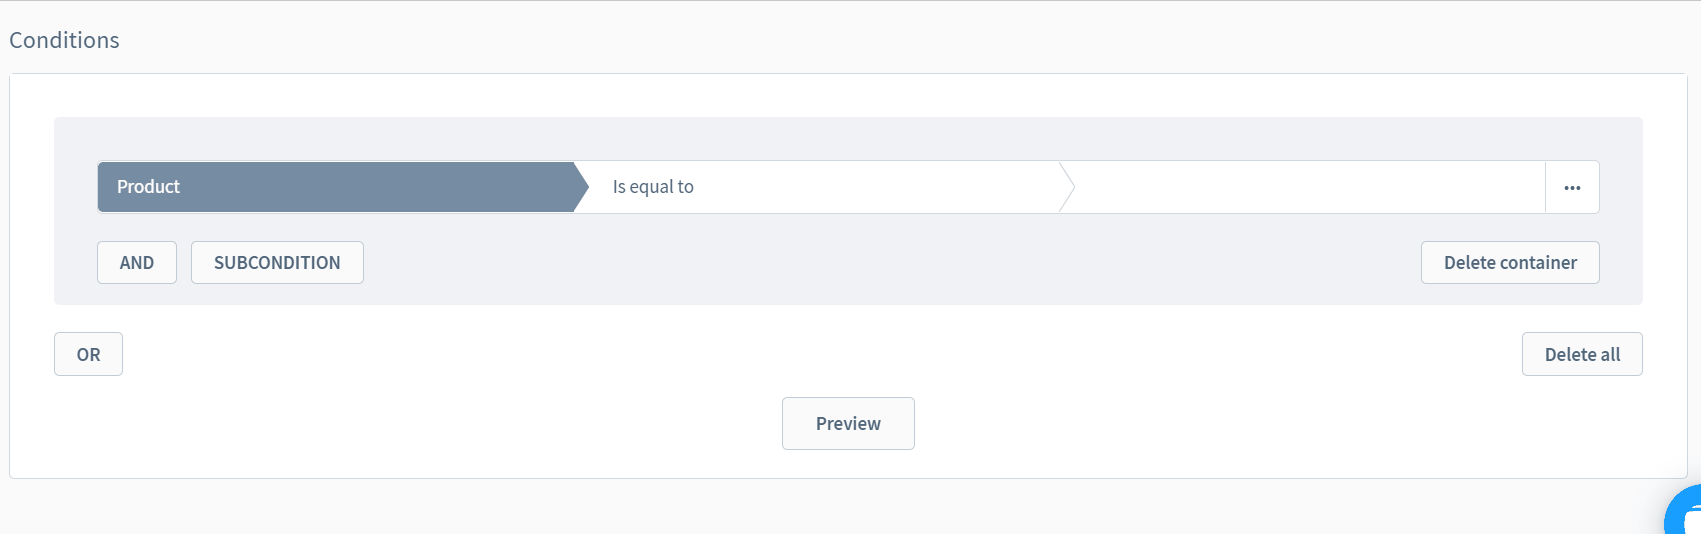
Dynamic Product Groups
In Shopware, you can combine products in groups automatically with the help of dynamic rules and display these groups in various locations on your e-commerce website. Read this article to find out how to edit the corresponding frontend elements: How to Create Dynamic Product Groups in Shopware 6.
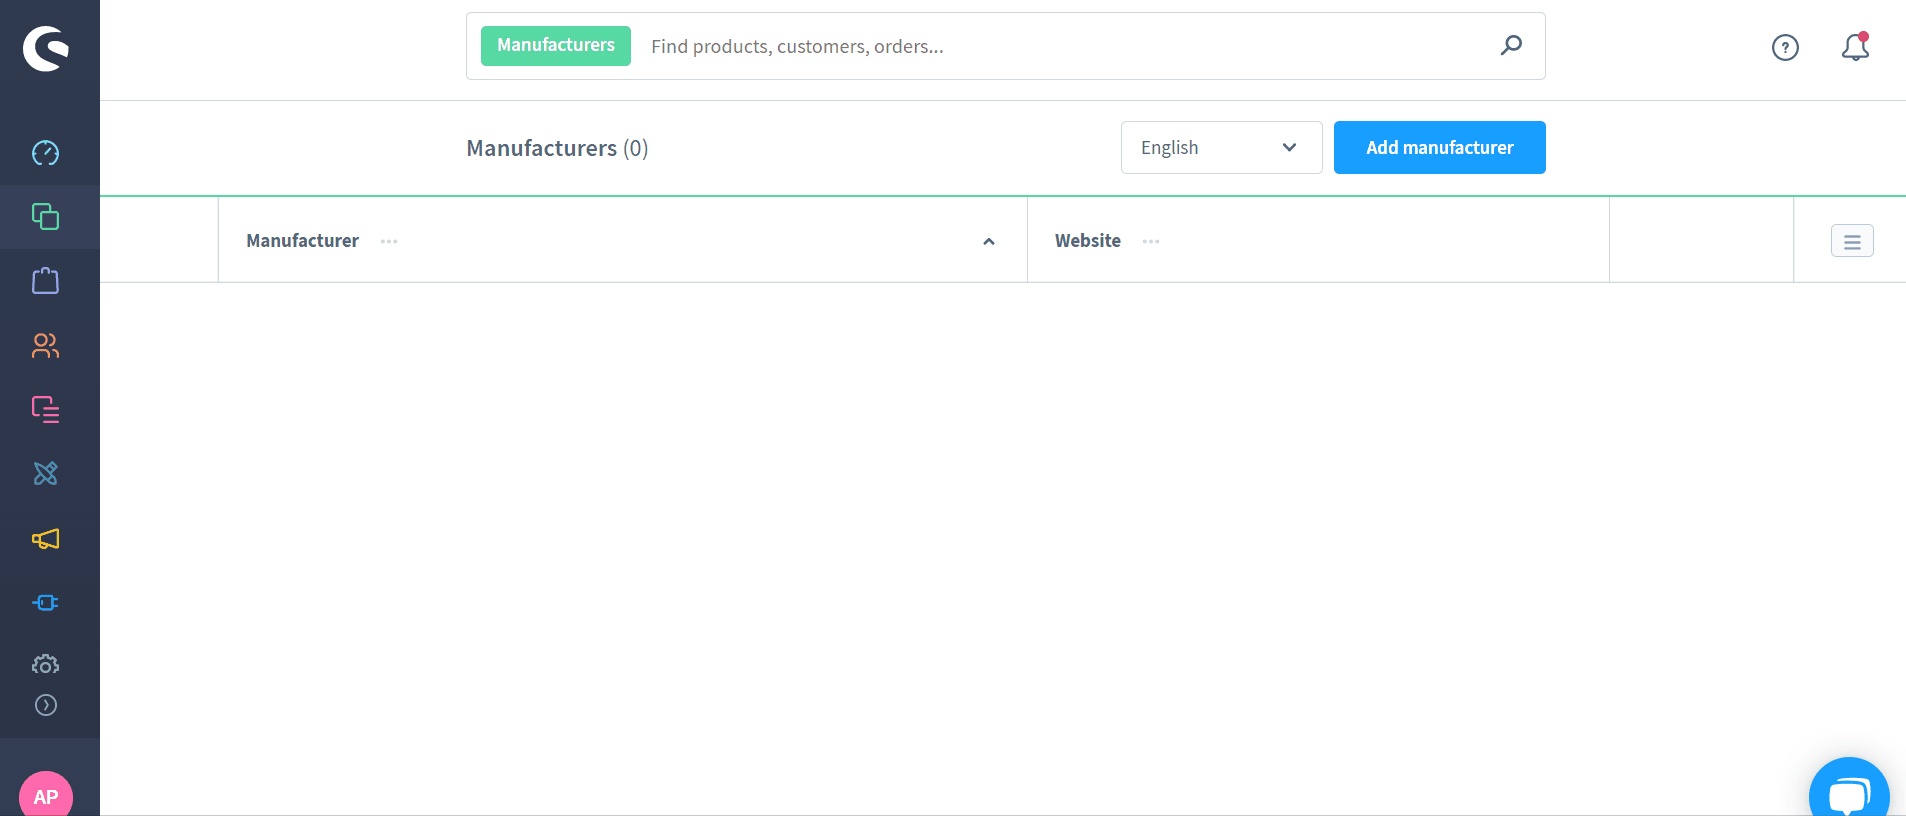
Manufacturers
It is also possible to edit the frontend appearance of manufacturers in Shopware 6. We explain how to change the corresponding information display here: How to Add Manufacturers in Shopware 6.
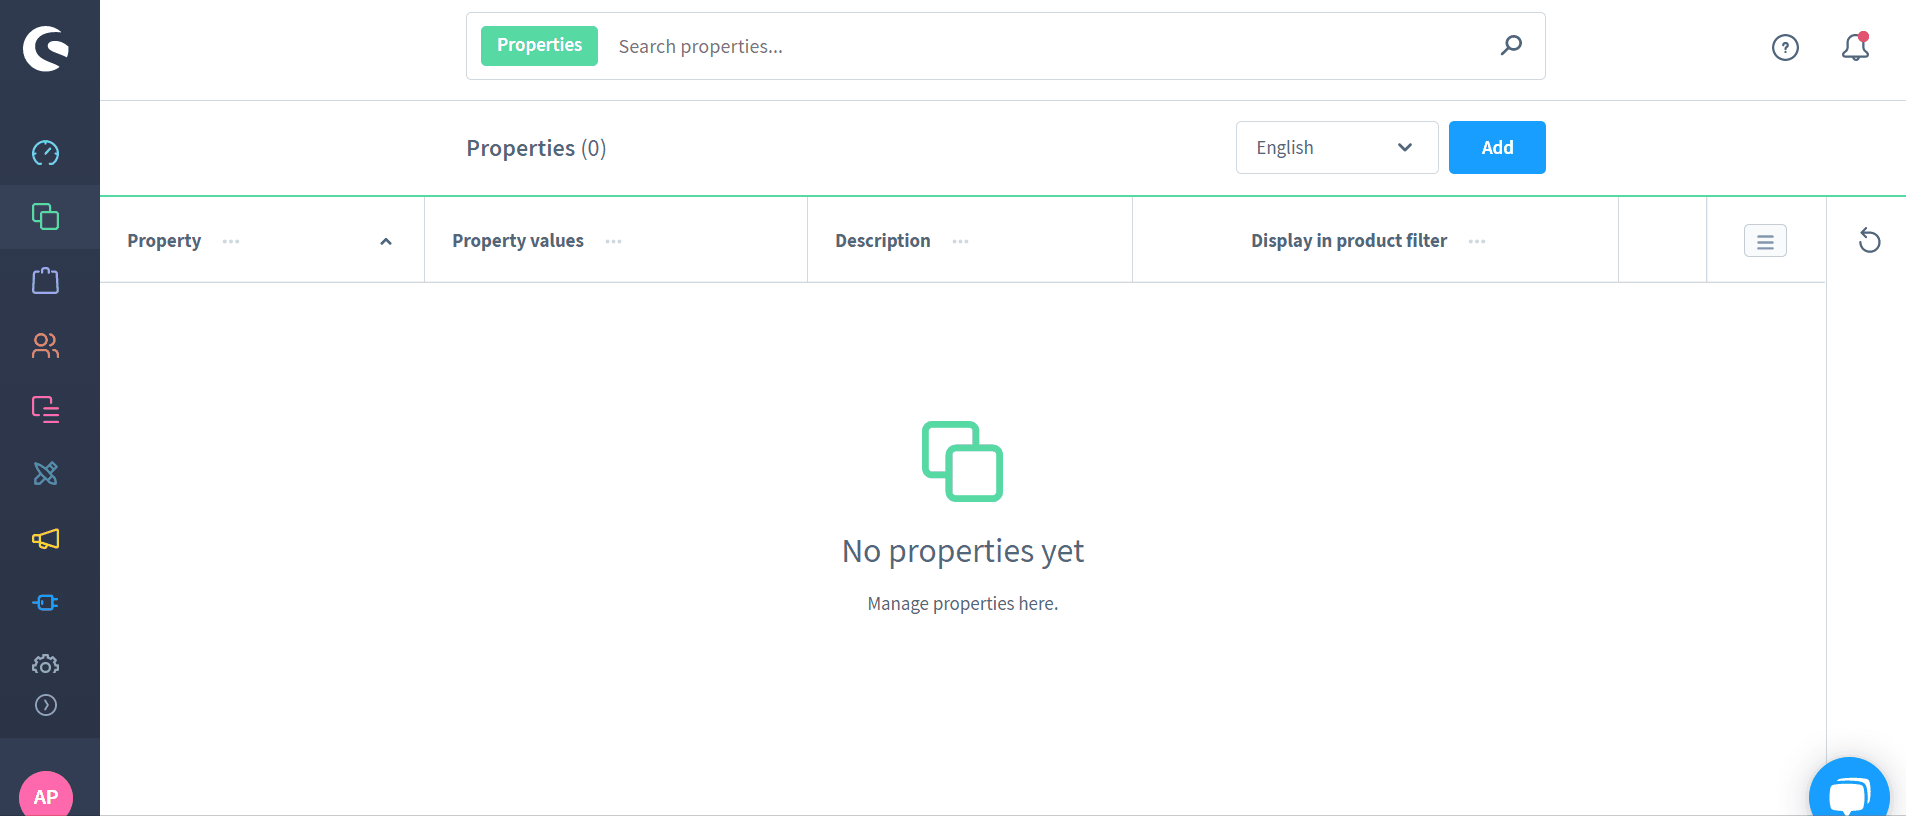
Product Properties
Properties are another vital aspect of product representation on the frontend. You can edit this parameter easily strength in your Shopware 6 administration interface. Follow the link for more details: How to Add Product Properties in Shopware 6.
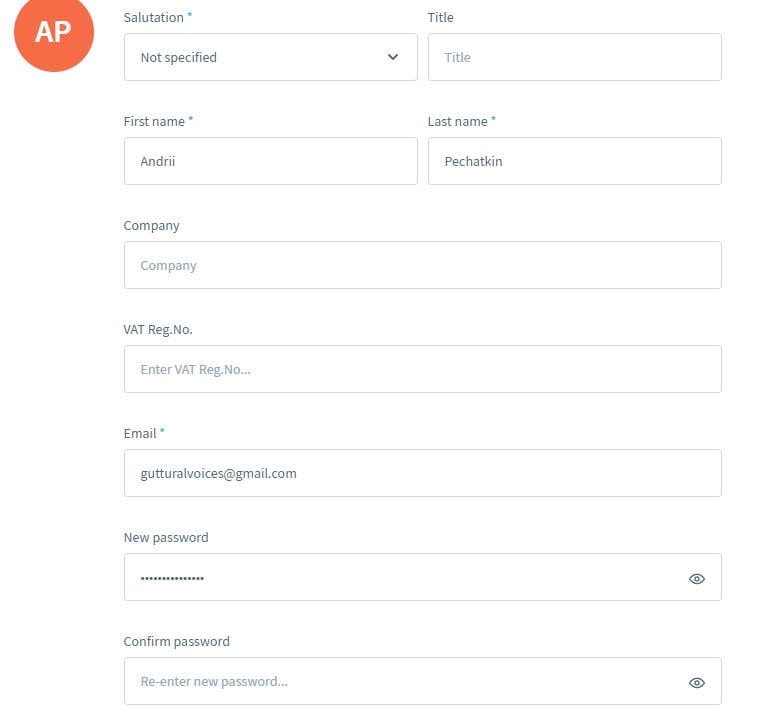
Customers
Although customers provide information about themselves independently, you can change it in the backend. Furthermore, you can create customer accounts on behalf of your buyers. All these things are described here: How to Create Customers in Shopware 6.
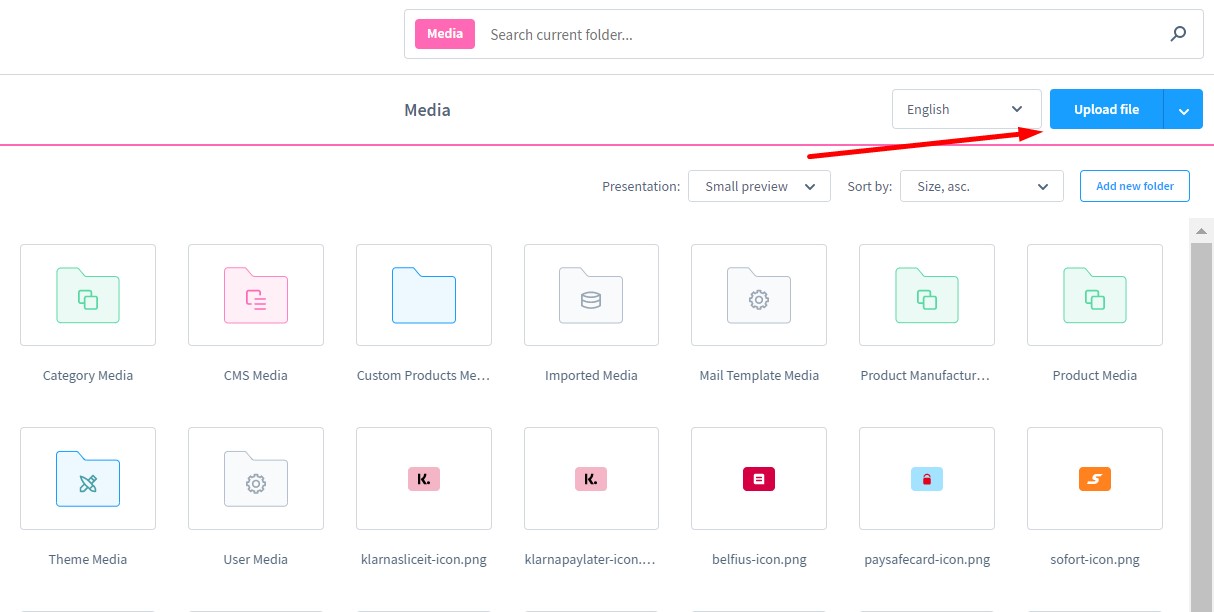
Files
Shopware 6 even lets you upload and manage the display of data files on your storefront. Follow this link for further information: How to Upload & Manage Files in Shopware 6.
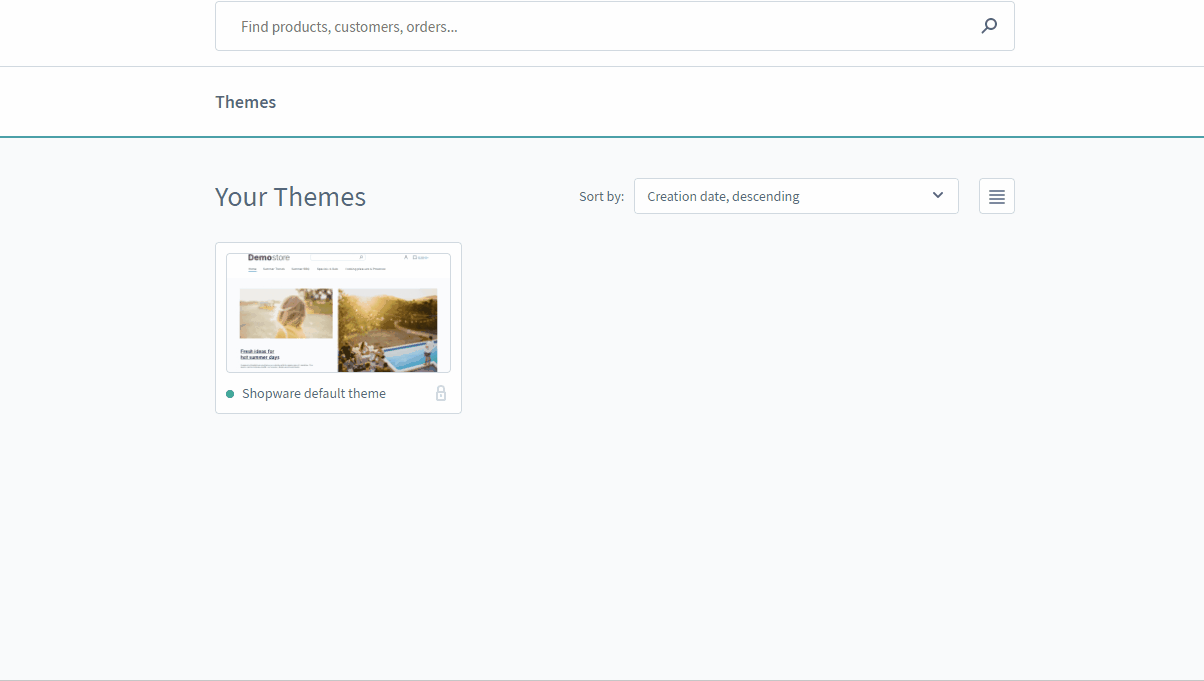
Themes
Although themes don’t display any information, they are responsible for ordering it in a particular way. Shopware 6 lets you customize how your themes look: How to Configure Shopware 6 Themes.
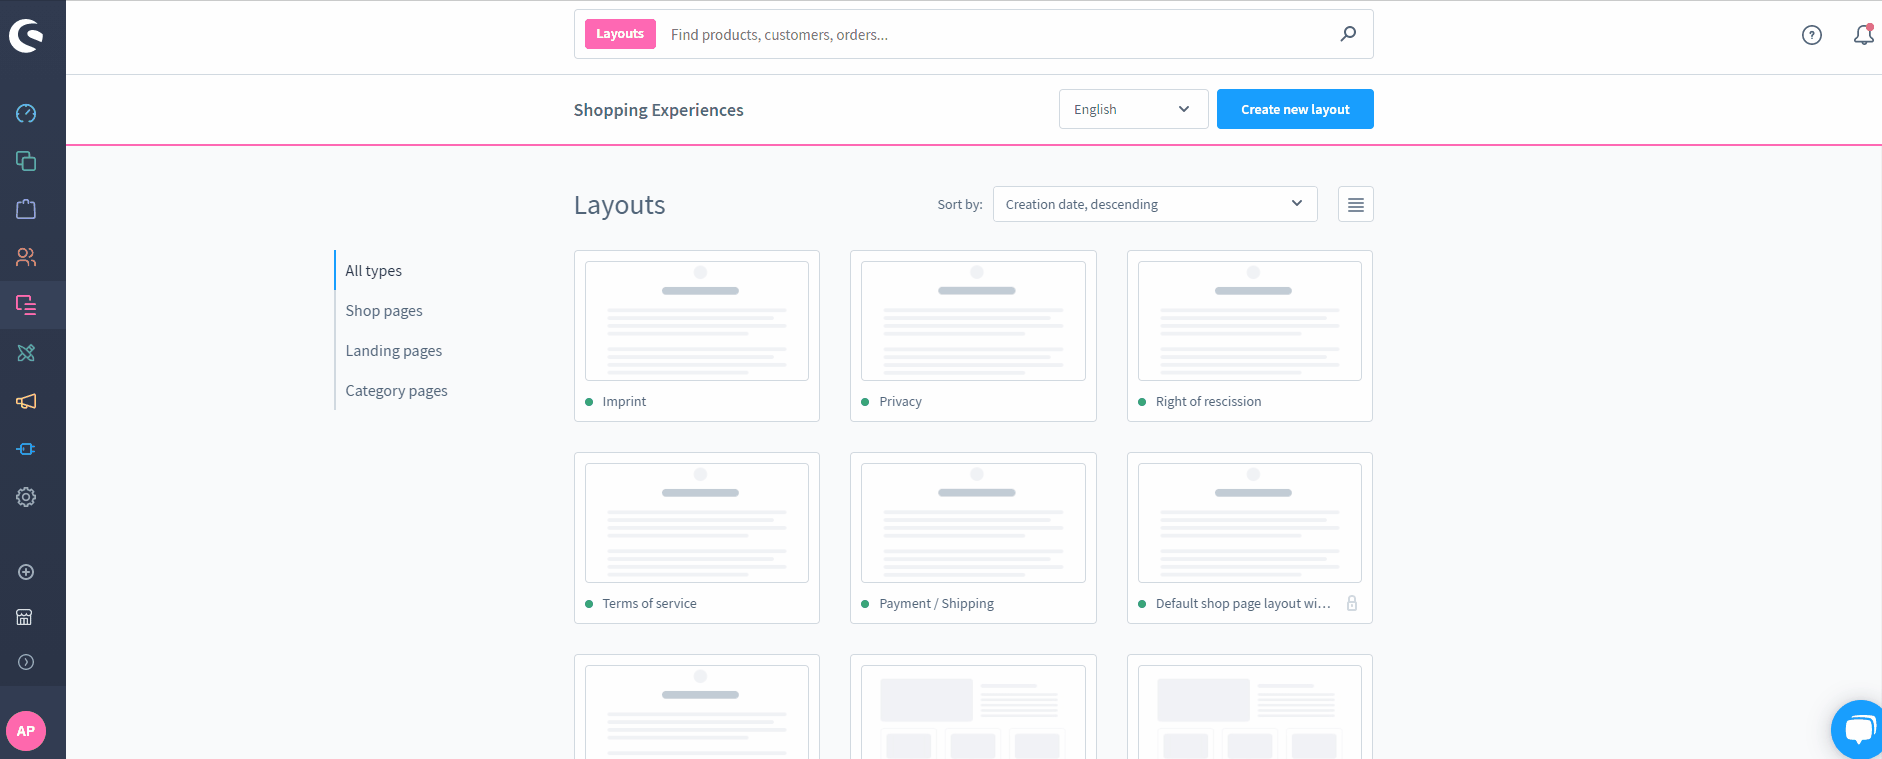
Shopping Experiences
Shopping experiences are another outstanding feature of Shopware 6. It is a separate type of content that delivers an additional layer of personalization through more customer-centric store pages that consist of sections split between individual blocks, which in turn are represented by one or more elements. Read this article to learn how to change the way all the related information is displayed on your Shopware 6 storefront: Shopping Experiences in Shopware 6.
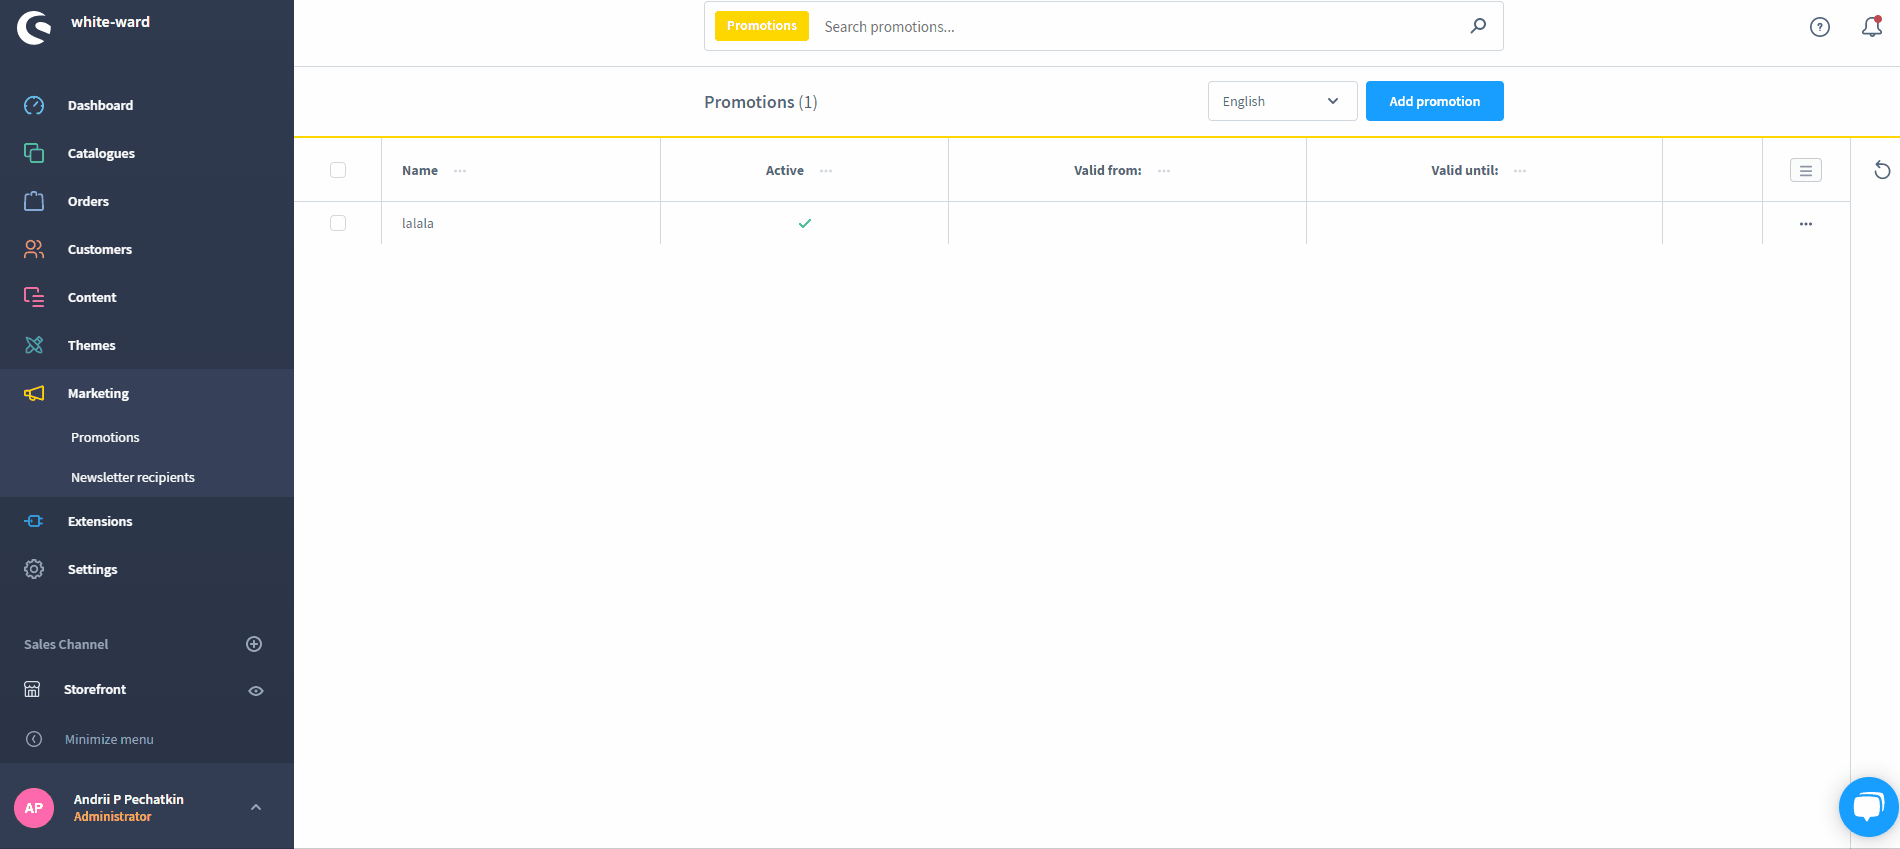
Promotions & Discounts
Promotions and discounts usually affect the display of information on the Shopware frontend indirectly. As a store administrator, you can easily edit them. Hit this link to find more information: Promotions & Discounts in Shopware 6.
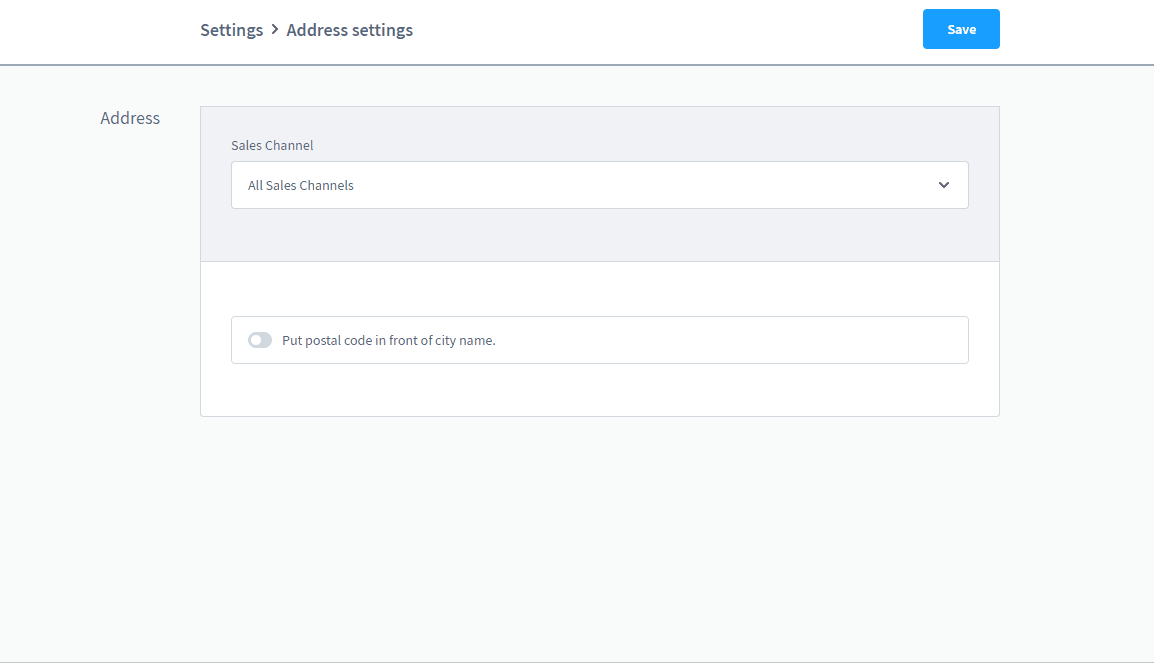
Address Settings
Shopware 6 also lets you tweak the display of address information on the frontend. We explore this topic here: Address Settings in Shopware 6.
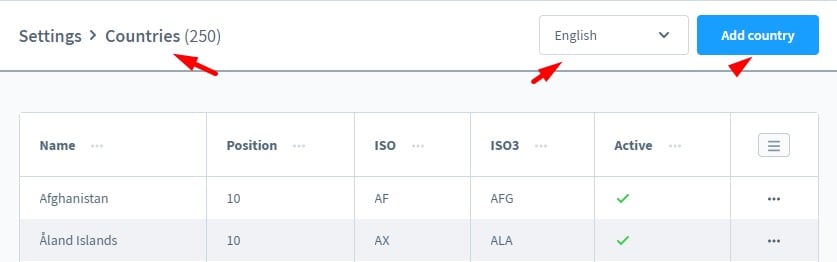
International Options
By default, Shopware 6 lets you expand your business due to rich international options. You can change the corresponding frontend information in three different sections. Peruse these materials for more information: Countries in Shopware 6, Currencies in Shopware 6, and Tax Settings in Shopware 6.
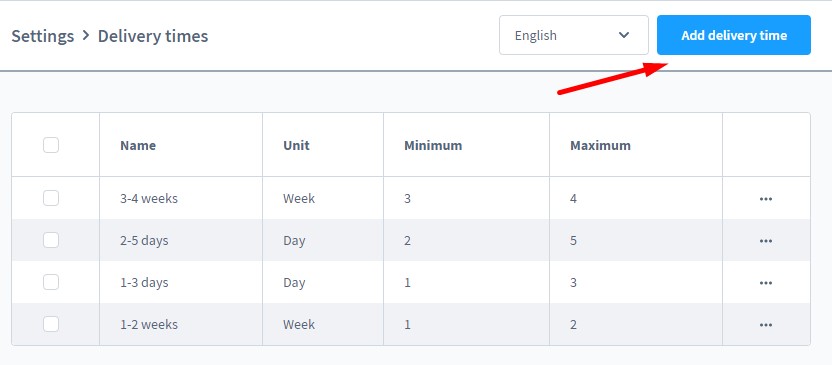
Delivery Times
It is even possible to change the delivery time on your Shopware 6 storefront. We describe this process here: Delivery Times in Shopware 6.
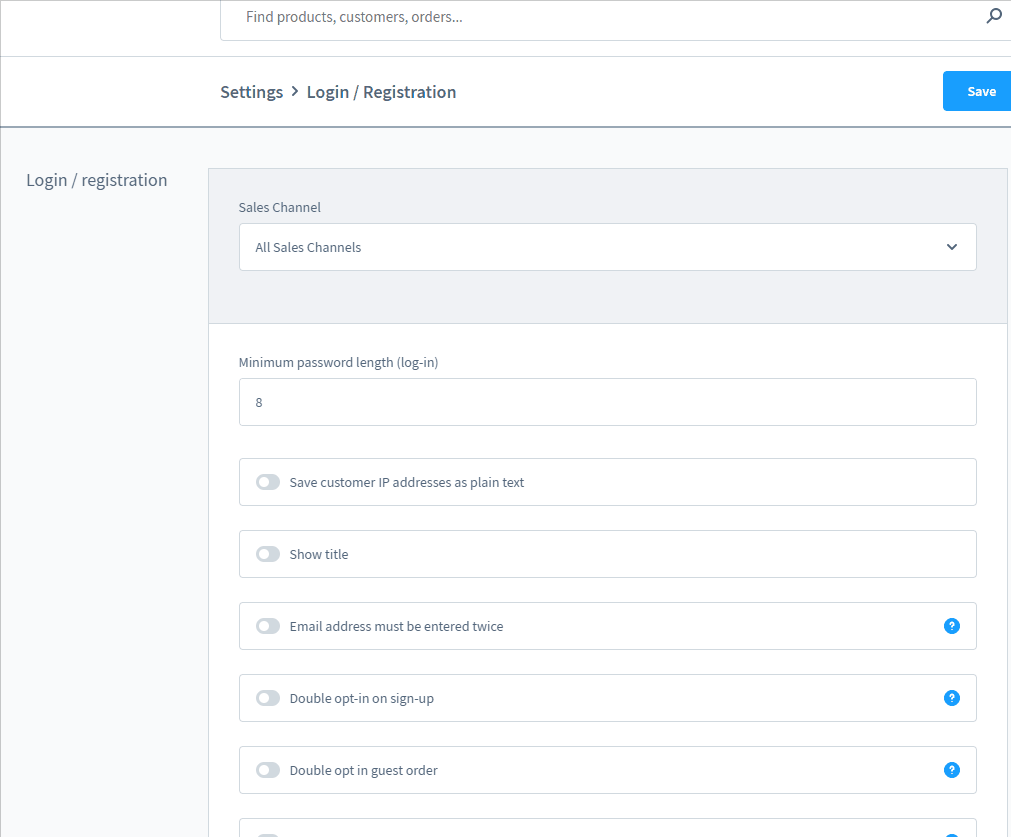
Login & Registration
The login and registration form is an integral part of every e-commerce website, and Shopware is not an exception. As a store administrator, you can change its appearance on your website. Read this guide for more information: Login / Registration in Shopware 6 Settings.
Shipping Settings
If your inquiry regarding how to change the information of the frontend in Shopware is related to shipping settings, you will find answers to your questions here: Shipping Settings in Shopware 6.
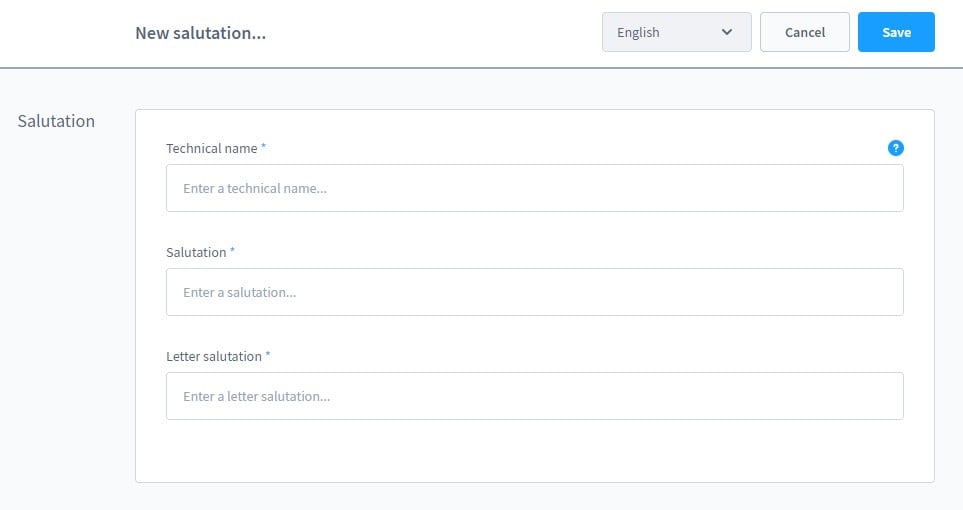
Other Details
Shopware 6 even lets you configure such aspects as salutations and scale units: Salutations in Shopware 6 Settings & Scale Units in Shopware 6 Settings. You can find more information on how to change the information of the frontend in Shopware in other guides and materials.
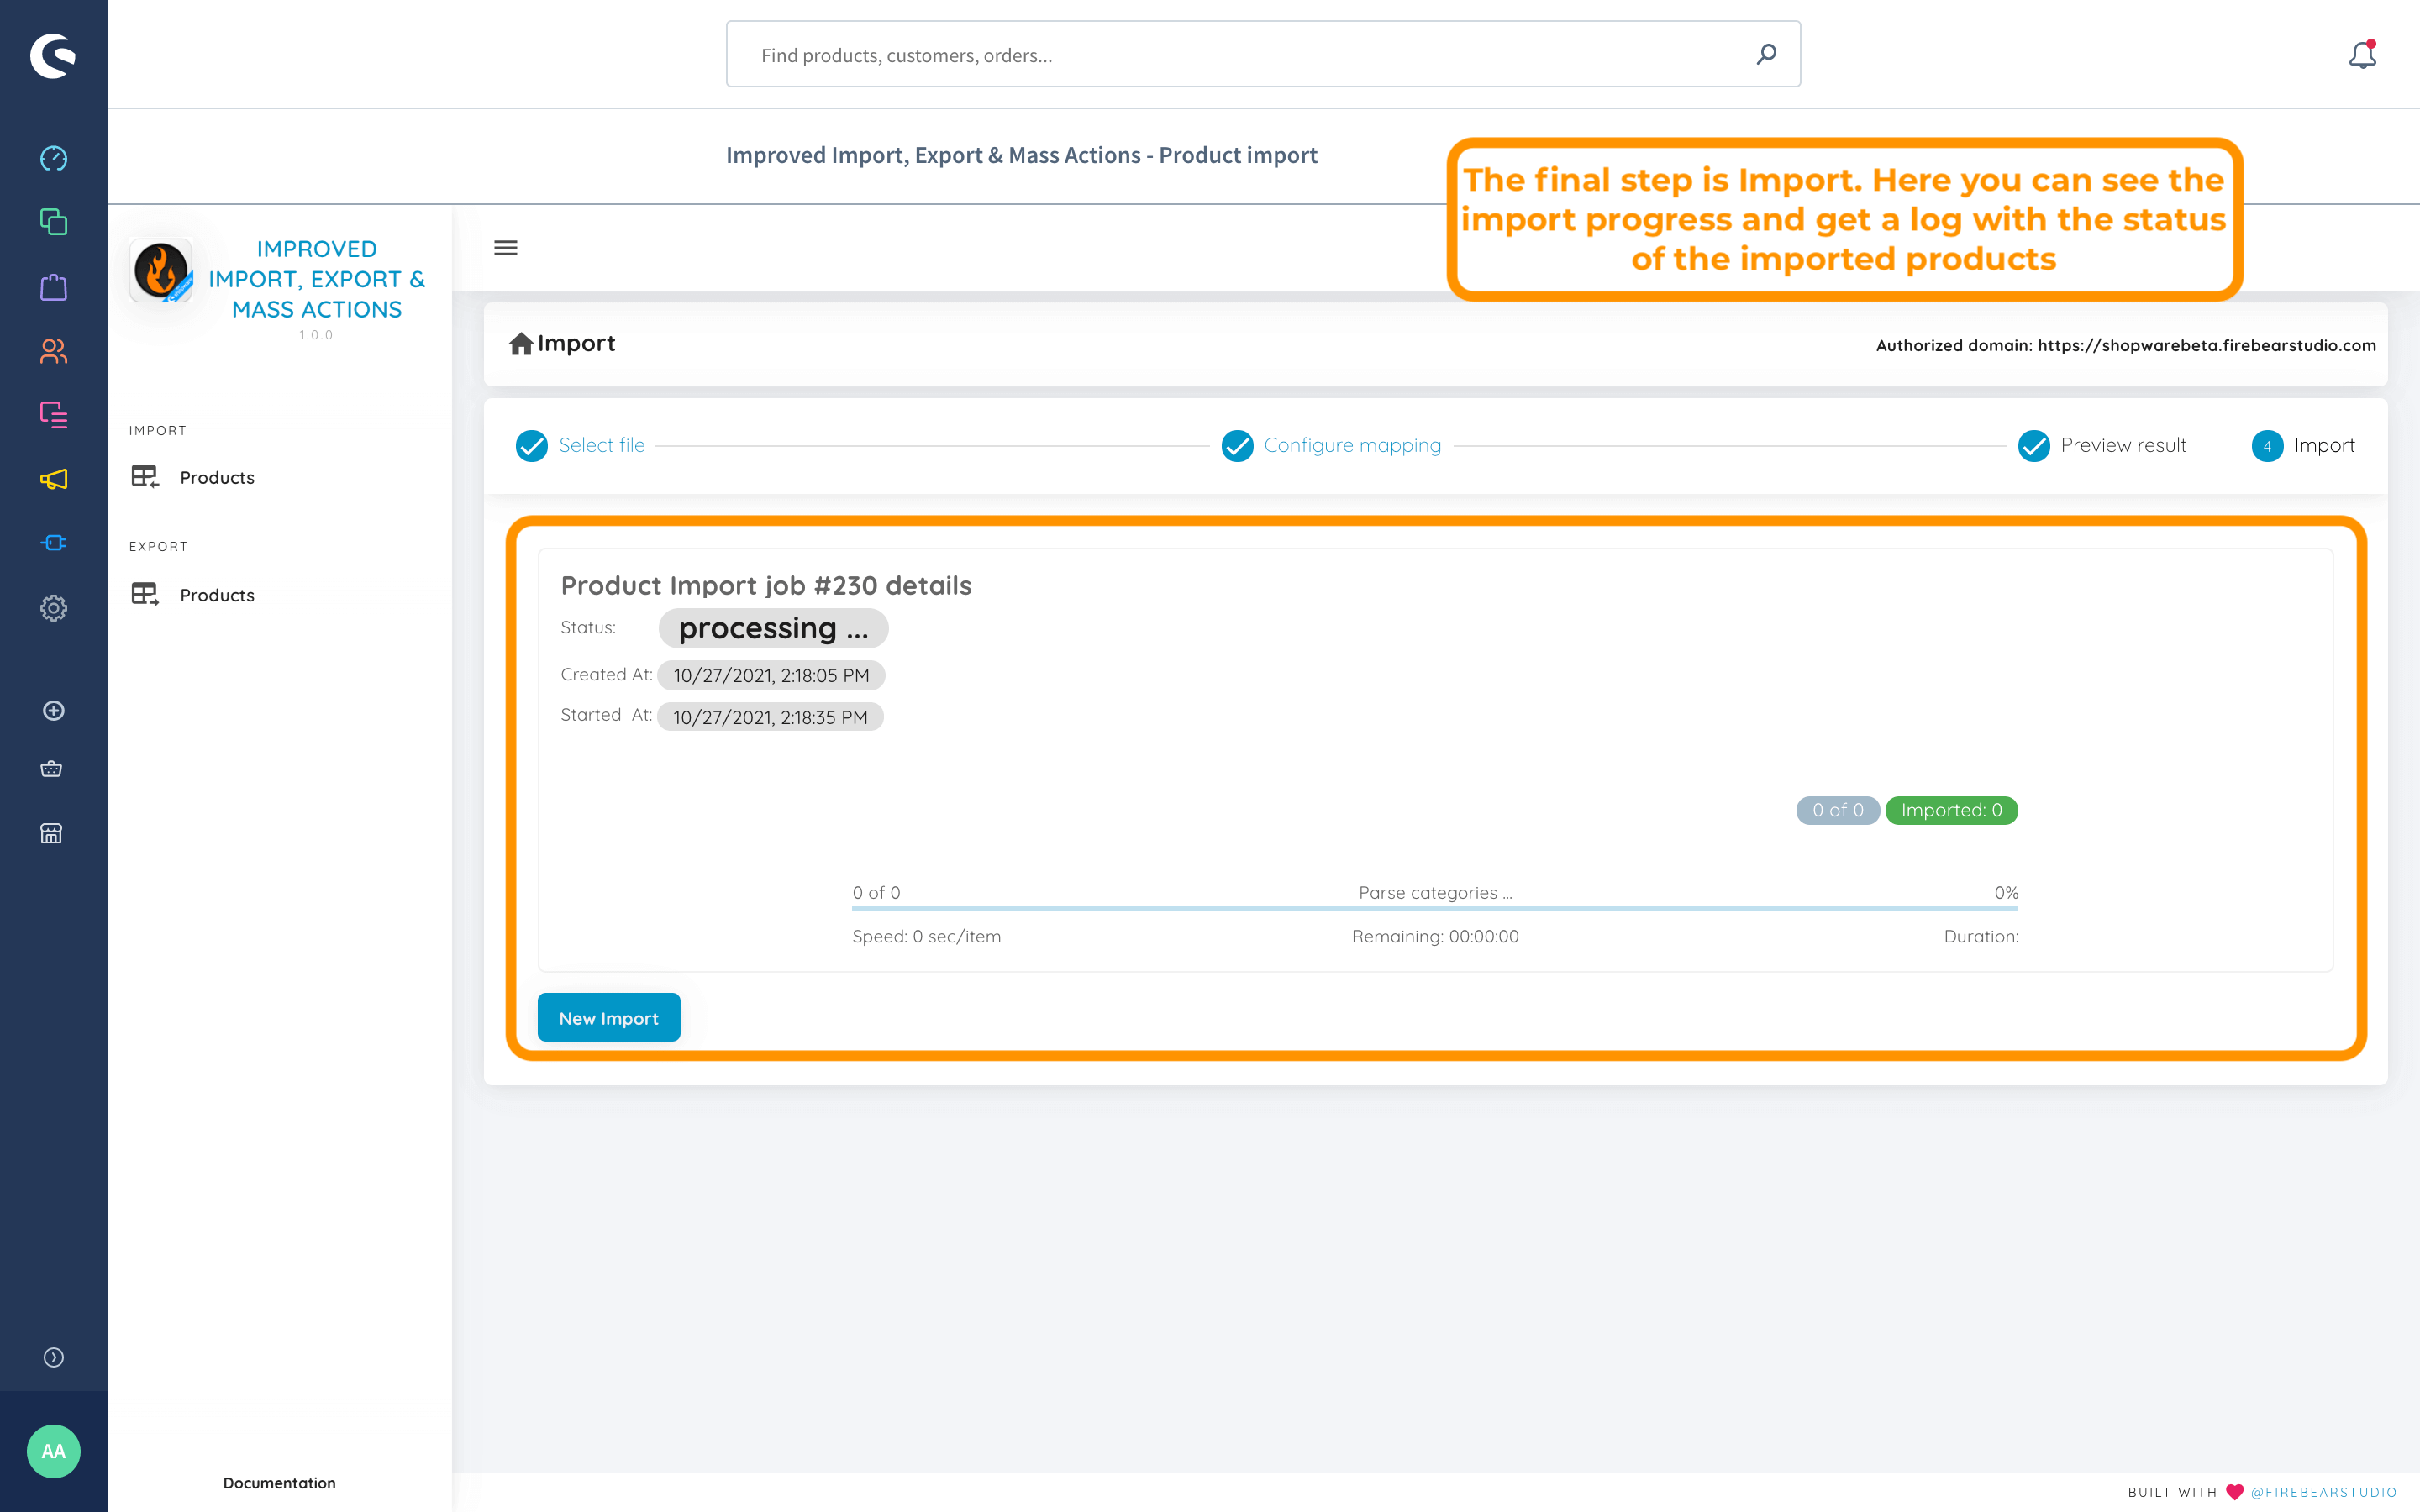
Import Data
You can also change the information of the frontend in Shopware by importing data to your website. Use the extension to simplify this process. The module provides the ability to create mapping schemes matching any external data to the corresponding columns in your Shopware 6 database. The support for additional entities is added on every significant update.
Shopware 6 Essentials FAQ
How to create a Shopware account?
Visit the registration page, hit the Register Now link, and fill in the form to create a new account. After receiving a confirmation email, follow the instructions provided in it.
What about a Shopware ID?
Shopware ID is provided automatically upon registration.
What is Shopware master data?
Shopware master data is a general term that combines different pieces of information about your company. It includes physical addresses, phone numbers, emails, etc. You provide this information via the registration form.
How to add a new Shopware shop?
You can add a new shop to your Shopware account in your merchant area. Click the corresponding link to activate the process. After that, choose the type of your new shop (a cloud storefront or an on-premise installation) and provide all the information the system requires.
How to add a payment method to your Shopware account?
You can add a payment method for internal purposes under Basic Information -> Accounting. Choose PayPal, credit card, or direct debit as a way to transfer funds to your account.
How to create a deposit in Shopware?
You can initiate a money transfer that becomes a deposit in your Merchant Area -> Shops after the internal payment method is configured. Choose a shop to provide funds to. Click Open Account Details and transfer a deposit that covers the amount of your future purchase.
How to purchase Shopware extensions?
Visit the Shopware Marketplace or open the Plugin Manager to purchase extensions. You need to create a deposit in advance. Select a tool you want to buy and complete the checkout. As we’ve already mentioned, the deposit should be equal to the amount of your future purchase.
How to get support in Shopware?
Write to financial.services@shopware.com or call +49 2555 9288 510 regarding accounting and financial services. Use these contact channels for license issues – info@shopware.com or call +49 2555 9288 50.
How to automate import and export processes in Shopware 6?
You can rely on the Improved Import, Export & Mass Actions module to automate import and export processes associated with recurring data transfers. It lets you create schedules to launch the corresponding import and export processes automatically, following the specified criteria. It requires no interaction on the admin side if configured properly.
How to migrate to Shopware 6?
You can also use the Improved Import, Export & Mass Actions tool to migrate to Shopware. It can help you transfer data from your existing website to the new platform. You can migrate from other e-commerce systems or Shopware’s previous versions. Since we also offer export solutions for systems like Magento and Shopify, you can simplify your data transfers between them and Shopware. for more information.
How to integrate Shopware 6 with external systems?
As for the Shopware 6 synchronization with ERPs, CRMs, accounting tools, and other similar platforms, the Improved Import, Export & Mass Actions plugin is also designed to help you. The extension can run repetitive import and export processes based on schedules and mapping presets. The latter ones are used to modify data according to the requirements of your Shopware store during import as well as follow the rules of the connected platform during export. If the tool is properly configured, no interaction on the admin side is necessary.
Related posts
 Shopware 6 Advanced Pricing Guide + Import Tutorial
 A Complete Guide to Shopify Customer Import
 How To Bulk Import Products In Shopify: CSV Description & Step-By-Step Guide
 Amasty ChatGPT AI Content Generator for Magento 2
 How to Import Customers & Customer Addresses to Magento 2
 Magento 2 B2B Company Guide: Revealing Company Structure & Import
 Adobe (Magento 2) Commerce and Cloud (Enterprise Edition) Specific Features
 Magento Open Source and Adobe Commerce 2.4.7 Release Notes