Exploring Shopware: How to Configure Shopware 6 Themes

In this article, we explore Shopware 6 themes and their place in the administration section. Themes are used for customizing the visual appearance of your e-commerce website. Below, you will find out where to find themes in Shopware 6, how to configure them, and where to purchase new ones. We shed light upon such sections as basic information, theme colors, status messages, typography, e-commerce, and media. The system lets you store numerous templates, customizing them according to your preferences. Let’s explore the opportunities associated with Shopware 6 themes. After that, you will find brief recommendations on theme import.

Note that we provide Shopware integration with external platforms. Contact our support for further information or try our Improved Import & Export Extension for Shopware 6.
Table of contents
How to find themes in Shopware 6
You can find Shopware 6 themes in your administration. Open the main menu and proceed to the Themes section.
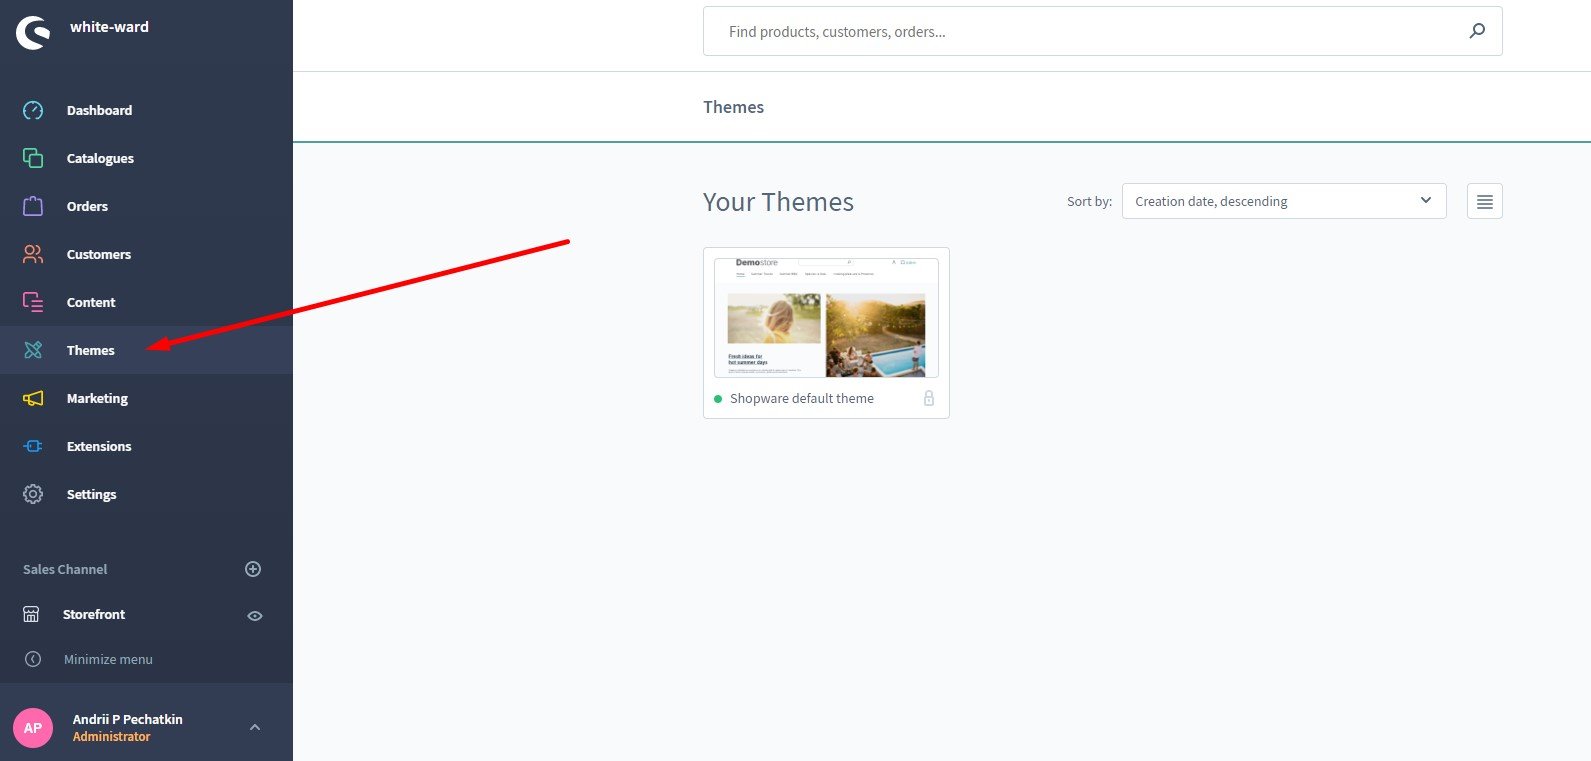
This screen contains all themes that you have currently added to your Shopware 6 installation. In our case, it is only a demo theme. You can manage and edit themes here.
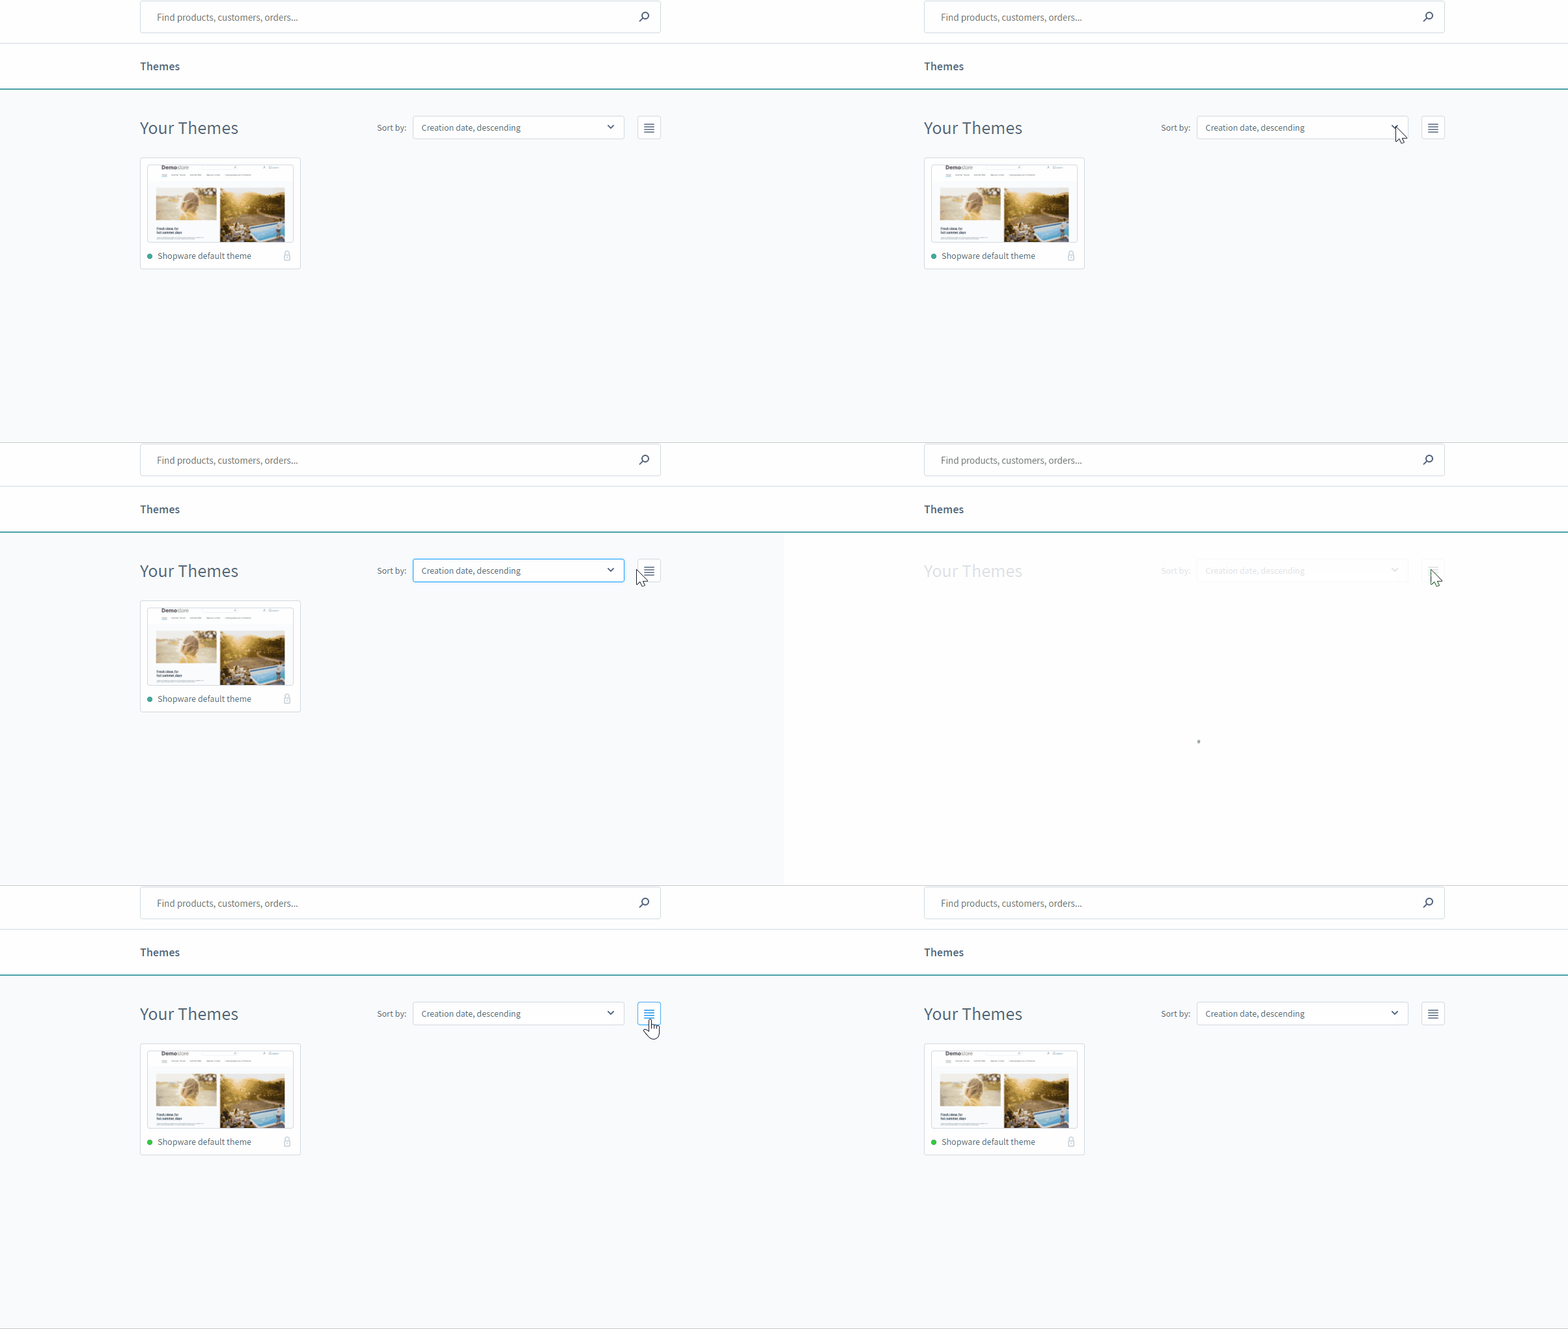
Use the pulldown menu to change the sorting. Aso, you can switch the view between listing and thumbnails.
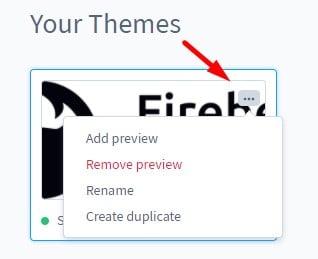
Hover over a theme to display the context menu button. Click it and you will get the ability to delete or replace the thumbnail, rename the theme, or completely delete it if it is not your main theme. Also, it is possible to create a duplicate.
If you see a grey dot below the preview image, it means that the theme is not yet assigned to a sales channel. A green dot indicates that the theme is linked to a sales channel.

How to configure shopware 6 themes
Now, let’s see how to customize your Shopware 6 themes. When you purchase a theme, it is associated with the default settings. However, you can completely change them, following your brand identity. Shopware 6 lets you select colors and fonts. Just click on the theme icon on the overview page to start the customization:
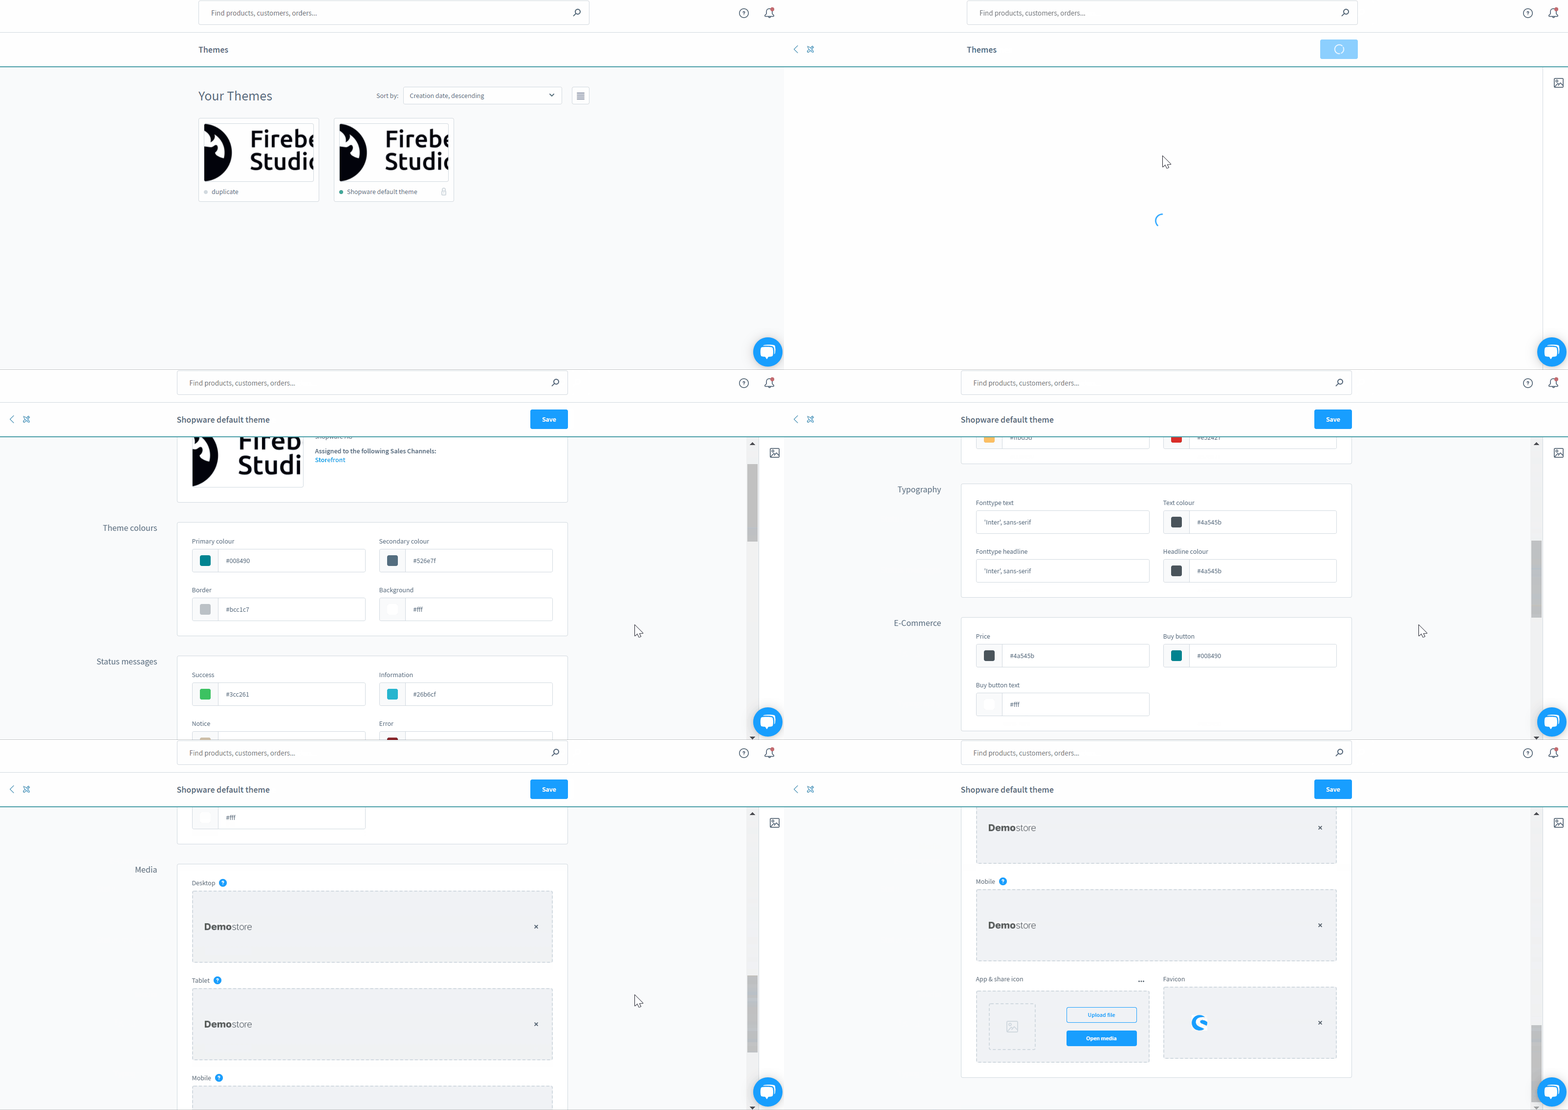
Every Shopware 6 theme configuration section is divided into the following parts:
- Basic information;
- Theme colors;
- Status messages;
- Typography;
- E-commerce;
- Media.
Basic information
This section shows the name of the theme and its vendor. Besides, you can see to what sales channel it is assigned.

Theme colors
This section lets you choose the basic background and frame colors. Shopware 6 themes use the primary color in the headings and links, secondary – in other texts.

Status messages
This section enables you to specify colors for status messages displayed on your storefront: Success, Information, Notice, and Error.

Typography
The Typography section of your Shopware 6 theme lets you adjust fonts and their colors.

E-commerce
This set of settings is responsible for the appearance of the buy button and the displayed price.

Media
This area allows for defining logos and icons. Use an image larger than 991px for the desktop logo. Utilize one between 991px and 767px for the tablet logo. Add an icon smaller than 767px for the mobile logo.
As for the favicon, it appears in front of the URL in the browser. As for the App & share icon, it is displayed as a preview in social sharing.

How to Import Themes to Shopware 6
Our team lets you simplify and automate various routine processes associated with managing your Shopware 6 backend by importing the existing data. Contact our support for more details and try our . You can use it to import any entities to Shopware 6. Please, consult our specialists before using the module for transferring themes to Shopware 6. The extension usually works in the following manner. It automated data transfers according to the schedule that you provide during the configuration of your import profile. Next, the module lets you apply mapping schemes to transform the imported data according to the requirements of Shopware 6. As for export processes, they incorporate similar principles.
Shopware 6 Essentials FAQ
How to create a Shopware ID?
Before starting any work with themes on your e-commerce website, you need to get a ShopwareID. The system provides it along with a Shopware account.
How to create a Shopware account?
You can create a new shopware account (a Shopware ID is provided during this procedure) under the Shopware registration page. Find the Register Now link, click it, and fill in the form. Next, you will get an email with a confirmation link.
What is Shopware master data?
All the core information about your company provided during the registration is called master data. Shopware master data consists of contact and company details: address, email, phone, company name, etc.
How to add a shop in Shopware?
You can add a new Shopware shop in the merchant area on its start-screen. Click the link situated at its right section and choose whether it should be a cloud storefront or an on-premise installation. Next, it is necessary to provide data about your new Shopware Shop and save changes.
How to add a payment method to your Shopware account?
It is possible to add a payment method under Basic Information -> Accounting. Select PayPal, credit card, or direct debit.
How to create a deposit in Shopware?
Creating a deposit in Shopware is necessary to pay in advance for purchasing extensions and themes. You can transfer funds under Merchant Area -> Shops. Select a shop to provide money to and click Open Account Details. You can add funds here, following the detailed instructions.
How to purchase Shopware extensions?
After a deposit for your Shopware shop is placed, you can visit the Shopware Marketplace or the Plugin Manager to buy extensions. Choose tools you want to purchase and complete the order. You can buy extensions or themes.
How to get support in Shopware?
Inquiries about your account or license are accepted via info@shopware.com or +49 2555 9288 50. Inquiries accounting and financial services are accepted via financial.services@shopware.com or +49 2555 9288 510.
How to migrate to Shopware 6?
You cannot perform seamless migration with the default tools available in Shopware 6. However, it is always possible to use a third-party extension to simplify the corresponding data transfers. Thus, the Improved Import & Export tool for Shopware 6 is at your disposal. It lets you automate data transfers and avoid issues caused by different attribute standards. Contact us for more information.
How to automate import and export processes in Shopware 6?
If you receive data updates from time to time or need to provide information to external systems on a regular basis, the Improved Import & Export extension for Shopware 6 will also be helpful. It lets you automate these procedures. Create a schedule of updates and assign it per import and export process. As a result, they will run in the background. No interaction on the admin side is necessary.
How to integrate Shopware 6 with external systems?
If you want to integrate your e-commerce storefront with external platforms, use the Improved Import & Export extension for Shopware 6. It provides the ability to connect your website to ERPs, CRMs, accounting tools, etc. The module automates repetitive import and export processes and modifies data according to the requirements of your Shopware store during import and the connected platforms during export.


