
Exploring Magento 2 Backend: Newsletter Templates
Below, you will find a guide on Magento 2 newsletter templates. We describe the main screen that contains them as well as shed light on how to add new templates, send the existing ones, and manage newsletter subscribers. More admin sections are described here: Magento 2 Backed Exploration.

Table of contents
Let’s take a look at how to create new newsletter templates. Go to Marketing->Communication->Newsletter Templates. Here, you can create as many templates as you need. Depending on your needs, Magento 2 lets you send weekly product updates, monthly newsletters, or annual holiday emails, engaging the existing customers and motivating them to return to your e-commerce storefront.
As a backend administrator, you can leverage both HTML markup and plain text to create new newsletter templates. However, plain text newsletters are not as engaging as ones based on HTML since they don’t contain either images or formatted links.
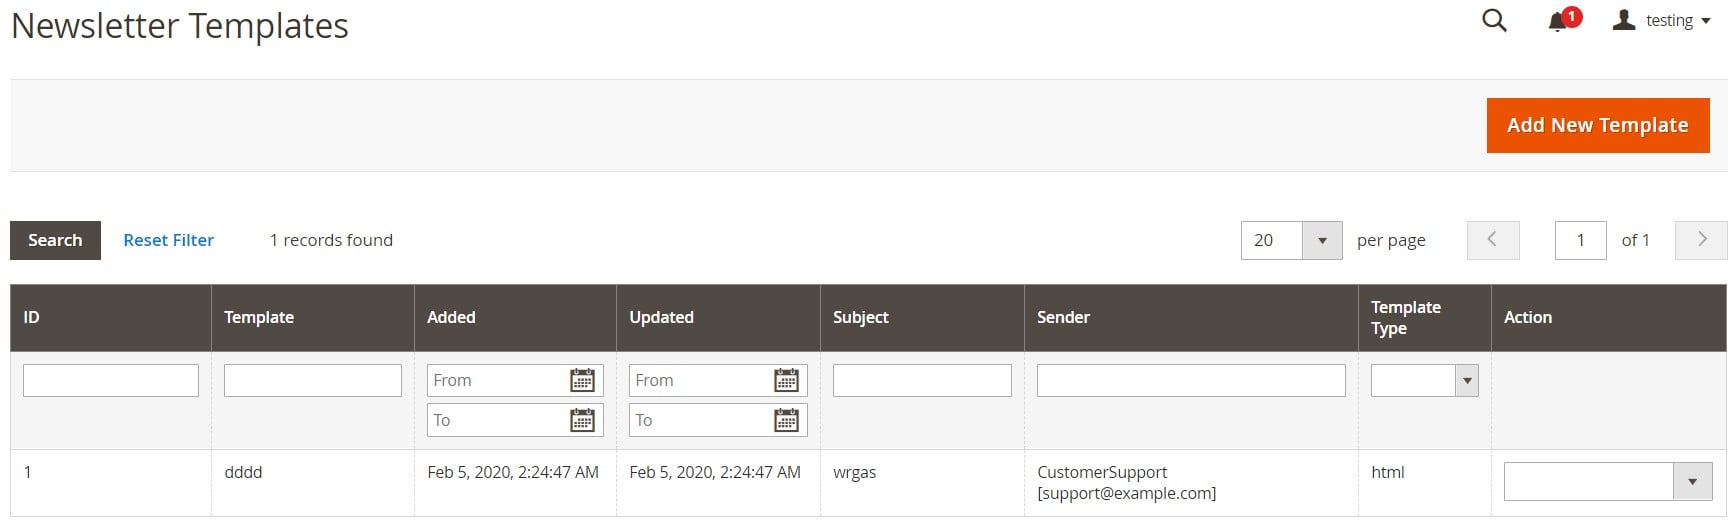
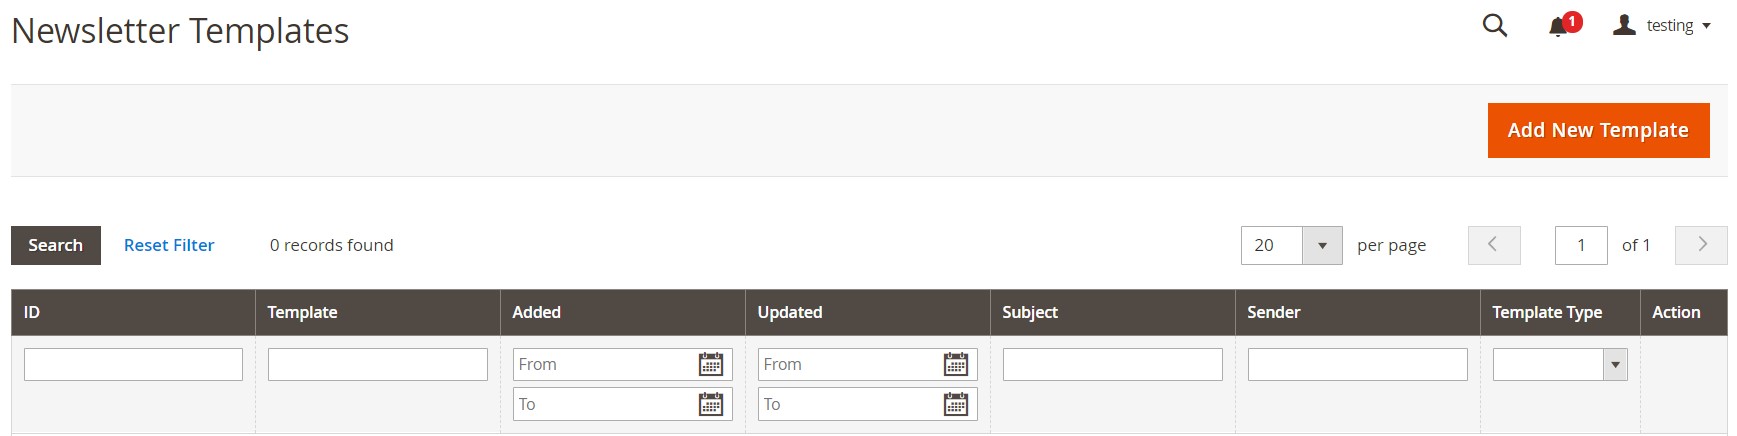
All Magento 2 newsletter templates are available in a grid that consists of the following columns:
- ID – each template has an internal ID number;
- Template – a template name;
- Added – when a template was added;
- Updated – when a template was updated;
- Subject – a subject of a newsletter email;
- Sender – a sender of a newsletter email;
- Template Type – HTML or Text;
- Action – you can edit a template here.
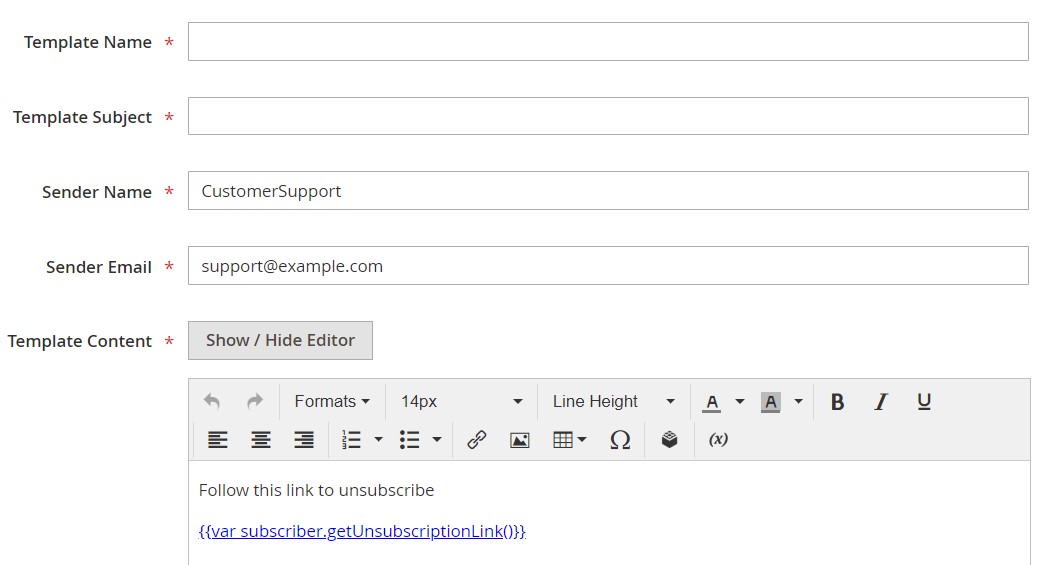
Click the Add New Template button above the grid to add a new template. Next, follow these steps:
- Set a template name for internal purposes (Template Name);
- Describe its subject (Template Subject);
- Specify an email sender (Sender Name);
- Enter an email address of a newsletter sender (Sender Email);
- Now, you can proceed to the Template Content field. It lets you show/hide the WYSIWYG editor. Create the content of your newsletter template. Note that it is not recommended to remove the unsubscribe link since it may be required by law in some jurisdictions;
- Specify CSS declarations to format the content if necessary (Template Styles).
Your new template is almost ready. You only have to preview the template before saving it. Click Preview Template on the top right part of the page. Make any changes if necessary. Click Save Template when complete.
Also, note that you can create variations of this template after it is saved. The Save As option appears the next time you open the template.
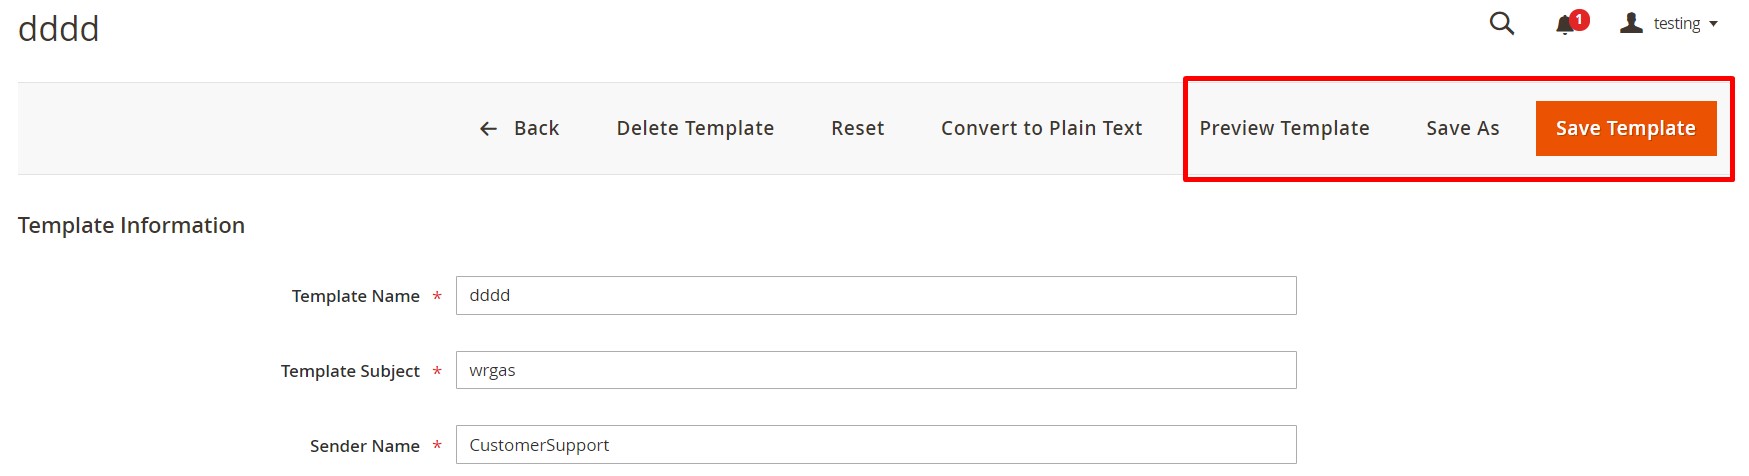
If you need to convert a template to a plain text, Magento 2 offers the corresponding option. As you can see from the image above, there is the Convert to Plain Text button at the top of the page. Hit it and click OK when prompted to confirm.
Now, you can preview the plain text version of the template, apply changes, and save it.
After your Magento 2 newsletter message became a plain text template, you can restore it back to HTML. Click Return HTML Version at the top of the page. The button appears instead of Convert to Plain Text.
Now, you can preview the HTML version of the template, apply changes, and save it.
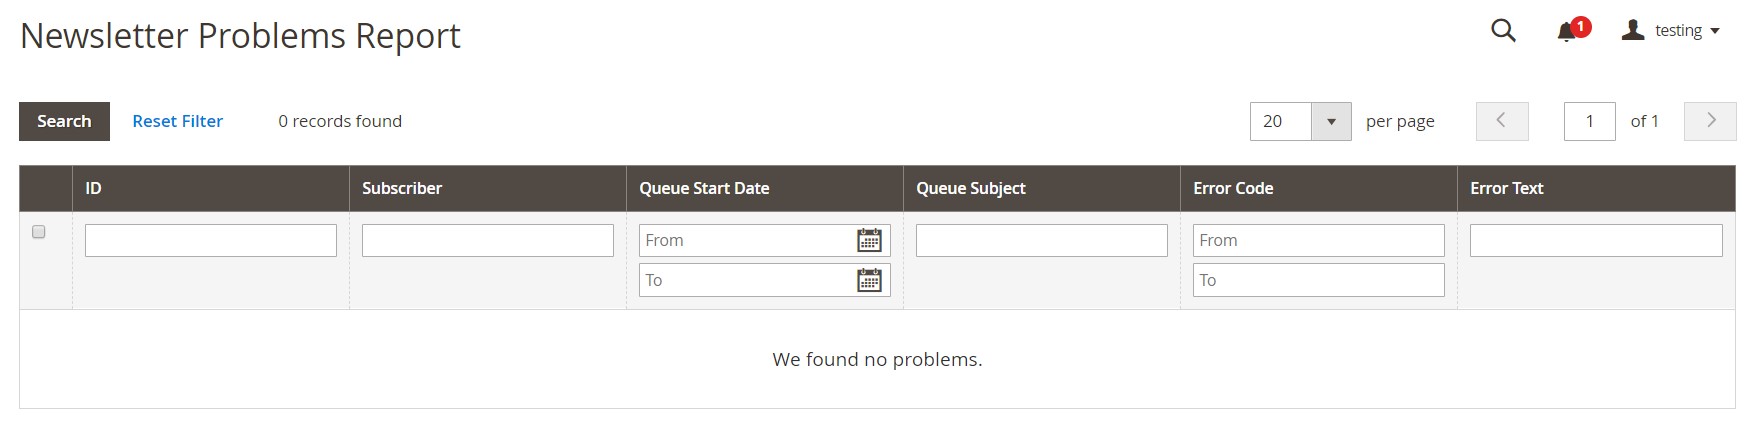
In Magento 2, newsletters with multiple subscribers are sent in a queue of multiple batches. It helps to reduce the load on the server. Therefore, check the newsletter queue to see how many email messages have been processed. If any problems occur, you can find them on the Newsletter Problem Report.
To send newsletters in Magento 2, you have to visit the same screen, as we mentioned above: Marketing->Communications->Newsletter Template. Here, do the following:
- Choose a Magento 2 newsletter template that you want to send and select Queue Newsletter in the Action column.

- The system transfers you to a new screen where you can edit your template once again, if necessary. However, it is enough to select a date to start the transmission (Queue Date Start)

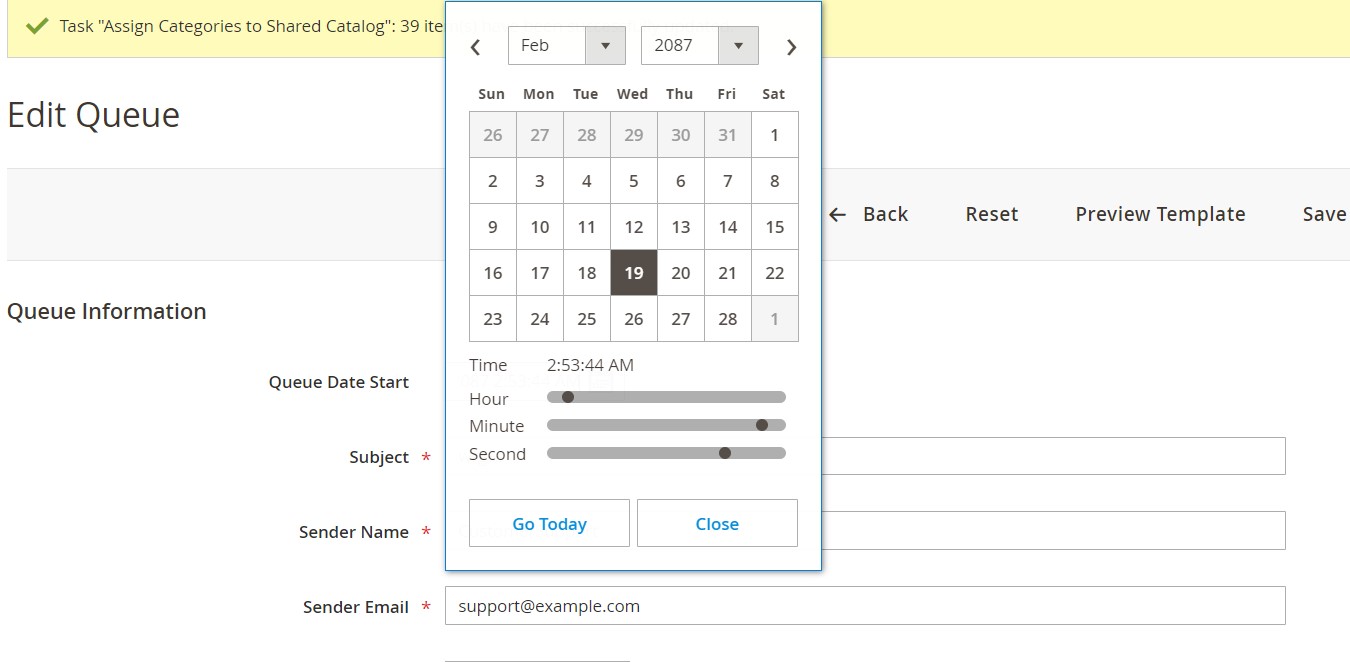
- If the Subscribers From list appears, select store views related to the newsletter.
- Next, click Save and Resume. Now, you can find your newsletter in the Newsletter Queue grid.
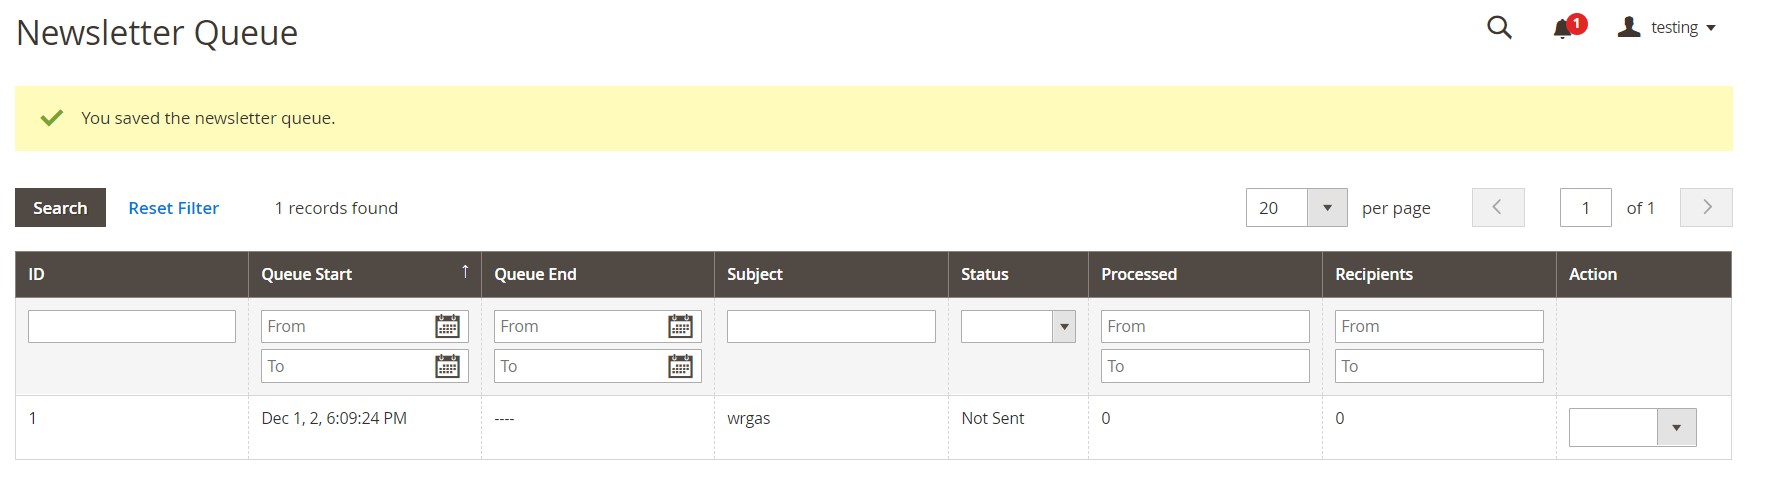
You can see when the corresponding queue start and ends, its subject and status (Sent, Cancelled, Not Sent, Sending, Paused), the number of processes messages and recipients. The Action column lets you preview your Magento 2 newsletter template.
If any issues occur, go to Reports->Marketing->Newsletter Problem Reports.
To import newsletter templates to Magento 2, you need Improved Import & Export Magento 2 extension. The module lets you transfer this as well as multiple other entities to your e-commerce store within just a few clicks. You can find more information on how to move newsletter templates to Magento 2 in our article about Magento 2 Email Templates. Also, follow the link below and contact our support:
Get Improved Import & Export Magento 2 Extension
Now, when you know how to create and send a newsletter, we’d like to draw your attention to another related procedure. Below, we describe how to edit your subscription list. It is essential to process any requests to unsubscribe. Note that in some countries require to unsubscribe a customer within a specific period if there is a corresponding request.
- First of all, go to Marketing->Communications->Newsletter Subscribers.
- Find subscribers you want to unsubscribe in the grid and select them in the checkbox column.
- Use mass actions to unsubscribe customers from your newsletter. Select Unsubscribe from the Actions dropdown and click Submit. You can see that the status of the corresponding records is now Unsubscribed.

If you have an online business with lots of newsletter subscribers, you can freely move them to Magento 2. At the same time, you can connect your e-commerce store to an external email service to gain additional control over your newsletter.
When it comes to export processes from Magento 2 or Magento 1, you can rely on our Magento 1 to Magento 2 Migration add-on. The tool is based on the Improved Import & Export Magento 2 extension, which offers robust data transfer capabilities.
With the help of both solutions, you can import/export newsletter subscribers from an intuitive admin panel or via simple CLI commands. Since the add-on uses a selective approach to the migration, there is no downtime. It is only necessary to reindex when newsletter subscribers are transferred to your website.
You have to purchase the Improved Import & Export module to download the Free Migration add-on from your Firebear account. If the extension is already installed, , and we will provide you with the download link for the add-on.
Install both tools, specify the Magento 1 or Magento 2 database connection credentials, specify the path to the root folder of your Magento 2 website in the Data Migration section, and select newsletter subscribers as an entity you want to import. That’s it! Follow this link for further information: How to Import & Export Newsletter Subscribers in Magento 2.
Our extension also lets you transfer the following entities:
- Categories;
- Inventory;
- Products + media (images and videos);
- Customers with addresses;
- Product Attributes;
- CMS blocks and pages;
- URL rewrites;
- Store administrator accounts;
- Orders and quotes for orders;
- Order shipping data;
- Product reviews and ratings;
- Catalog price rules and cart price rules;
- Invoices and other documents;
- Customer groups;
- Customer wishlists;
- Taxes and order taxes aggregated;
- Email templates.
You can automate all transfers with the help of cron schedules, use API and Google Sheets to transfer data, import and export different file formats and archives, and apply mapping presets to simplify your data transfers with the help of Improved Import & Export. For further information, follow these links:
Get Improved Import & Export Magento 2 Extension
Get Free Magento 1 to Magento 2 Migration Add-On
Related posts
 Magento 2 B2B Company Guide: Revealing Company Structure & Import
 A Complete Guide to Shopify Customer Import
 How To Bulk Import Products In Shopify: CSV Description & Step-By-Step Guide
 How to Import Customers & Customer Addresses to Magento 2
 Magento 2 Release Notes
 Adobe (Magento 2) Commerce and Cloud (Enterprise Edition) Specific Features
 Shopware 6 Advanced Pricing Guide + Import Tutorial
 Magento Open Source and Adobe Commerce 2.4.7 Release Notes