
Magento 2 Backend Exploration: Design Configuration

In the article below, we speak about the Design Configuration section of the Magento 2 admin. You will find out how to properly set up the appearance of your digital storefront through this backend area. Besides, we shed light on the related import and export processes. You can find more similar materials in our in-depth Magento 2 Commerce review.

Table of contents
Magento 2 Design Configuration Screen
As a Magento 2 merchant, you can visit the Design Configuration screen on the Admin sidebar under Content -> Design -> Configuration to apply changes to design-related rules and configuration settings. A single page contains all the elements you need to control the appearance of your frontend. Choose a store view you want to refresh and click the Edit link in the Action column. You will see the current design settings for the selected site element.
How to edit the design configuration of Magento 2
Firstly, you can change the Default Theme in the Applied Theme dropdown.
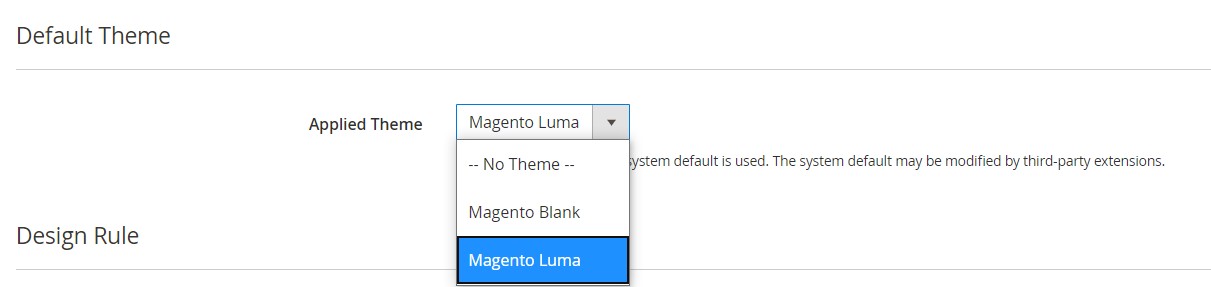
Note that if no theme is specified there, it means that the system uses its default theme. However, some third-party extensions may apply changes to the system default theme.
You can use the theme for a specific device. The corresponding options are available under the Design Rule section’s User Agent Rules. Hit the Add New User Agent Rule button and enter the browser ID for the specific device in the Search String column:
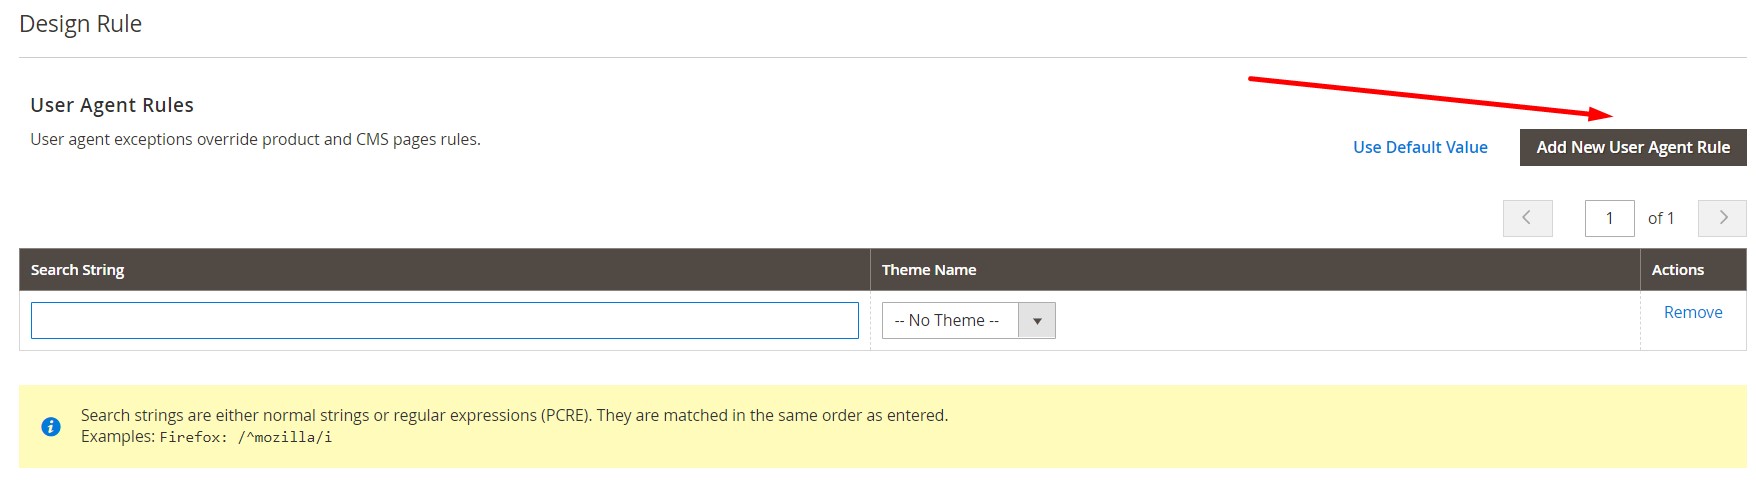
Note that you can use a normal expression as a search string. Alternatively, it is possible to apply the Perl Compatible Regular Expression (PCRE). For instance, the /^mozilla/i string identifies Firefox. Don’t forget to select a theme that is to be used for the specified device in the Theme Name column.
You can use as many search strings as necessary, adding numerous additional devices. It is also essential to mention that search strings are matched in the order you enter them.
Now, let’s see how to edit the Other Settings section that contains the following expandable tabs:
- HTML Head
- Header
- Footer
- Search Engine Robots
- Pagination
- Product Image Watermarks
- Transactional Emails
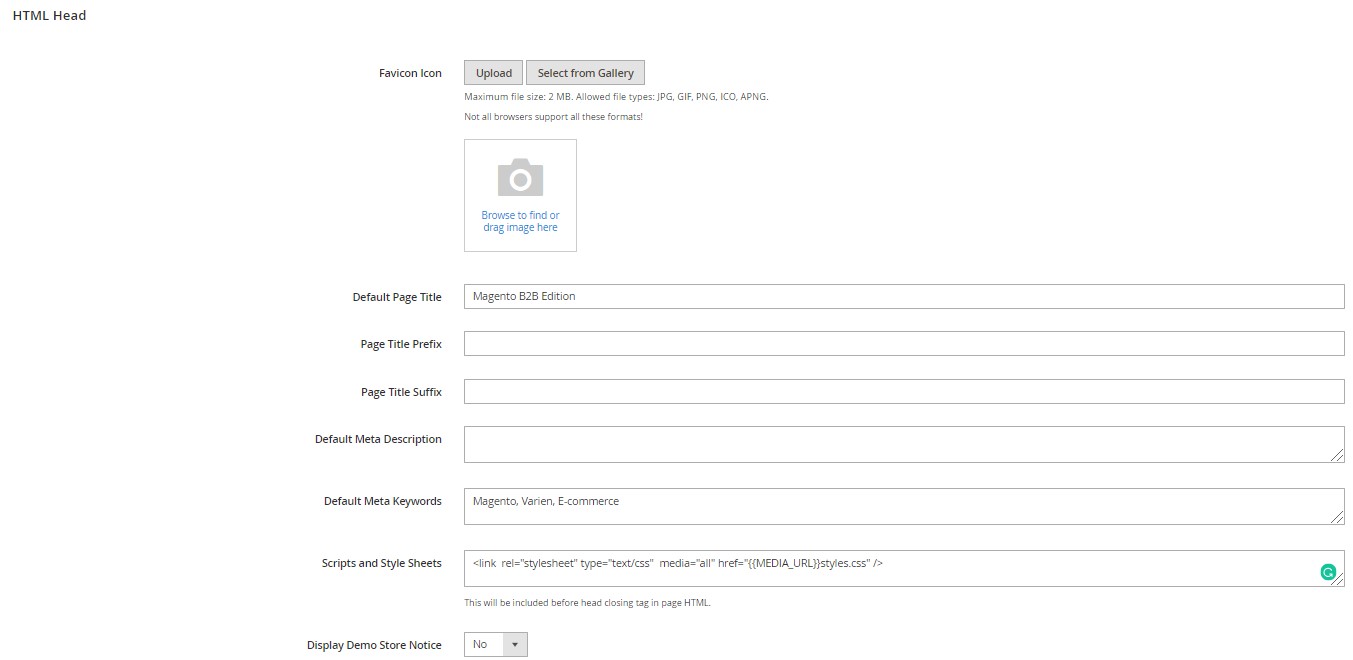
HTML Head
The settings in this section are responsible for the <head> tag of an HTML page. You can configure them per a store view individually. It is possible to add metadata for the page title, description, and keywords here. Besides, the section contains a favicon icon (a small graphic image that appears in the address bar and tab of the browser) as well as scripts and styles (Scripts and Style Sheets) and lets you enable the store demo notice at the top of the page.
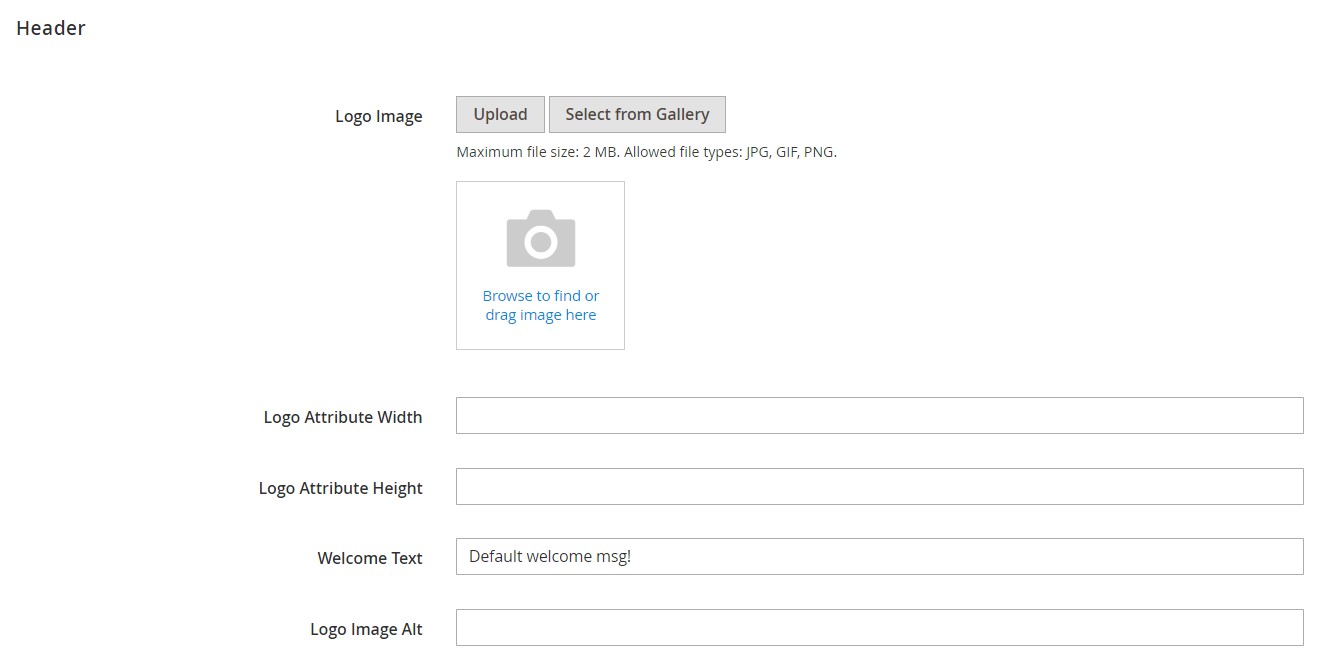
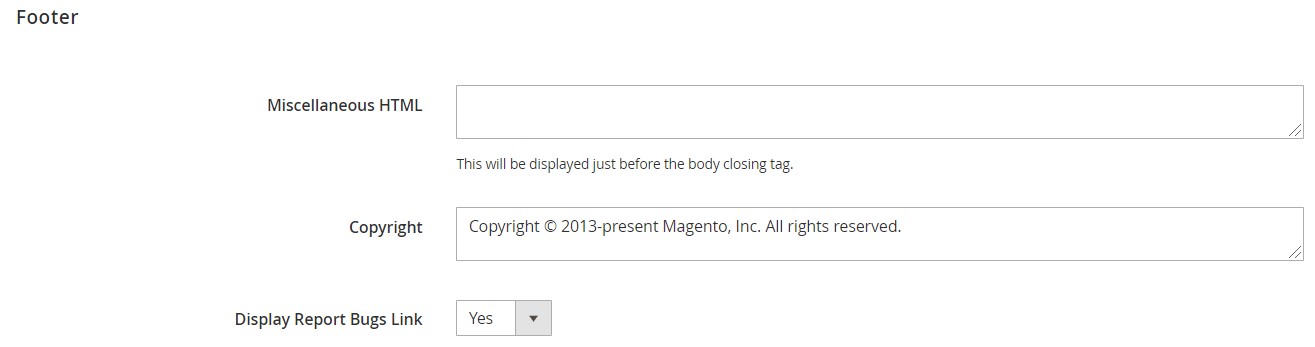
Header
The Header section provides the ability to add a store logo and specify its alt text. Besides, you can type a welcome message here.
Add scripts that must be positioned before the closing <body> tag here. Besides, the section provides the ability to update the that usually appears at the bottom of the page.
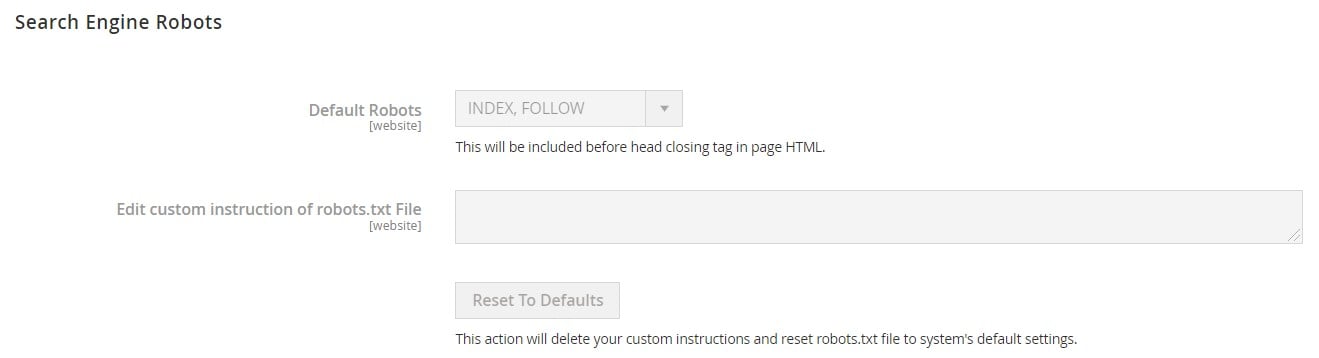
Search Engine Robots
In this section, you can generate and manage instructions for web crawlers and bots to index your Magento 2 website properly.
Firstly, it is possible to choose one of the following options in Default Robots:
- INDEX, FOLLOW – crawlers can index the website and return later.
- NOINDEX, FOLLOW – crawlers avoid indexing the website, but can return later.
- INDEX, NOFOLLOW – crawlers can index the website once, but cannot return later.
- NOINDEX, NOFOLLOW – crawlers cannot index the website or return later.
Besides, it is possible to customize the instructions with additional notes in the Edit Custom instruction of robots.txt file box.
If custom configurations are no longer necessary, restore the default ones by clicking Reset to Default.
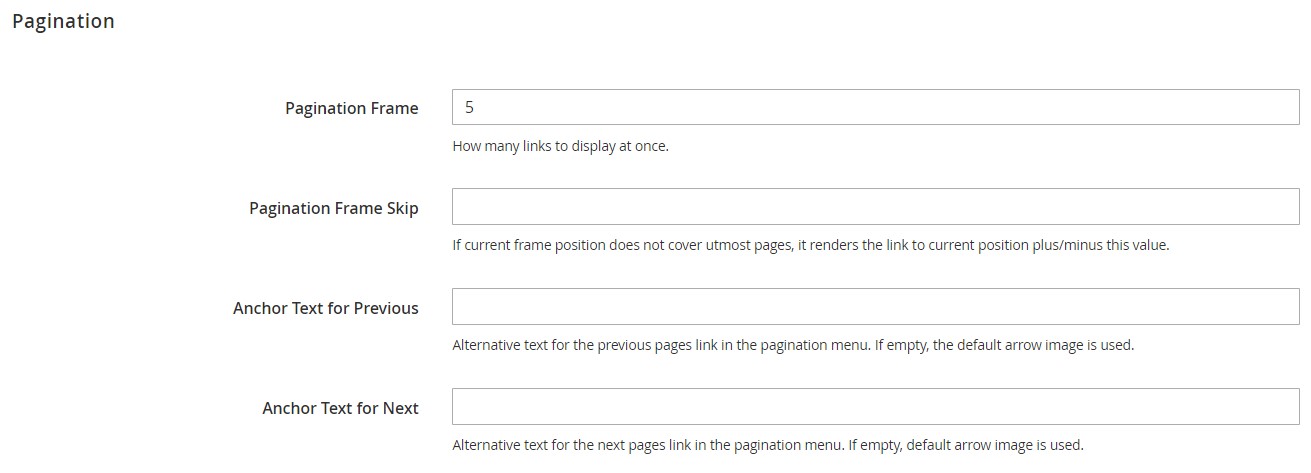
Pagination
Pagination links appear on the frontend when there are more products in the list than allowed per page. Let’s take a look at how to control them.
Magento 2 lets you tailor the number of links in the pagination control in the Pagination Frame box. As for Pagination Frame Skip, it enables you to specify the number of items to skip ahead before displaying the next link set in control. For Anchor Text for Previous, you can place an alternative message for the previous pages link that will appear instead of the default arrow image. The same option is available for the Next link.
Product Image Watermarks
Magento 2 lets you protect original product images with watermarks. You can upload JPG (JPEG), GIF, or PNG image files. The Product Image Watermarks section enables you to configure the Base, Thumbnail, Small, and Swatch Image image settings that contain the same fields: Image Opacity, Image Size, Image Position, and, of course, the Upload button.

Also, note that it is possible to restore the default value (upper right corner) or delete a watermark (lower left corner).
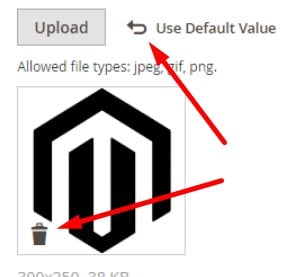
To apply watermark changes, you need to refresh the cache.
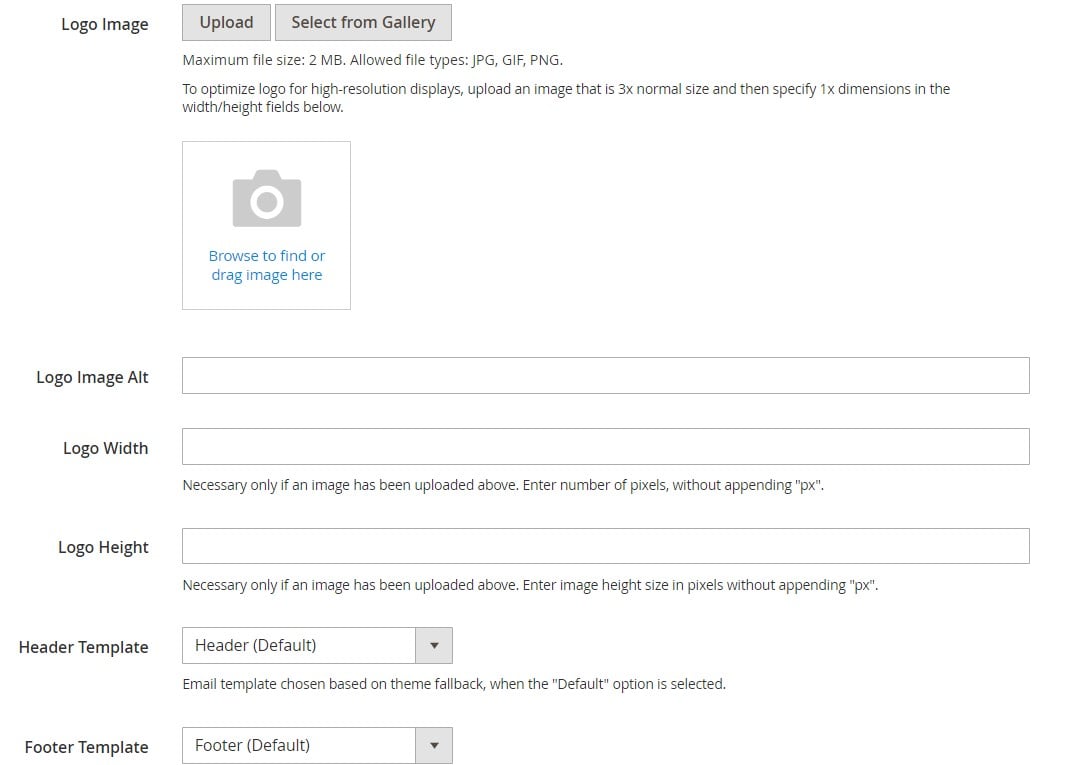
Transactional Emails
In this section, you can determine the logo that appears in the default header template of a transactional email. Besides, you can choose header and footer templates here.
Magento 2 provides the ability to upload not only your prepared logo image but also enter alternate text to identify it (the Logo Image Alt field). Besides, you can specify both the width and height of your logo in pixels – its display dimensions. Add the px abbreviation is not necessary.
How to import & export Magento 2 Design Configurations
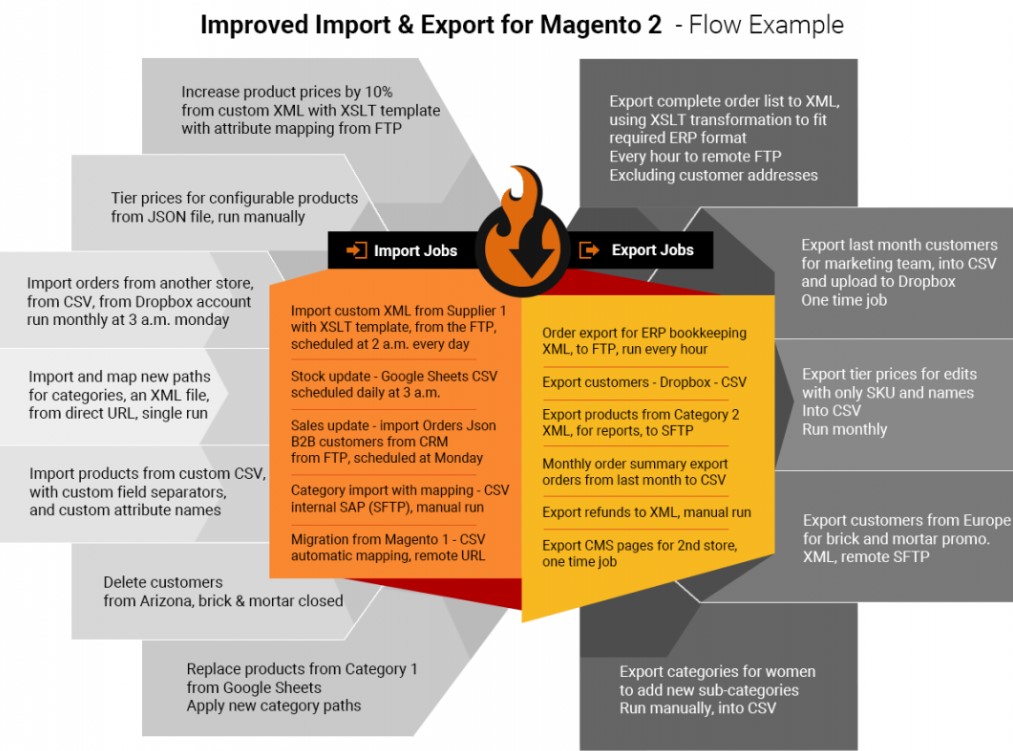
Since Magento 2 doesn’t let you import/export design configurations, you have to recreate them manually after migrating to Magento 2. We’ve just illustrated that this process is not time-consuming at all. However, you can simplify other data transfers with the help of the Improved Import & Export Magento 2 extension. For instance, it can move CMS blocks and pages to/from Magento 2. Let’s see what other features it provides to simplify the import and export of Magento 2 design elements.
Improved Import & Export Features
The story of the Improved Import & Export extension starts as a small data transfer solution developed for personal needs. Its initial goal was to import products and several other entities more efficiently than the default import tools.
Now, Improved Import & Export exists for almost a decade. From a tiny utility, it turned into a robust multi-purpose data transfer tool with more than a hundred features. It offers much more extensive opportunities than any existing import/export tool in the Magento ecosystem. Below, we shed light on its most notable improvements.
Automated Data Transfers
The Improved Import & Export Magento 2 extension automates data transfers in two way:
- With cron-based schedules;
- With the system of triggers and rules.
The module utilizes the default cron syntax to enable schedules. It means that you can create any custom interval to launch data transfer processes. It is also possible to leverage several predefined options, which are fully customizable.
When it comes to triggers, Improved Import & Export requires creating rules and specifying conditions to launch transfers. Thus, you can let the extension export orders right after they are placed. We describe this functionality in more detail here: How to Run Magento 2 Import or Export After Specific System Event or Process.
Advanced Mapping Features
Another benefit introduced in the Improved Import & Export extension is the ability to solve numerous issues caused by different data storing standards. Magento 2 relies on its own system of attributes, so is any external platform. Therefore you cannot freely transfer data to your store from beyond Magento 2, even if it is stored in Magento 1. Our extension provides the following mapping features to enable seamless data transfers:
- Mapping Presets. With the Improved Import & Export extension, you get a bunch of predefined schemes that replace third-party attributes automatically. The module adds ones used internally to a data file after you select a preset suitable for your integration. Both import and export processes support this functionality.
- Matching Interface. Besides, you can create a mapping scheme manually in the admin interface. It is no longer necessary to specify third-party attributes and their replacements in a file editor.
- Filters. When it comes to export processes, you can narrow down the selection of data you transfer with the help of filters. Specify an entity and define its fields and field parameters to move only the required data.
- Attribute Values. In addition to attributes, you can map their values, as described here: Attribute Values Mapping. Besides, Improved Import & Export offers plentiful editing opportunities. The module lets you add a prefix/suffix to multiple attribute values. You can also split or merge them. Check this material: How to Modify Attribute Values During Import and Export in Magento 2. You will find more information there.
- Category Mapping. Product transfers also have a dedicated feature. Our module lets you match external categories to ones available in your catalog or even created during the configuration.
- Attributes On The Fly. If a data file lacks attributes, it won’t let you transfer all the necessary information to Magento 2 correctly. To address this issue, the Improved Import & Export Magento 2 plugin provides the ability to specify to enable the creation of the missing values. You can find more information in this blog post: Product attributes import.
Extended Connectivity Options
Improved Import & Export offers flexible connectivity options to induce integration with external systems. It supports numerous file formats. The module works with the default CSV standard, adding XML, JSON, ODS, and Excel to the game. At the same time, it supports compressed data with the ability to unpack ZIP and TAR archives. And you can freely transfer such files via FTP/SFTP, Dropbox and other cloud storage, or direct URL uploads.
Also, the Improved Import & Export Magento 2 extension lets you use Google Sheets and API connections to enable data transfers. The module supports REST, SOAP, and GraphQL APIs.

Final Words
The configuration of design settings in Magento 2 is straightforward and admin-friendly. You can effortlessly apply any changes to customize how your visitors and search engines see your e-commerce website. Although you cannot transfer exact configuration settings, it is already possible to import/export various design elements with the help of Improved Import & Export. Follow the link below to discover all the opportunities the extension offers to simplify data transfers in the Magento ecosystem and beyond:
Get Improved Import & Export Magento 2 Extension
Related posts
 Adobe (Magento 2) Commerce and Cloud (Enterprise Edition) Specific Features
 Magento 2 B2B Company Guide: Revealing Company Structure & Import
 How to Import Customers & Customer Addresses to Magento 2
 A Complete Guide to Shopify Customer Import
 How To Bulk Import Products In Shopify: CSV Description & Step-By-Step Guide
 Magento Open Source and Adobe Commerce 2.4.7 Release Notes
 Magento 2 Release Notes
 Reputon Amazon Importer Review: How to Connect Shopify to Amazon in a Few Clicks