Aheadworks Rich Banner Slider Magento 2 Extension

Below, we explore a reliable tool aimed at creating banners with slides – the Rich Banner Slider Magento 2 extension by Aheadworks. The module offers one of the easiest ways to develop eye-catching sliders. We’ve recently reviewed some extensions with similar functionality (UberTheme Content Slider and TemplateMonster Film Slider), so it is necessary to say a few words about their competitor.

So, what are the features of the Aheadworks Rich Banner Slider Magento 2 module? First of all, it supports an unlimited number of slides. Thus, the extension allows you to add as many rotating slides to each banner as you need applying various customization options. As for slides rotation, it can be automatic or manual and switched via arrows or buttons. Besides, as you could already guess, the number of banners is also unlimited. Placing a rotating banner on your web store, you will be able to deliver more content saving space on your website pages and catch the attention of visitors with stylish design and smooth switching of slides.
As for segmentation of slides, they can be restricted to a specific store view or a particular customer group. Moreover, it is possible to create a schedule, so certain slides will be displayed and then deactivated automatically according to the specified dates. It is also necessary to mention that the Aheadworks Rich Banner Slider Magento 2 extension calculates stats for each slide, so you can easily find out CTR and analyze the efficiency of your slides used in promotional campaigns.
Let’s proceed to the backend section to see how these and other features are implemented from the perspective of a Magento 2 administrator.
Backend
In the backend, the aheadWorks Rich Banner Slider Magento 2 module is available under Content -> Rich Banner Slider by Aheadworks -> Slides/Banners/Statistics. Let’s explore each section.
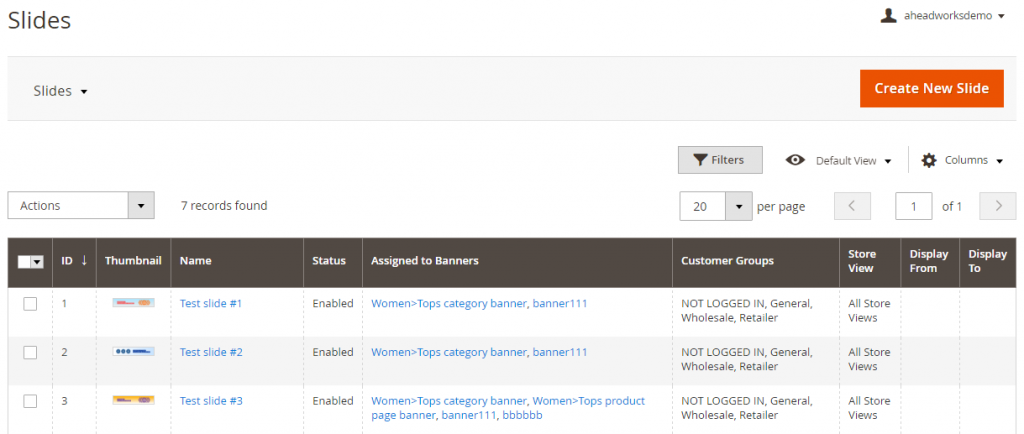
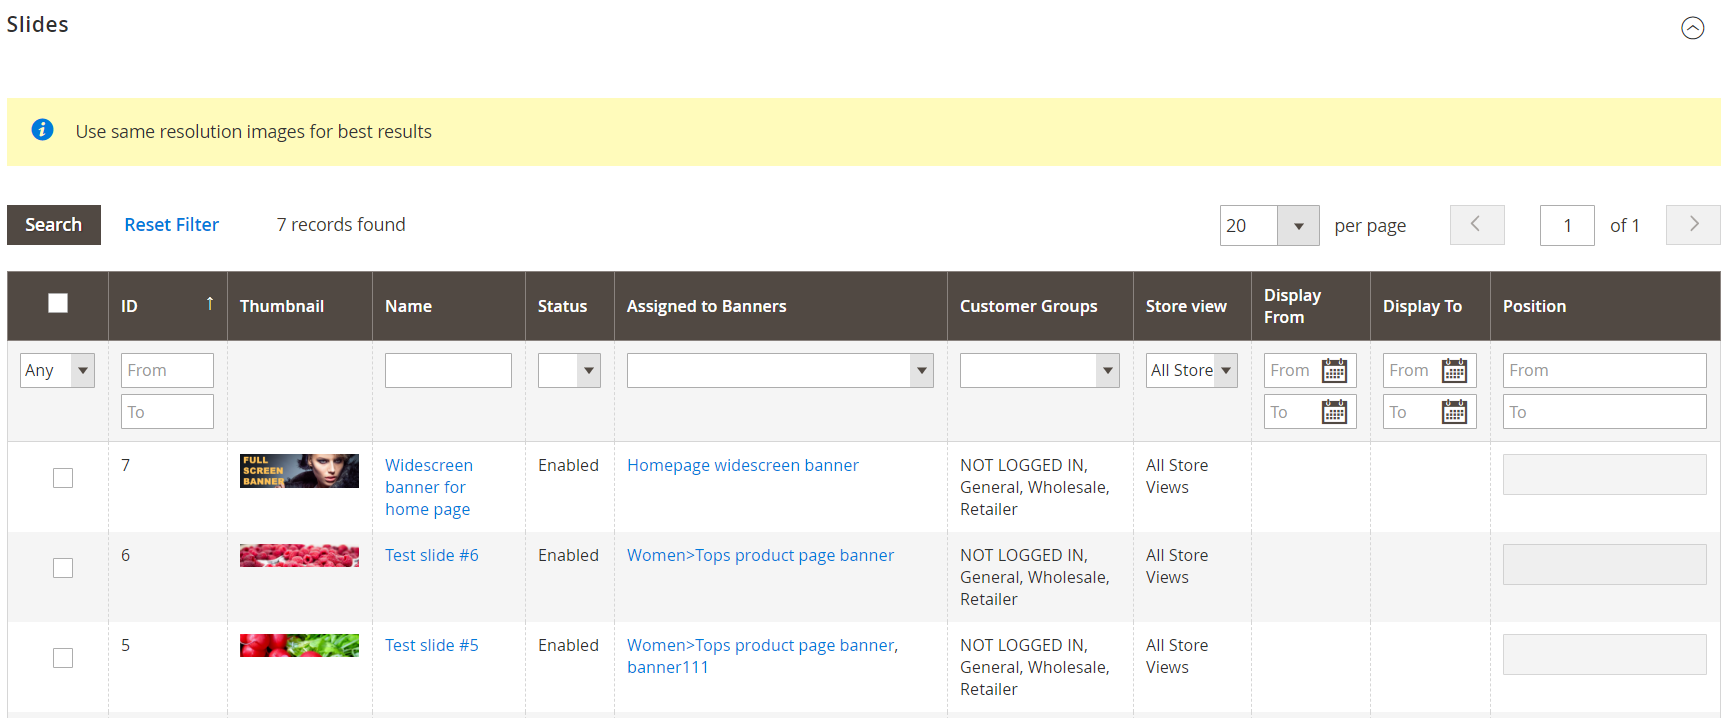
All slides are gathered in a grid. The grid contains such data as:
- ID – an ID number of each slide;
- Thumbnail – a thumbnail image of each slide;
- Name – each slide’s name;
- Status – can be enabled or disabled;
- Assigned to Banners – banners to which each slide is assigned;
- Customer Groups – corresponding customer groups;
- Store View – corresponding store views;
- Display From and Display To – scheduling options.
You can show/hide columns to create custom grid views. Note that it is possible to save the custom appearance of the grid. To find a particular slide, you can use filters.
While creating a new slide, you have to deal with 3 sections of options: General Information, Image, and URL Options.

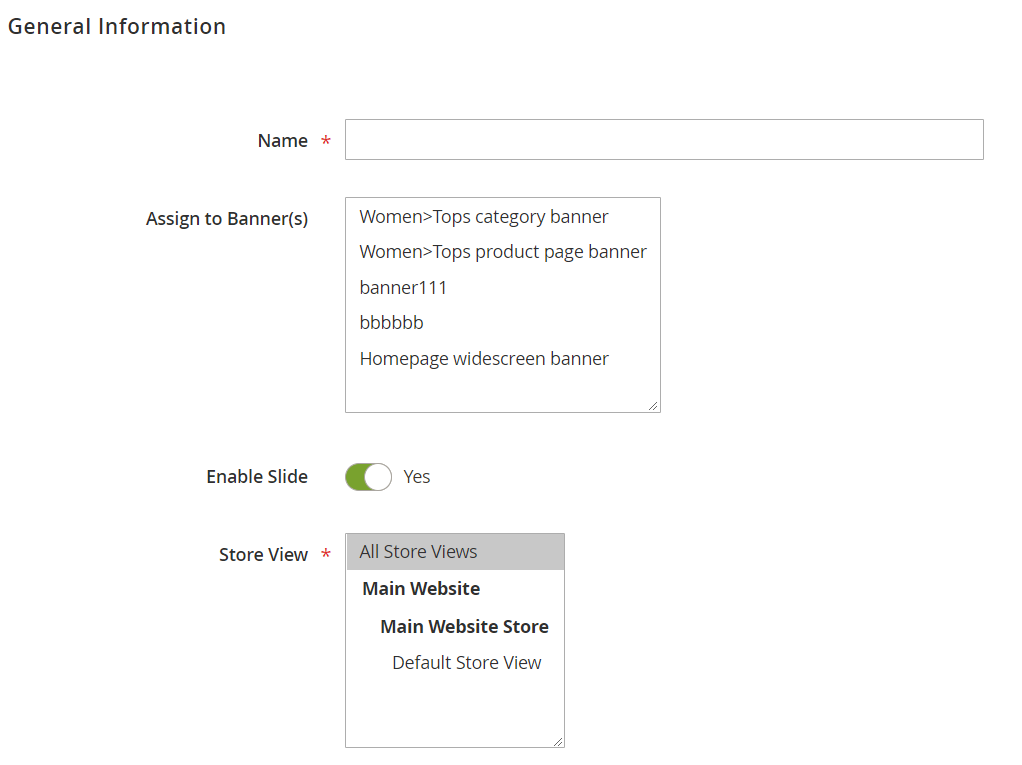
In the first section, specify a slide name and select banners to which to assign it. Next, enable the slide and choose store views and customer groups to make the slide display more precise.
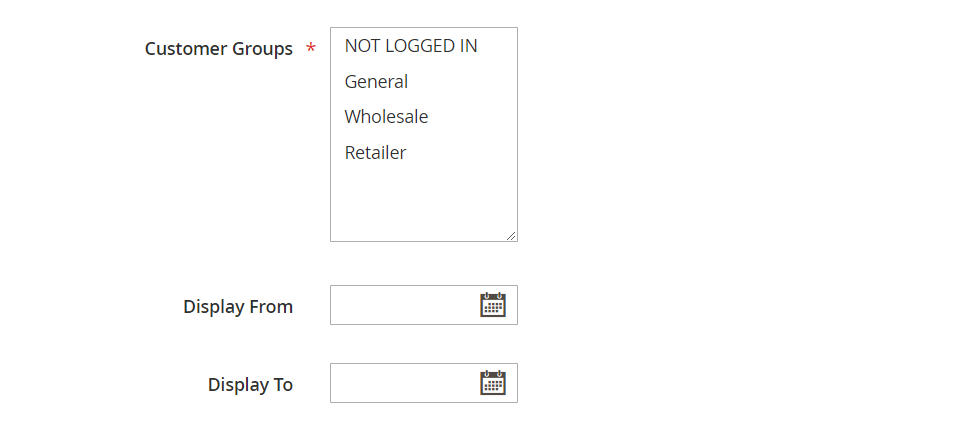
Then, choose time and date for Display To and Display From options – you will create a schedule for the slider. This feature is optional, but you can fully leverage it for sales and promotions that are limited in time.
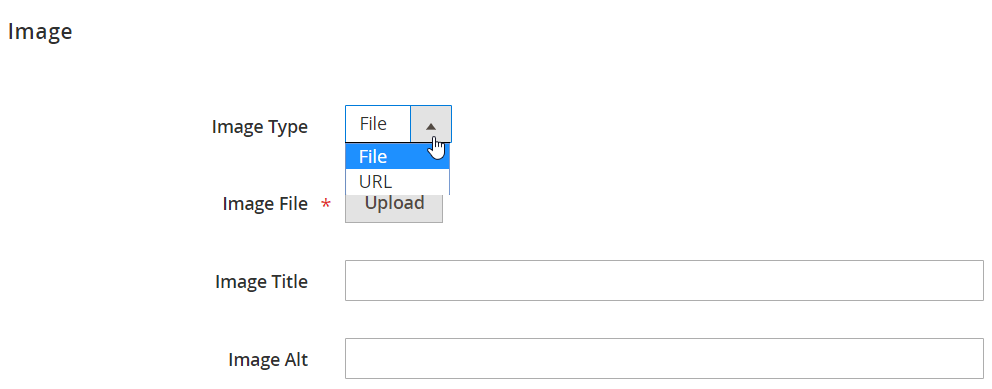
In Image, select the type of your image that will be used as a basis of the slide. It can be a file or URL. Then, upload an image or specify its URL, and fill title and alt tags.
In URL Options, add URL to which you will redirect customers after they click the slide. Besides, you can enable such features as “Open URL in New Window” and “Add ‘No follow’ to URL”. Don’t forget to save the slide after you set all options.

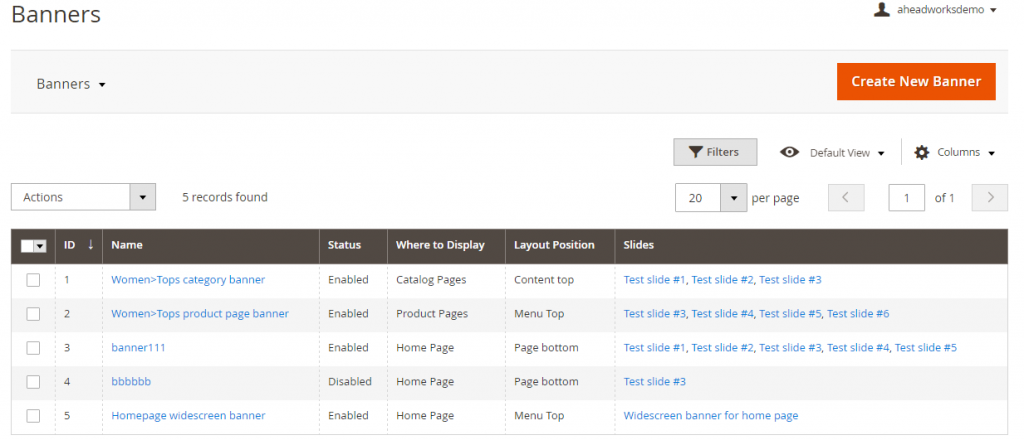
As for the banners grid, it displays a banner ID, name, status, place where the banner is displayed, layout position, and slides included into it.
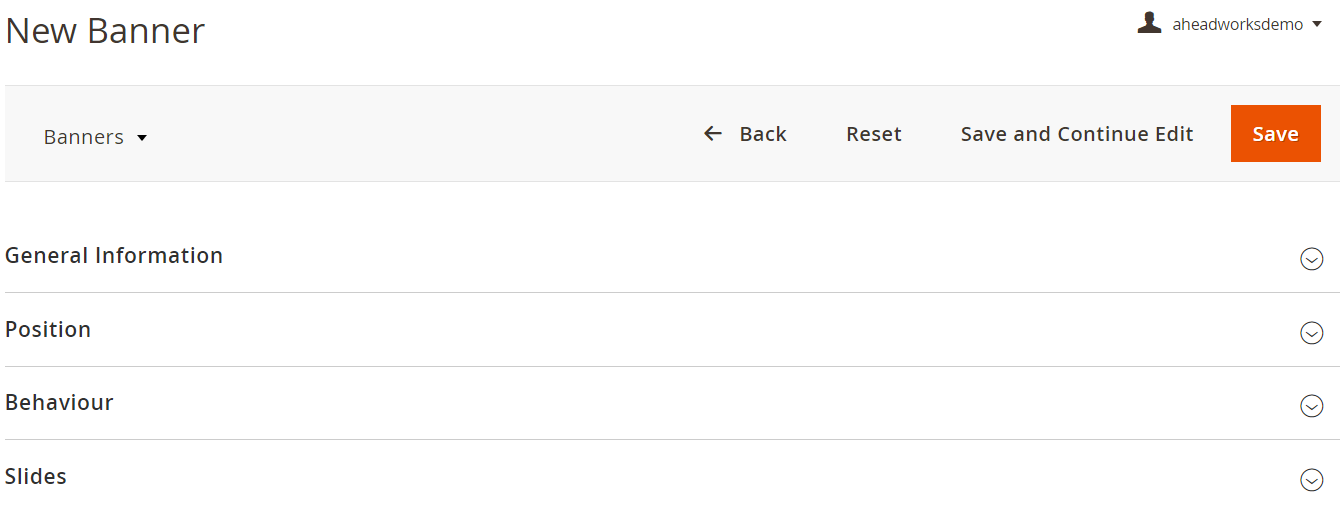
To add a new banner, you should configure 4 sections of settings: General Information, Position, Behavior, and Slides.
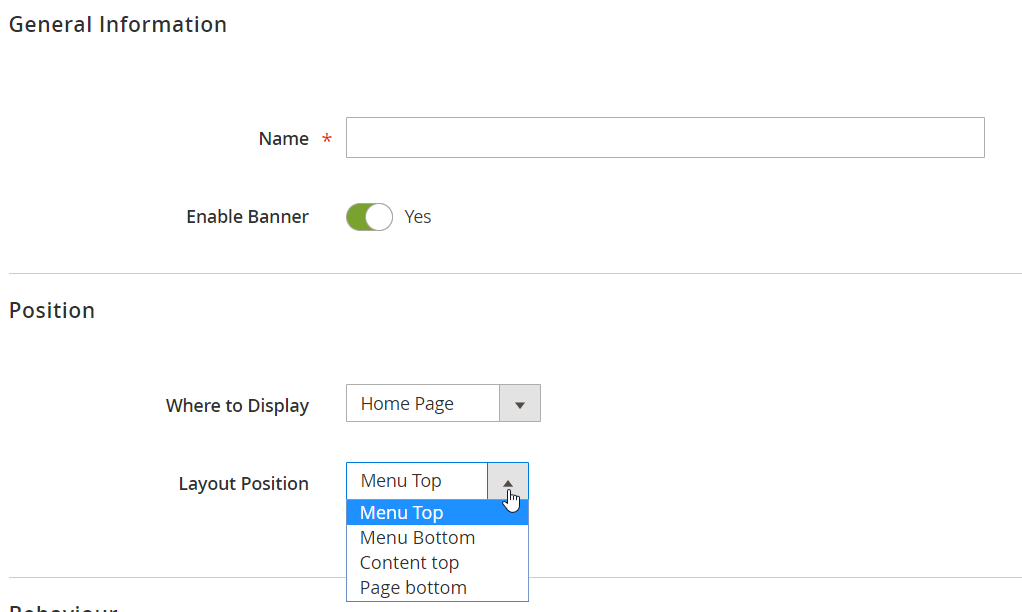
In the first section, specify the name of your new banner and enable it. The Position section allows you to fine tune the following parameters:
- Where to Display: Home Page, Product Pages, Catalog Pages, Custom Widget;
- Layout Position: Menu Top, Menu Bottom, Content Top, Page Bottom.
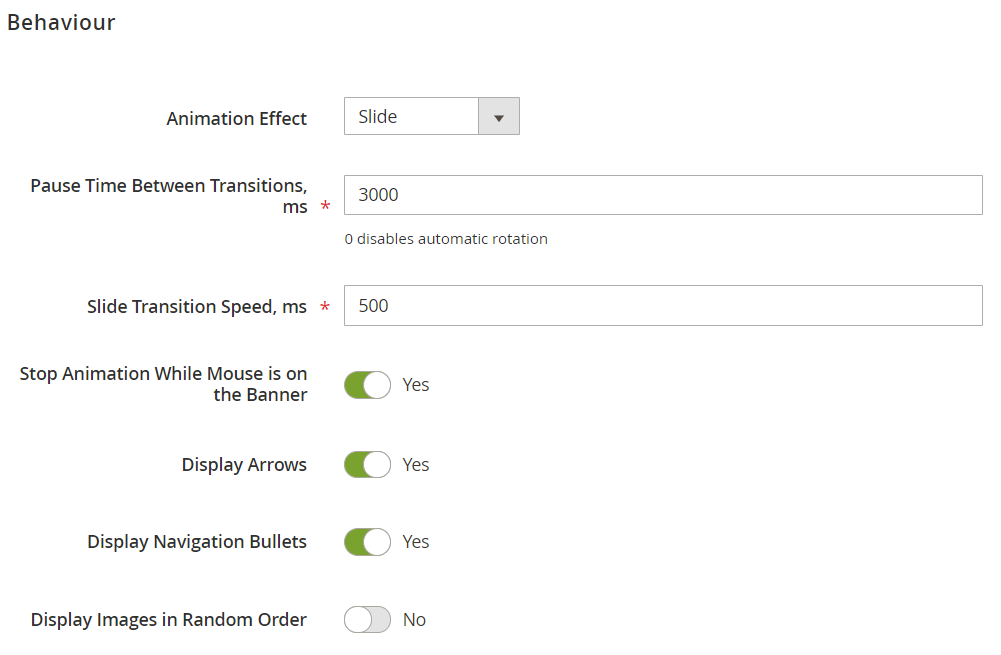
In Behavior, select animation effect (Slide, Fade Out/In, Scale), specify pause time between transitions (set to “0” to disable automatic rotation) and slide transition speed, and enable/disable such parameters as:
- Stop Animation While Mouse is on the Banner;
- Display Arrows;
- Display Navigation Bullets;
- Display Images in Random Order.
In Slides, assign already existing slides to the new banner. As you can see, the Aheadworks Rich Banner Slider Magento 2 module provides extra flexibility by allowing you to assign slides to banners from both slide and banner pages.
As for the Statistics section, it displays slider loadings, clicks, and CTR for each slide. You can reset statistics for several slides simultaneously with the help of mass actions.

Frontend
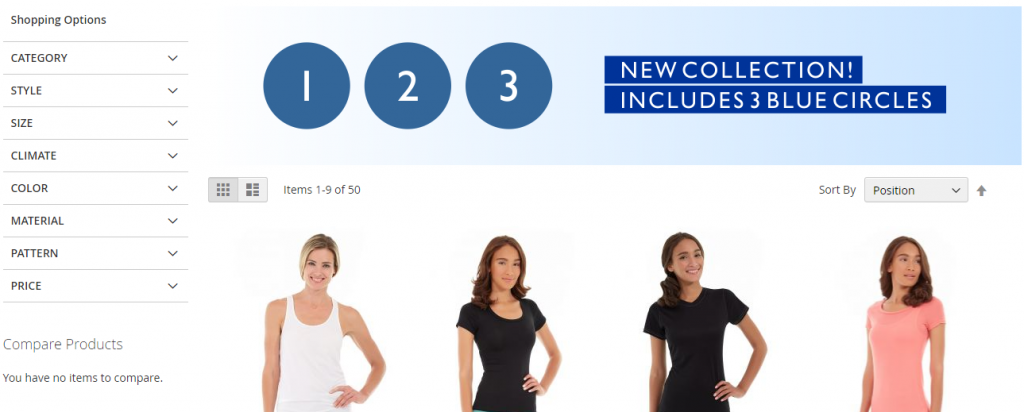
This is how an ordinary banner looks on a category page:
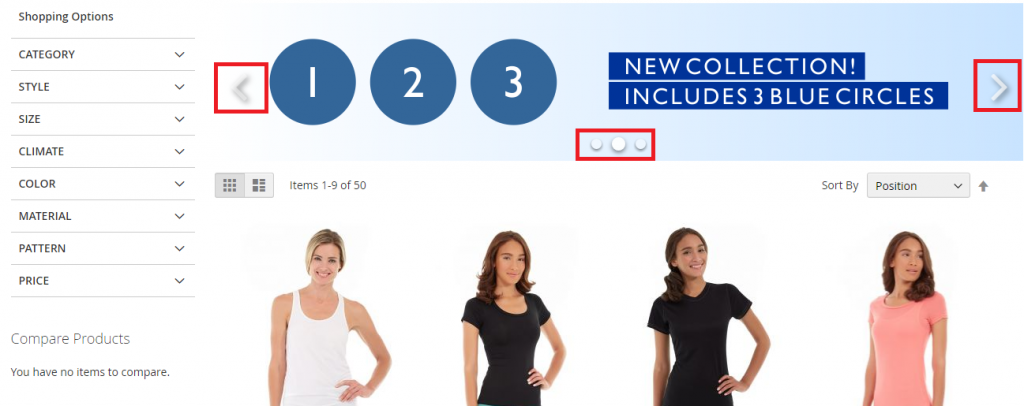
Hover over the banner, and you will see navigation buttons.
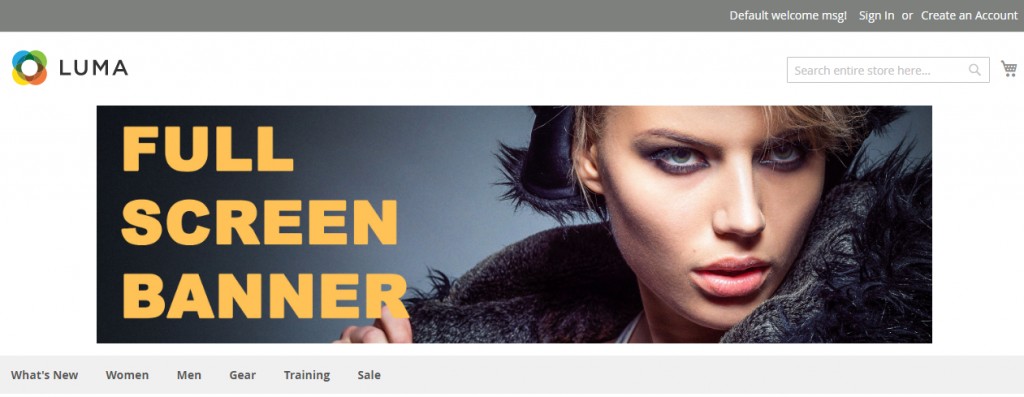
The banner on the home screen has the same functionality:
Final Words
Unfortunately, you can add neither videos nor products to your banners with the Aheadworks Rich Banner Slider Magento 2 extension, but it is a tool with a user-friendly admin interface that allows you to create stunning banners without any headaches. We doubtlessly recommend you to use this Magento 2 module.


