Exploring Shopware: Dashboard of Your Shopware 6 Administration

The Shopware 6 administration welcomes you with the dashboard screen. It is a place that contains several sections with useful information on how to run your Shopware website and what its performance is. In the following overview, we shed light on the basic elements of the Shopware 6 dashboard. You will discover what the Shopware 6 dashboard checklist is, where to find the latest videos about the system, and how to view Shopware 6 dashboard stats. Also, we provide a small but essential recommendation on Shopware 6 import and export processes, integrations, and migration. Shopware 6 essentials are discussed in the FAQ section. Other materials about the platform are available here: Shopware 6 Guides & Materials.

Note that we provide Shopware integration with external platforms. Contact our support for further information or try our Improved Import & Export Extension for Shopware.
Table of contents
- 1 Shopware 6 Dashboard Overview
- 2 How to Import Any Data to Shopware 6
- 3 Shopware 6 Essentials FAQ
- 3.1 How to create a Shopware ID?
- 3.2 How to create a Shopware account?
- 3.3 What is Shopware master data?
- 3.4 How to add a shop in Shopware?
- 3.5 How to add a payment method to your Shopware account?
- 3.6 How to create a deposit in Shopware?
- 3.7 How to purchase Shopware extensions?
- 3.8 How to get support in Shopware?
- 3.9 How to migrate to Shopware 6?
- 3.10 How to automate import and export processes in Shopware 6?
- 3.11 How to integrate Shopware 6 with external systems?
Shopware 6 Dashboard Overview
Log into your Shopware 6 administration, and you will see the dashboard – the initial page in your journey through the system’s backend.
The basic Shopware 6 dashboard is divided into the following three sections:
- The checklist that will help you get your shop ready;
- Latest videos to help you become an advanced Shopware 6 user;
- Stats over the last 30 days.
Let’s explore each section in more detail.
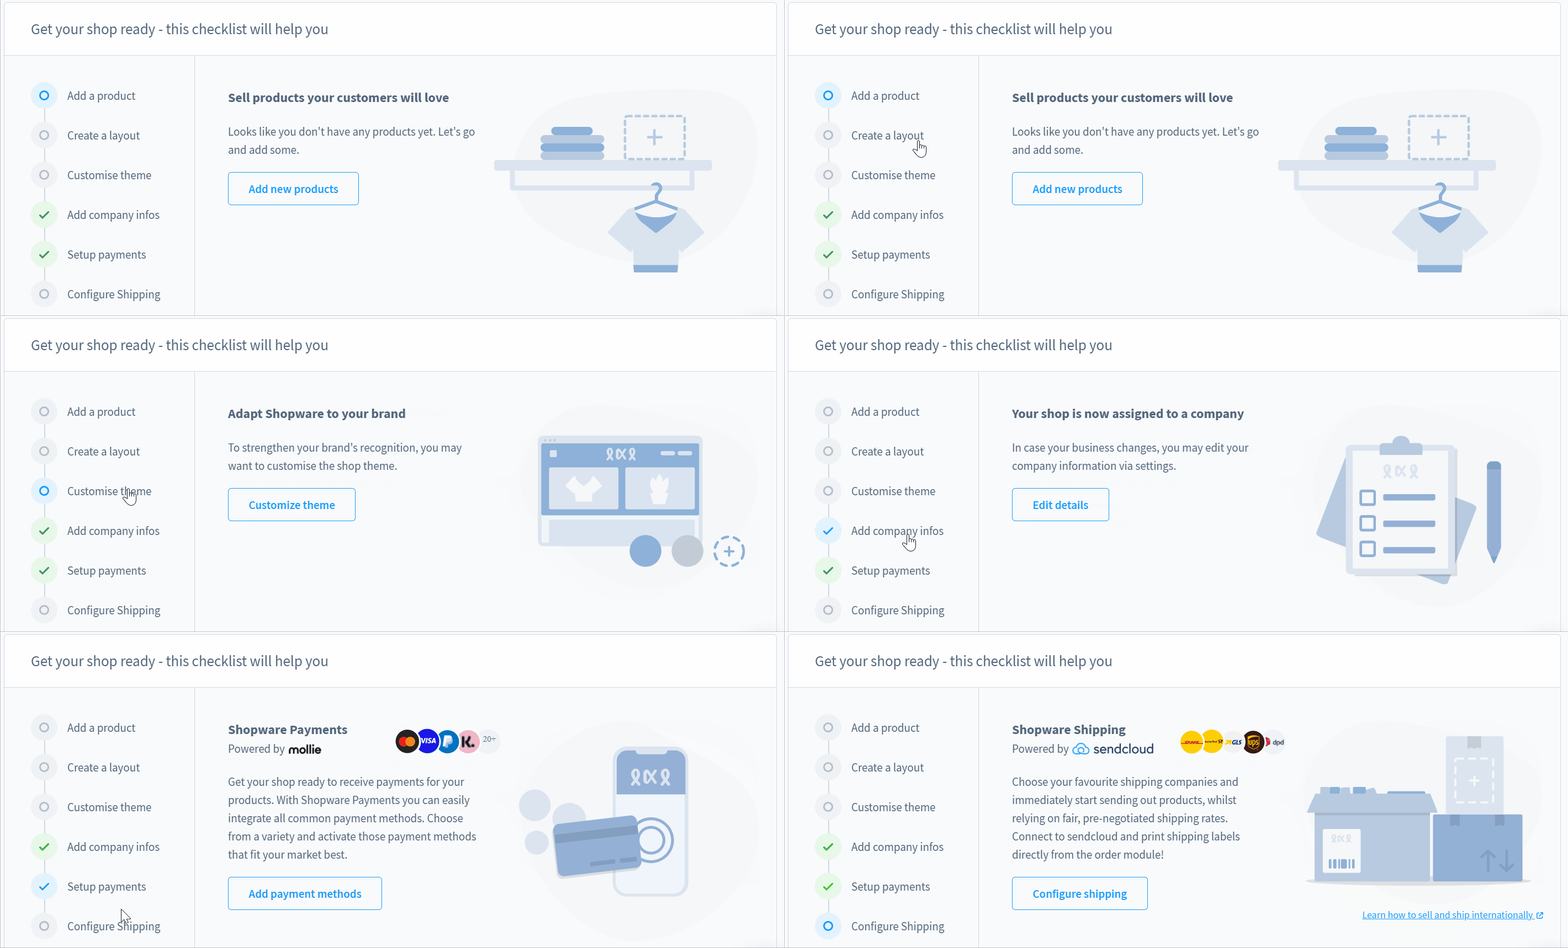
Shopware 6 dashboard checklist
With the help of the Shopware dashboard checklist, you can master the following backend processes:
- Add a product – if you don’t have any products on your website, it is the best place to start adding them;
- Create a layout – with the help of this section, you will individualize your shop layout using Shopping Experiences;
- Customize theme – this one will help you strengthen your brand’s recognition by customizing the existing theme;
- Add company infos – this tab helps to assign your shop to a company, or you may edit your company information here;
- Setup payments – here, you can get your shop ready to receive payments;
- Configure Shipping – choose your favorite shipping companies to start sending out products immediately.
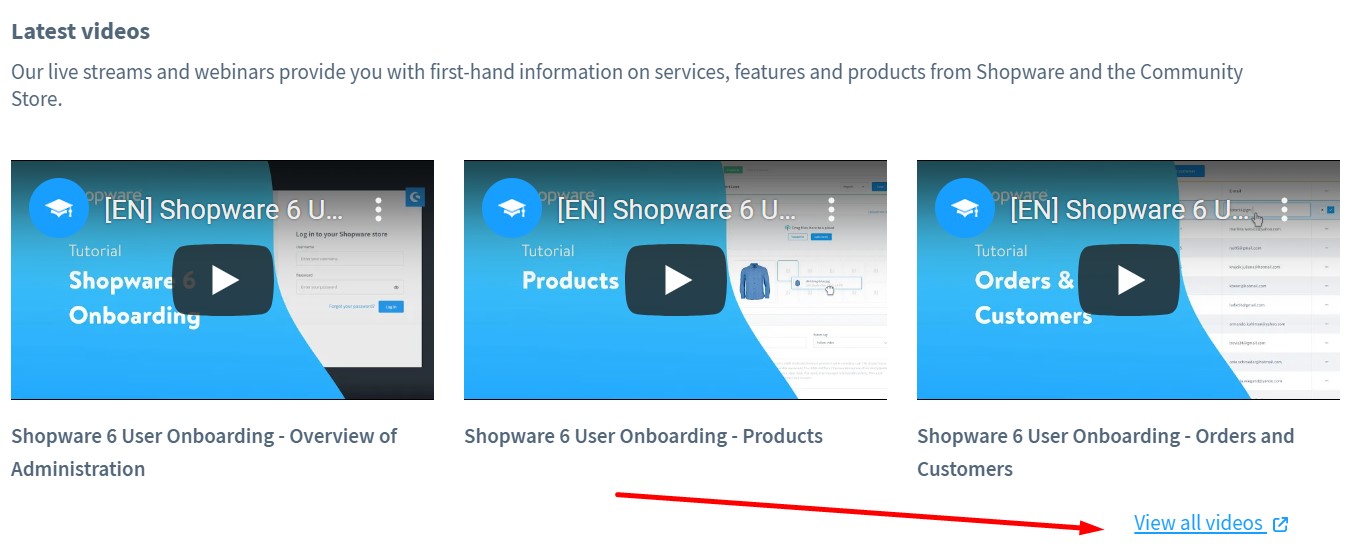
Shopware 6 latest videos
This section will help you become a Shopware expert. It contains live streams and webinars with first-hand information on services, features, and products from Shopware and the Community Store. Hit View all videos to proceed to Shopware’s official YouTube channel.
Shopware 6 dashboard stats
Your Shopware 6 dashboard also contains statistics over the last 30 days. The following two diagrams are at your service:
- Orders;
- Turnover.
That’s it! Now, you know how the Shopware 6 dashboard looks and feels.
How to Import Any Data to Shopware 6
Although your dashboard is a built-in tool available despite any situation with data transfers, the impact of import and export processes on your Shopware website and your daily chores associated with it is hard to ignore. As a store manager, you need to move numerous entities between your e-commerce website and the connected systems. While the admin section contains import and export tools, you will need some advanced instruments to run more complex data transfers or automate ordinary exchanges. For instance, you can rely on our to simplify and automate any data transfer. Contact our support for more details. For instance, it will help you import orders from other platforms, updating the corresponding section of your Shopware 6 admin dashboard.
Shopware 6 Essentials FAQ
How to create a Shopware ID?
Before going to your admin dashboard, you will need to create a Shopware ID. Note that it requires no additional actions since Shopware 6 provides it along with a new Shopware account.
How to create a Shopware account?
You can create a new Shopware account as follows:
– visit the registration page;
– hit the Register Now link;
– fill in the registration form;
– confirm your intent via email.
What is Shopware master data?
Shopware master data is all the information about you and your company for which you create an e-commerce website. You provide it when setting up your account. Shopware 6 master data usually includes contacts and company details, such as addresses, emails, phone numbers, company name, etc.
How to add a shop in Shopware?
You can add a new Shopware 6 shop as follows:
– go to the start screen of your merchant area;
– click the Add New Shop link;
– select a cloud or on-premise website;
– fill in the form, providing information about your new Shopware shop.
How to add a payment method to your Shopware account?
Shopware 6 lets you add a payment method and send money to your account to create a deposit for purchasing extensions and themes. You can add a payment method to your Shopware 6 account as follows:
– go to Basic Information -> Accounting;
– select PayPal, credit card, or direct debit;
– provide the required information (it depends on the selected payment method);
– add a new payment method to your Shopware account;
– send money to your account.
How to create a deposit in Shopware?
When the first payment method is specified, you can pay in advance for your further purchases. You can create a deposit in Shopware 6 as follows:
– go to your Merchant Area -> Shops;
– select a shop to add funds to;
– click Open Account Details;
– transfer money to your account.
How to purchase Shopware extensions?
After placing a deposit on your Shopware 6 account, you can purchase extensions for the corresponding shop. You can use either the Shopware Marketplace or the Plugin Manager. In both cases, choose a tool that your business requires and complete the purchase.
How to get support in Shopware?
The support department is divided into two subdivisions. The first one works with inquiries regarding account and license (info@shopware.com or +49 2555 9288 50). The second one provides help regarding accounting and financial services (financial.services@shopware.com or +49 2555 9288 510).
How to migrate to Shopware 6?
If you are new to Shopware but already have an e-commerce website, you will need to migrate to the new storefront. However, a third-party extension is necessary to perform this procedure since the default Shopware instruments cannot transfer all the entities you will need to migrate. Use the Import & Export extension for Shopware 6 instead. Contact us for more information.
How to automate import and export processes in Shopware 6?
Also, the default data transfer tools are not enough to automate recurring import and export processes. Install the Improved Import & Export extension for Shopware 6 to create a schedule of updates for each data transfer individually. After that, the extension will run import and export processes automatically.
How to integrate Shopware 6 with external systems?
Connecting your e-commerce website with external platforms is associated with third-party tools, such as the Improved Import & Export extension. Our module is developed to help you integrate your Shopware storefront with external systems via numerous API connections. It can connect a database of your storefront to ERPs, CRMs, accounting systems, and other similar tools. Next, it will automate import and export processes and apply changes to the transferred data according to the requirements of your Shopware store and the connected platforms. As a result, seamless integration is possible.


