
Exploring Magento 2 Backend: Returns

Below, we continue our exploration of the Magento 2 backend. This time, the article explores the Returns section where a returned merchandise authorization takes place. We explain what RMA is and describe the related workflow. Besides, you will find how to import and export the corresponding entity.

Table of contents
Magento 2 RMA Explained
RMA or a returned merchandise authorization is a mechanism that helps your clients to return items purchased on your e-commerce website for replacement or refund. They contact you to request a refund. If you approve the inquiry, the system assigns a unique RMA number to it to identify the returned product.
Magento 2 lets you enable RMA for all products. However, it is possible to allow it for specific items only.
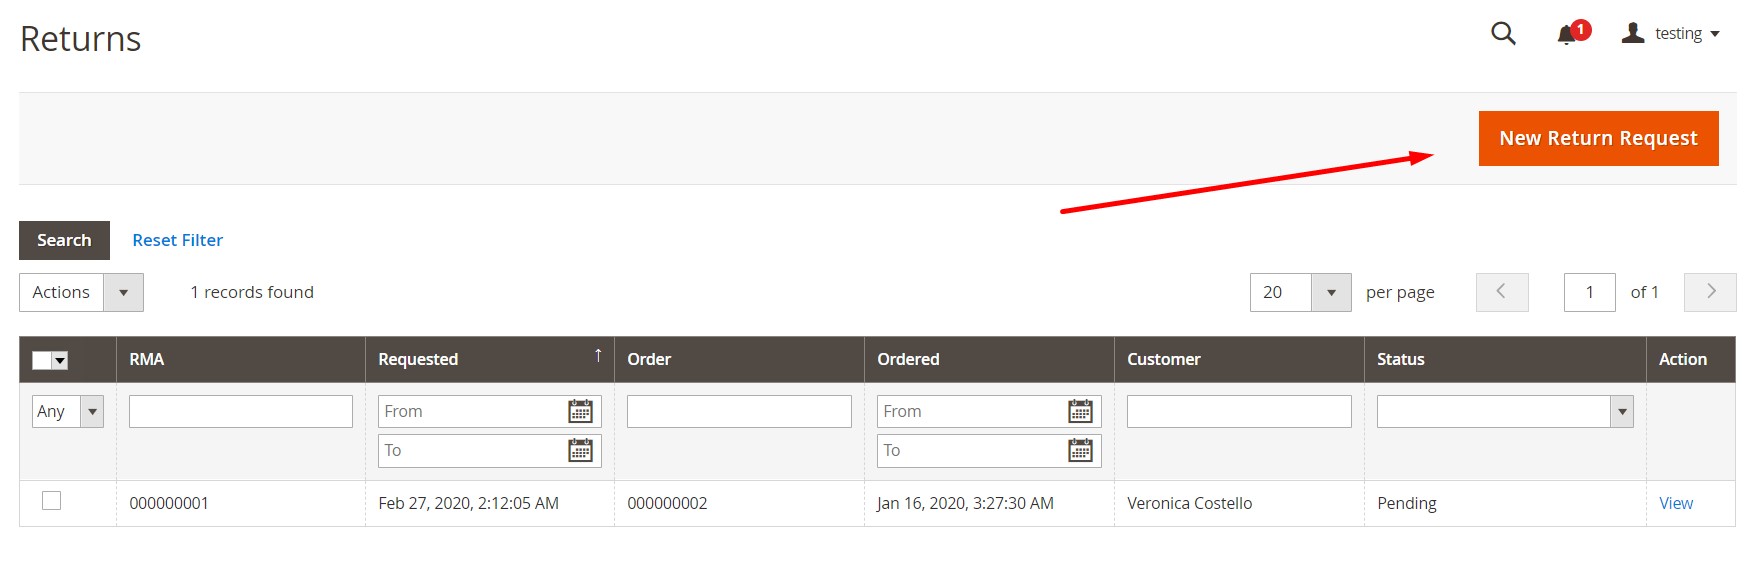
You can find all current returned merchandise requests (RMAs) under the Returns grid. It is also possible to add new return requests there. The grid consists of the following eight columns:
- Checkbox – you can select RMAs to apply mass actions;
- RMA – an internal number of a request;
- Requested – date and time a request was created;
- Order – a number of a corresponding order;
- Ordered – data and time it was placed;
- Customer – a customer who requests the return;
- Status – Pending, Authorized, Partially Authorized, Return Received, Return Partially Received, Partially Approved, Partially Rejected, Closed, Processed and Closed;
- Action – you can view RMAs here.

Also, note that you can process RMAs for all product types except virtual, downloadable, and gift cards.
Magento 2 RMA Workflow
The Magento 2 RMA workflow consists of the following four steps:
- You receive a request. You can create it from the admin section on behalf of your customers. At the same time, both registered clients and guests can submit them.
- You issue an RMA. Magento 2 lets you authorize a request partially, completely, or cancel it. After approving the return, you should agree to pay for the return shipment to create a shipment order.
- A customer returns merchandise according to your shipping instructions.
- You receive merchandise. Approve the return: partially, completely, or cancel it.
How to create an RMA request in Magento 2
Now, let’s explore how to create a new return request in Magento 2. First of all, you have to visit the main Returns screen under Sales-> Returns and hit the New Return Request button.
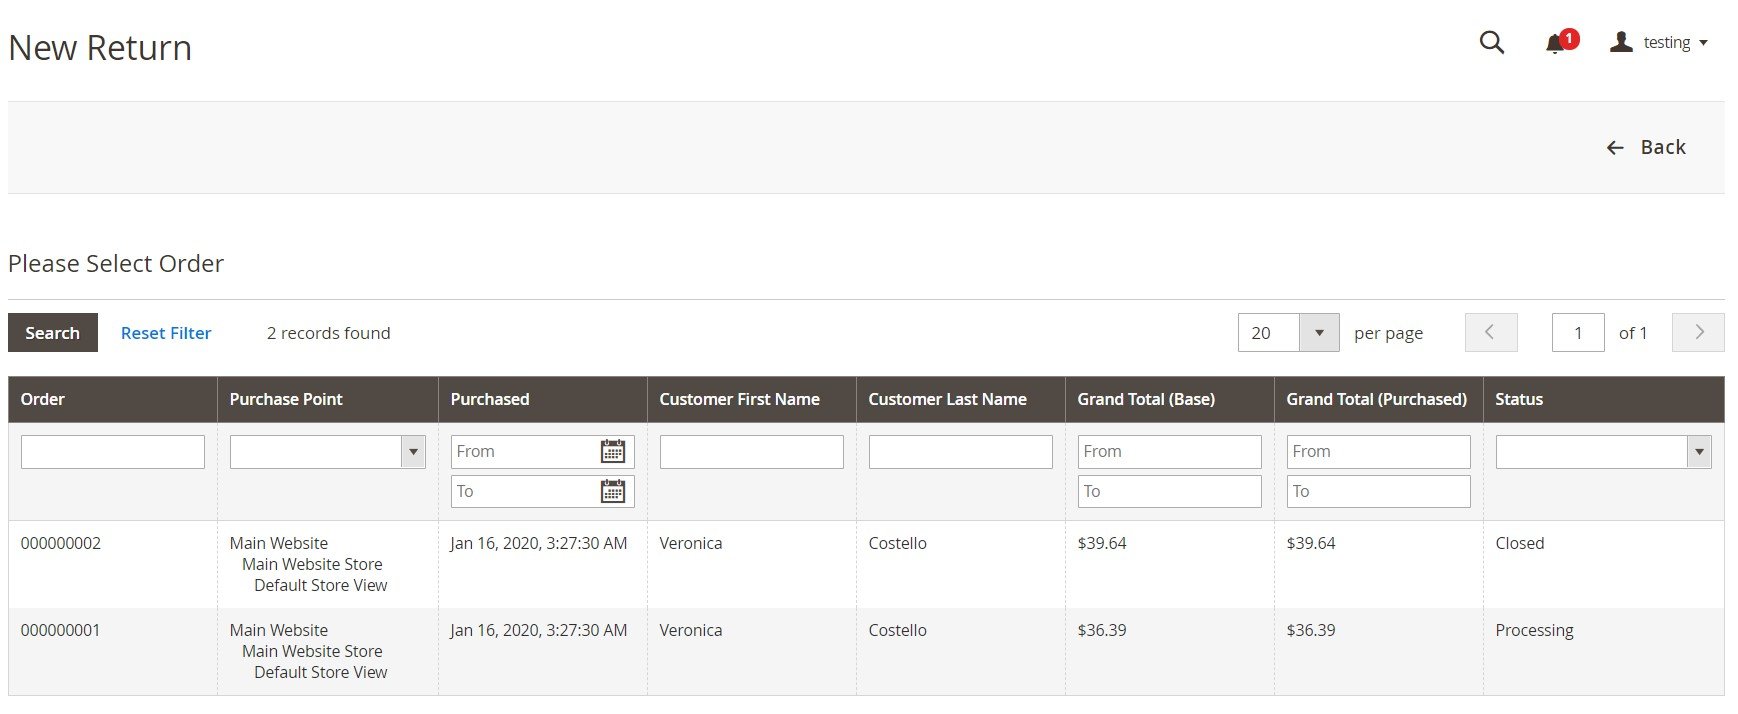
Next, you have to select an order as a basis for the new RMA.
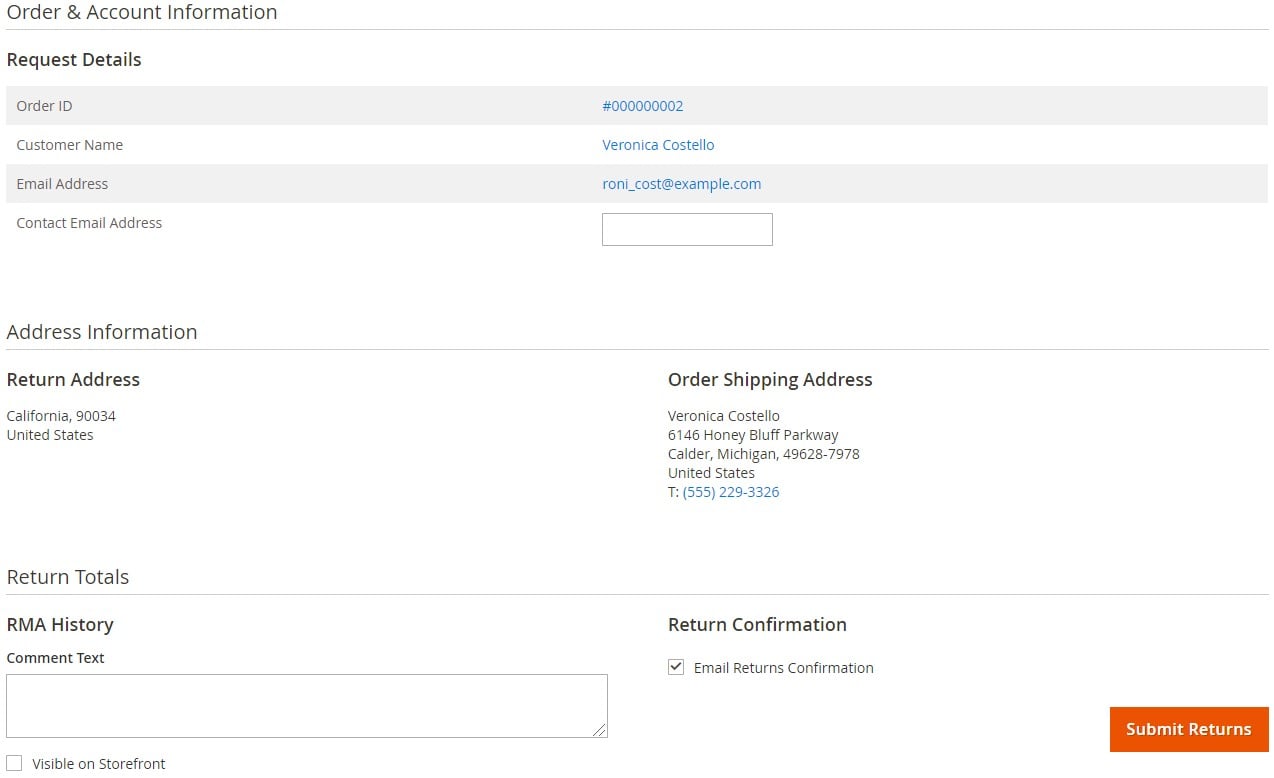
The system transfers you to a new screen with two tabs: General Information and Return Items. The first one lets you view order and account details and address information. Besides, you can add a comment text and enable a return confirmation email.
Under Return Items, you can add items for RMA.
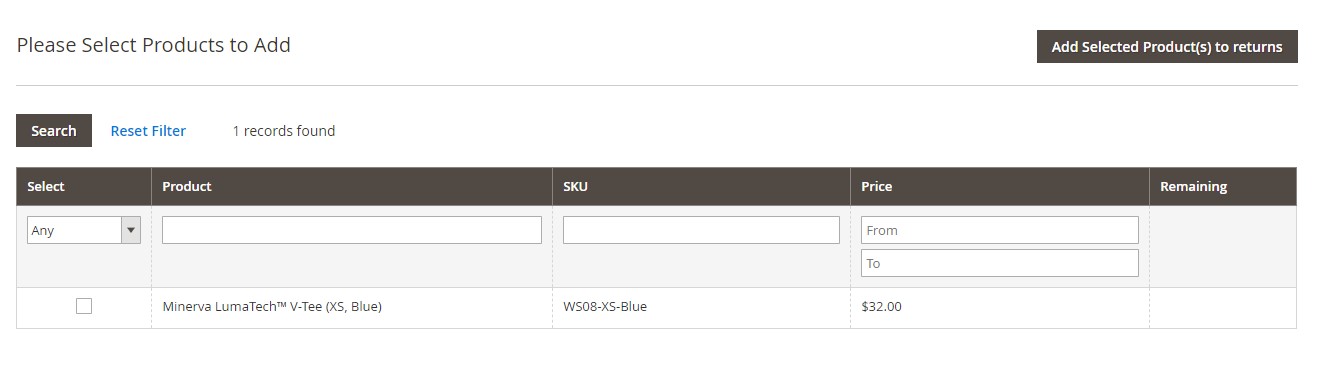
Next, specify details of the refund: remaining and requested quantity, return reason, and resolution.
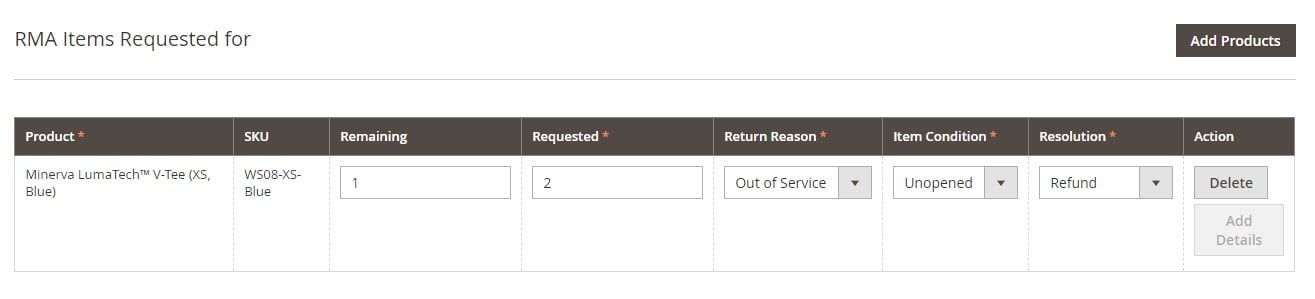
After that, you can submit the return request.
How to Configure Returns in Magento 2
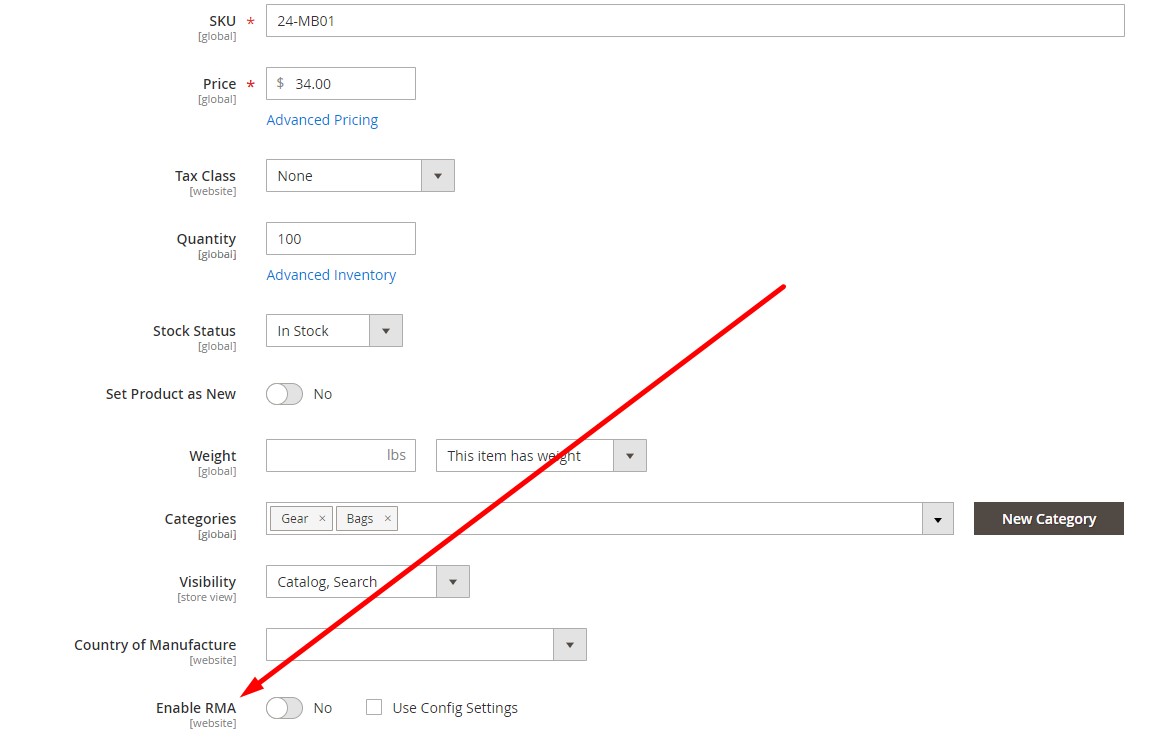
You can enable requests for individual items in the settings section of each product record. Set Enable RMA to “Yes” to show the product in the list of items that are available for return. Thus, a customer can generate an RMA if there is an item in the order that is available for return.
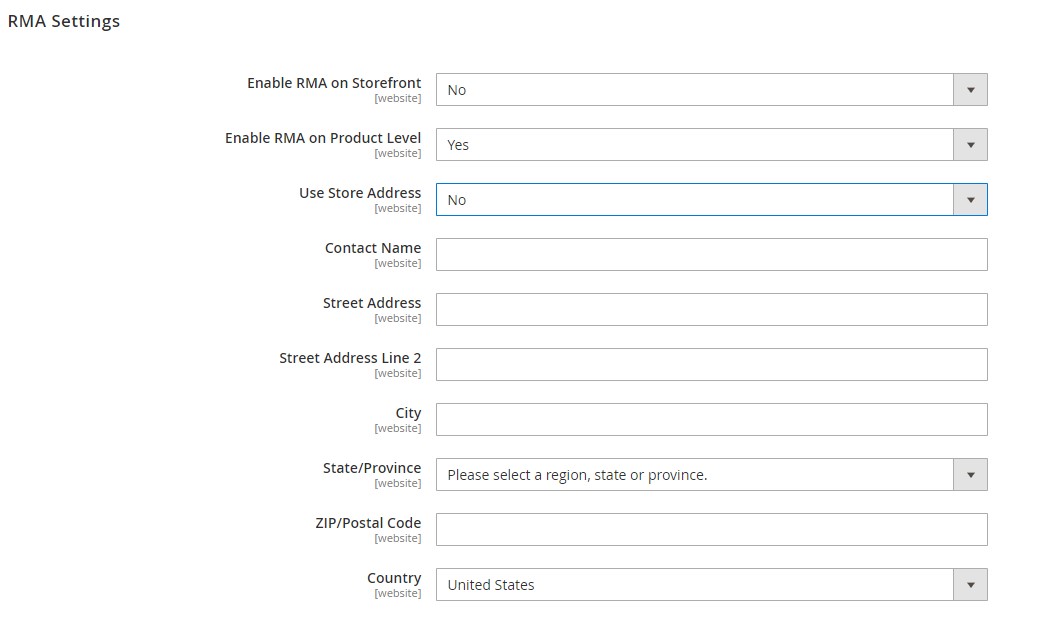
If you want to enable RMAs in settings, follow these steps, go to Admin-> Stores-> Settings-> Configuration-> Sales-> Sales-> RMA Settings. Here, you can enable RM on the storefront and product level. There is one more option that lets you use an alternate address for product returns. Set Use Store Address to “No” to specify an additional address.
How to Import & Export Magento 2 Returns
If you want to migrate to a brand new Magento 2 website but don’t want to lose the RMS already available, you need a third-party extension that will help you with the migration. Unfortunately, the default Magento 2 tools won’t be helpful. However, you can rely on the Improved Import & Export Magento 2 extension. This module is capable for importing and exporting all core Magento 2 entities. Besides, it works with different connection types, file formats & sources, etc.
When it comes to transferring entities to Magento 2, we also offer the free Magento 1 to Magento 2 Migration add-on. You need to install the tool on top of Improved Import & Export. As a result, you can leverage a selective approach to the migration when the downtime is eliminated. Only reindex is necessary after every data transfer.
You can import returns with our module as follows:
- Choose returns as an entity for import.
- Select an import source: Google Sheets, URL, FTP/SFTP, Dropbox, or a file.
- Choose a file type: CSV, XML, XLSX, JSON, or ODS.
- Create a cron schedule to automate the job.
- Map imported attributes to ones used in Magento 2, if applicable.
Note that the Improved Import & Export Magento 2 extension lets you automate any import and export process in Magento 2. Besides, it offers the ability to use API and Google Sheets to integrate your e-commerce website with any external systems. Different file formats can take part in migration, including data archives. And with mapping presets, you will effortlessly match eternal attributes to ones used internally. regarding the ability to support returns as an import entity. You can find more information about both tools here:
Get Improved Import & Export Magento 2 Extension
Get Free Magento 1 to Magento 2 Migration Add-On
Related posts
 Shopify Gift Cards Explained: How to Set Up, Manage & Sell Them
 Shopify Inventory Management: A Comprehensive Guide to Tracking and Optimizing Your Stock
 Take Full Control over Product Visibility in Shopware 6: Introducing the ‘Replace Product Sales Channels’ Feature for Import
 Magento Inventory Management: A Complete Guide to Stock Optimization and Efficiency
 What is Magento AR? Exploring Augmented Reality & Top Magento 2 AR Extensions
 New in Shopware 6 Product Import: Control Topseller Products with the markAsTopseller Field
 Mastering Magento 2 Upsell Products: Setup, Management, Import & Export Guide
 Magento 2 Cross-Sell Products Guide: Manual Setup, Bulk Import & Cart Optimization Tips