
Exploring Shopware: Extensions in the Shopware 6 Admin
![]()
In the following article, you will find a short guide on how to manage extensions in the Shopware 6 administration. Unlike Magento, Shopware lets you purchase them right within your e-commerce website. As for other aspects, they are quite similar. Below, we shed light on a situation with a self-hosted shop and explore our demo installation in a Shopware 6 cloud environment. You will discover where Shopware 6 extensions are situated in the administration. Note that cloud and self-hosted environments have several distinguishing features, so the management and installation processes vary depending on the selected option. Also, we will examine Apps, Themes, and Recommendations – the three core screens behind the admin section dedicated to Shopware 6 extensions. If you would like to know how to configure Shopware 6 extensions, the corresponding chapter is waiting for you below. The topic of Shopware 6 extension import is cursorily covered in this blog post too.

Note that we provide Shopware integration with external platforms. Contact our support for further information or try our Improved Import & Export Extension for Shopware.
Table of contents
- 1 Shopware 6 Extensions in the Admin
- 2 How to Configure Shopware 6 Extensions
- 3 How to Import Extensions to Shopware 6
- 4 Shopware 6 Essentials FAQ
- 4.1 How to create a Shopware ID?
- 4.2 How to create a Shopware account?
- 4.3 What is Shopware master data?
- 4.4 How to add a shop in Shopware?
- 4.5 How to add a payment method to your Shopware account?
- 4.6 How to create a deposit in Shopware?
- 4.7 How to purchase Shopware extensions?
- 4.8 How to get support in Shopware?
- 4.9 How to migrate to Shopware 6?
- 4.10 How to automate import and export processes in Shopware 6?
- 4.11 How to integrate Shopware 6 with external systems?
Shopware 6 Extensions in the Admin
With Shopware 6, you get the opportunity to extend the basic functionality of the platform. The system lets you install third-party extensions or apps to get additional functions. Let’s see how to do that.
How to install and manage Shopware 6 extensions in the cloud environment
After you’ve created a Shopware account, confirmed its payment methods, and linked it to your e-commerce store, you can install third-party extensions right from your Shopware 6 administration. The corresponding section is available under Extensions -> Store.
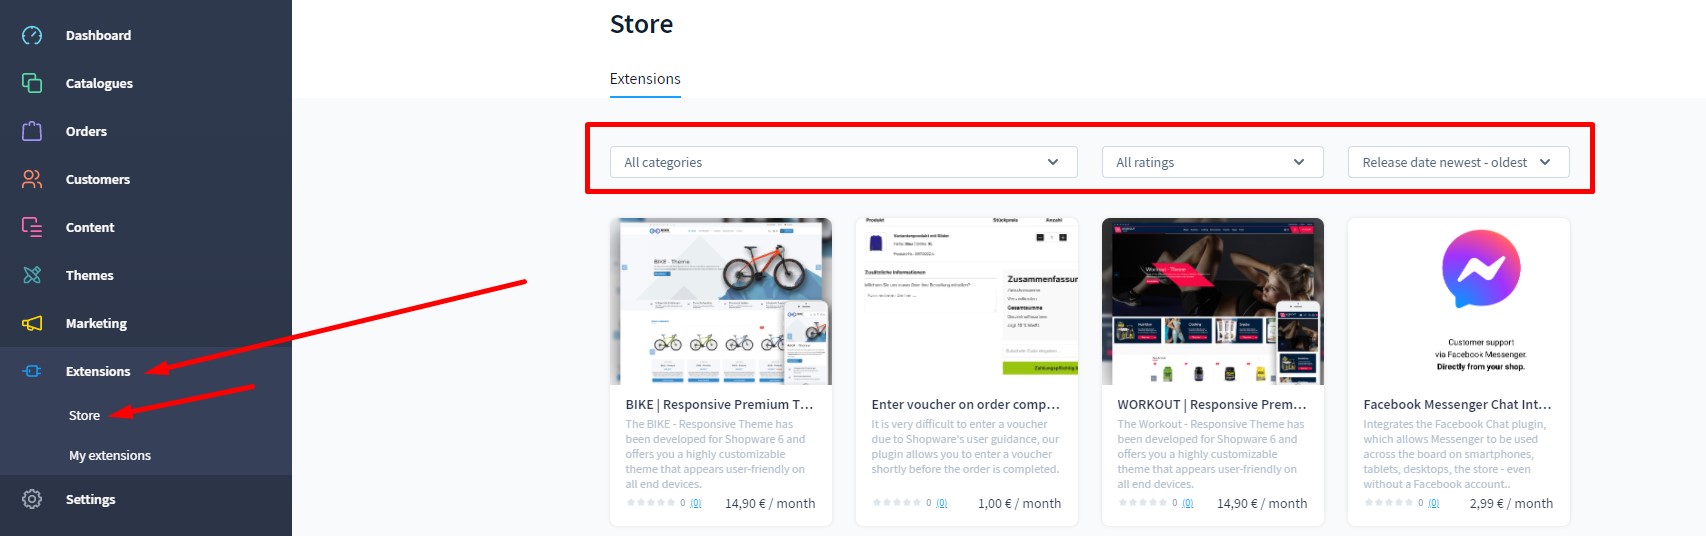
Here, you can filter out the selection by categories, rating, and other parameters.
Click on the extension you are interested in to get the additional information and install it.
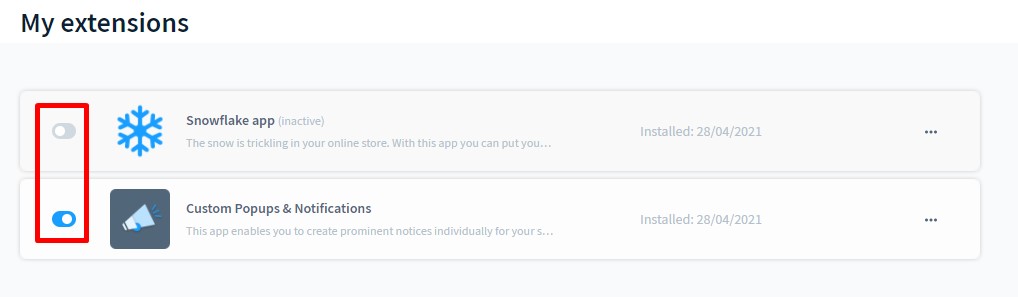
Hit the Add Extension button to enhance the functionality of your Shopware 6 website with the help of the module. After that, it appears under Extensions -> My Extensions.
Here, you can enable/disable installed extensions with the help of the toggle on the left.
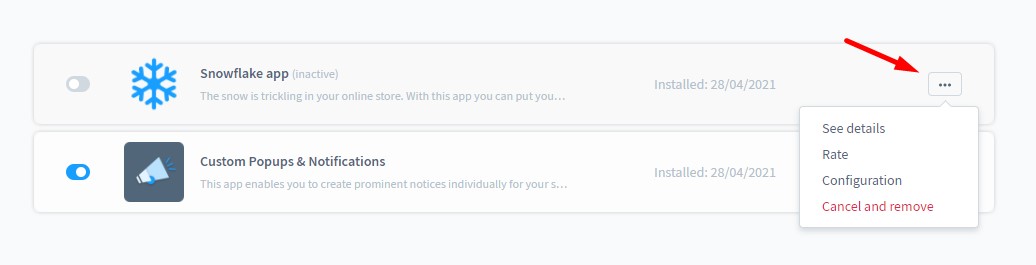
The context menu on the right lets you configure, delete, or rate the extension. Besides, you can get additional details.
How to install and manage Shopware 6 extensions on a self-hosted website
You can install Shopware 6 extensions on a self-hosted website under Extensions > My Extensions. At the same time it is possible to manage the extensions that are already available for your shop there.
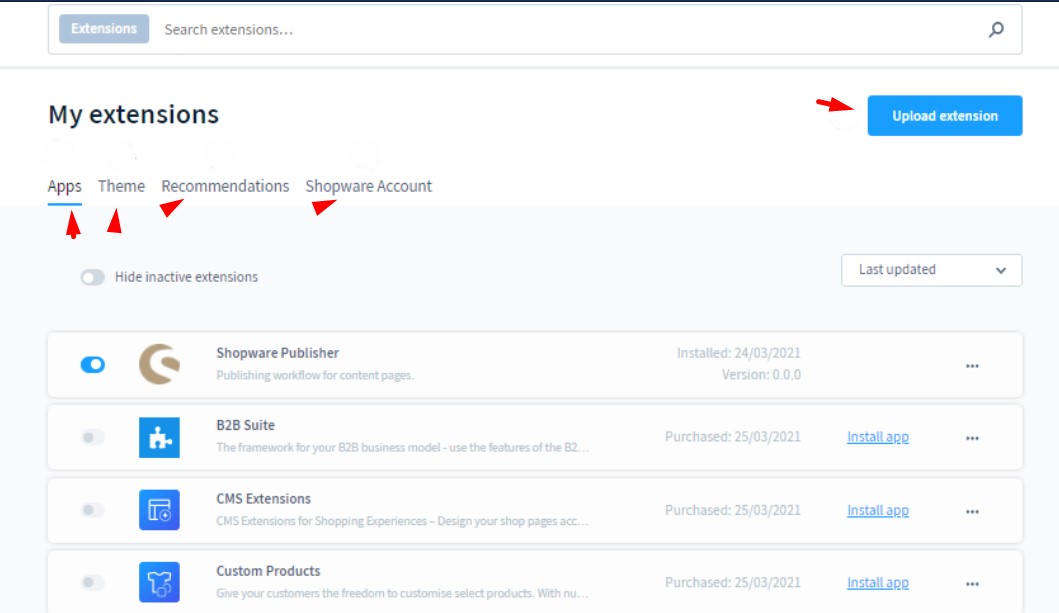
The My extensions section is split between the following subsections:
- Apps – an overview of the apps available in your shop and account.
- Theme – an overview of the themes available in your shop and account.
- Recommendations – recommendations for extensions by regions and categories.
- Shopware Account – an area to link your shop with your Shopware account.
Use the Upload extension button to upload an extension as a zip file.
Although purchasing new extensions takes place in the store, the desired tool may not be listed under Apps or Themes. In this case, you need to add it. Shopware 6 lets you add extensions in two ways.
- Firstly, it is possible to connect to your Shopware account to display all the extensions that have already been obtained for your domain. After that, it is possible to install the desired extensions in Shopware 6.
- Secondly, it is possible to upload the extensions manually by downloading the necessary zip file to the shop operator area.
In both cases, the app appears under Apps or Themes. It means that you can install it:
- Open the context menu: Click on the “…” button.
- Click on Install.
- Activate the extension: Use the button in the Status column.
Apps
As we’ve just mentioned, the apps section provides an overview of all apps added to your Shopware 6 shop.
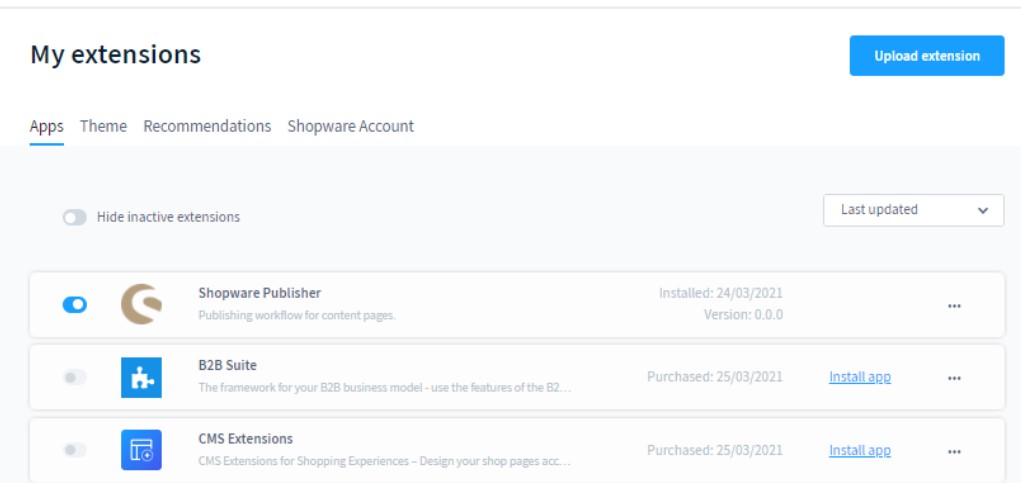
You can see an overview of all apps, hide inactive extensions, apply different sorting options, activate/deactivate installed apps, install modules that are not yet a part of your website, or call up the context menu with the following options:
- Uninstall the app but keep it in the system – it remains in the overview.
- Remove the app from the system entirely.
- Open the configuration menu.
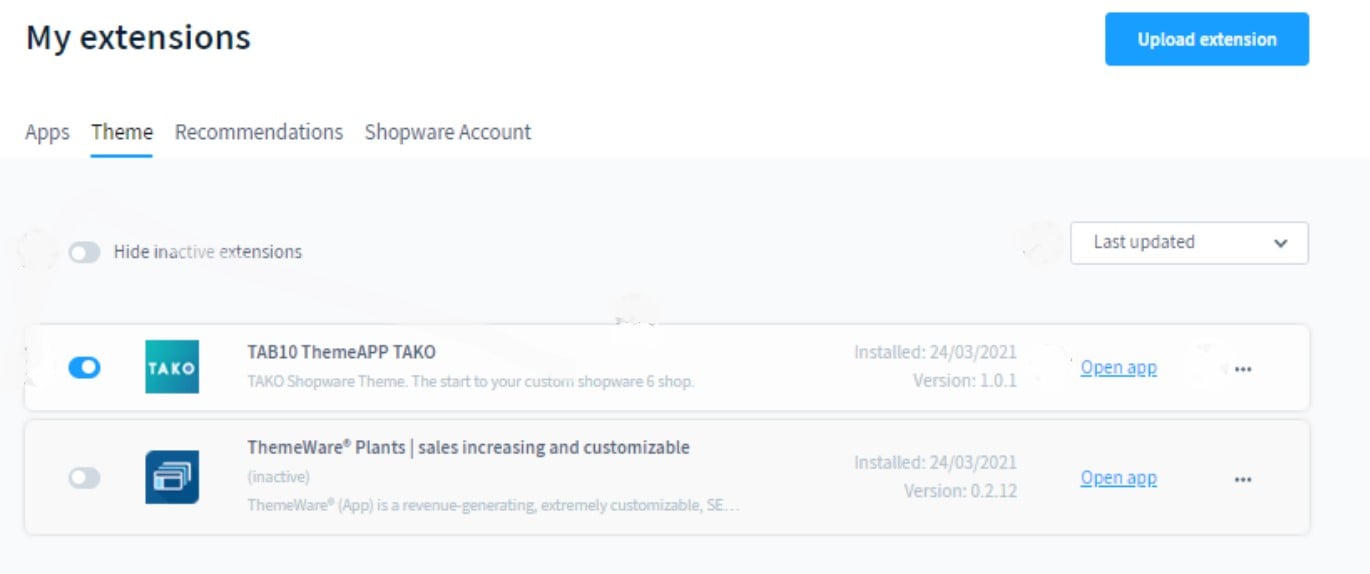
Theme
The Themes section is pretty much the same.
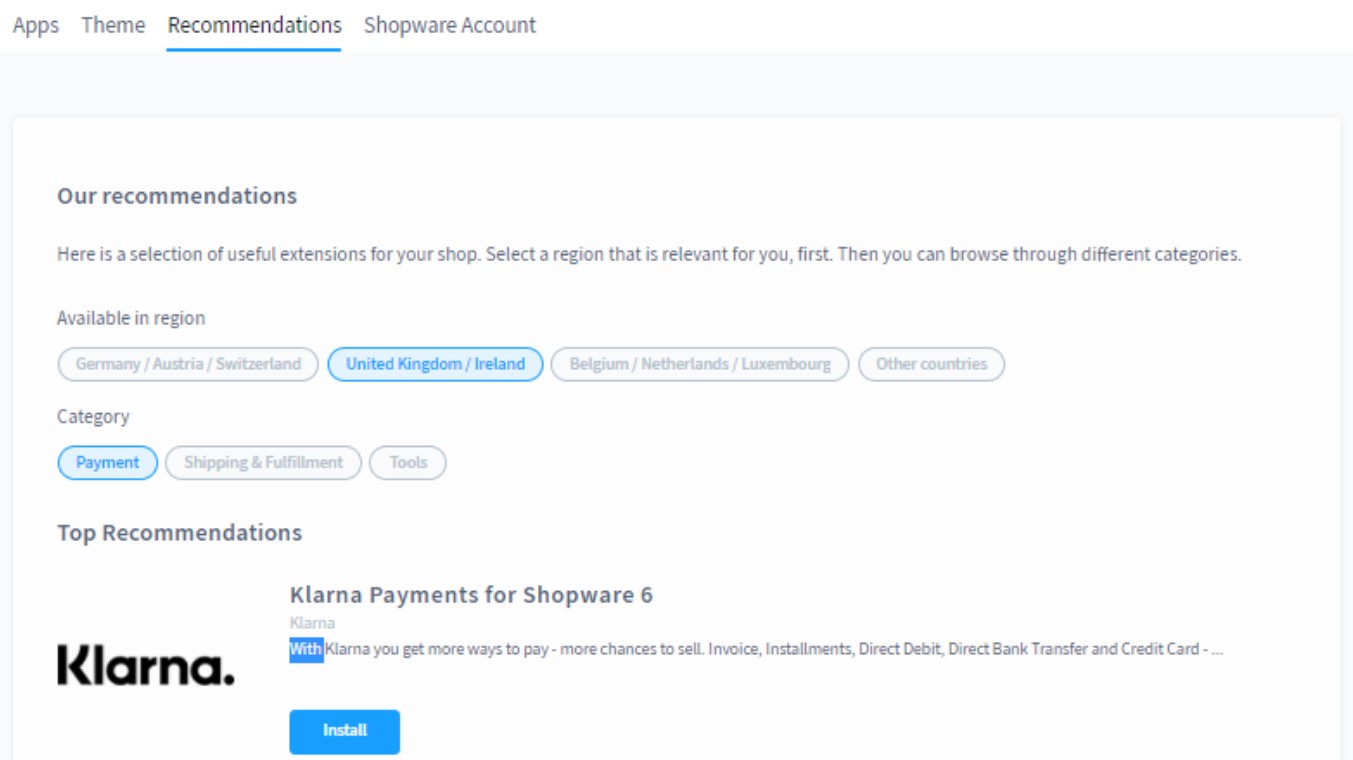
Recommendations
In the Recommendations section, you can find extensions proposed for your website. The selection is displayed according to two parameters: You select the region and then choose the category.
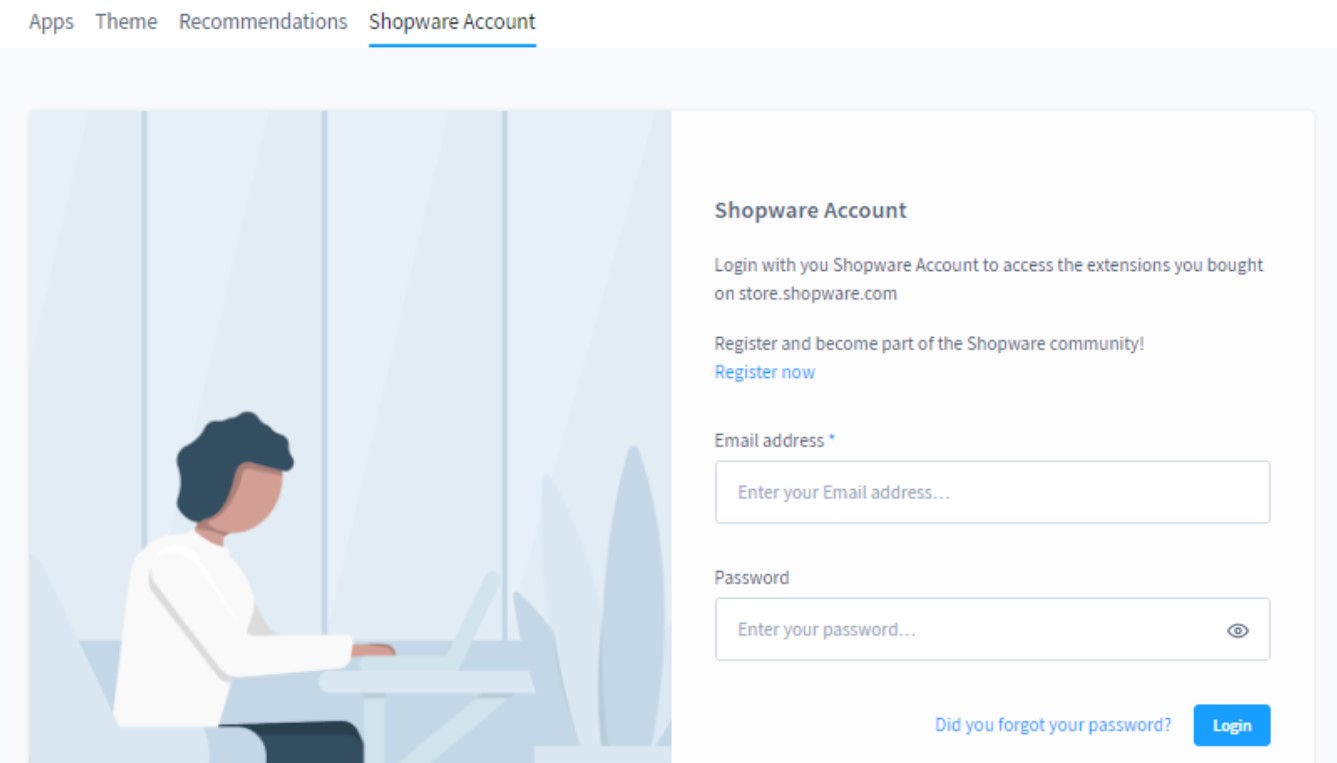
Shopware Account
This section lets you connect your Shopware account to your website. Consequently, you get access to your purchases.
How to Configure Shopware 6 Extensions
Third-party extensions and apps usually have the corresponding configuration section. Since it differs from tool to tool, we can only inform you that you can find the extension settings under Settings > Extensions. As for the information on the function and configuration of the individual modules, it is usually available in the respective documentation.
How to Import Extensions to Shopware 6
Our team introduces a bunch of tools designed to simplify and automate various routine processes associated with Shopware 6 backend management. Based on import and export processes, they let you eliminate various repetitive tasks, automatically recreate various database records, connect to external platforms, and conduct migration to Shopware 6. Contact our support for more details and try our . You can use it to import any entities to Shopware 6. Although it is impossible to import extensions, you may need to transfer the data they produce or rely upon. Please, consult our specialists before using the module for doing that.
Shopware 6 Essentials FAQ
How to create a Shopware ID?
Creating a Shopware ID is a user-friendly process since it requires no additional actions. The system provides it when you create your Shopware account. You need a ShopwareID to start your e-commerce journey within the ecosystem.
How to create a Shopware account?
When it comes to the creation of a Shopware account, you need to visit the registration page and click the Register Now link. After that, it is necessary to fill in the registration form. Note that you will get a confirmation message via email afterward.
What is Shopware master data?
All the information you specify in the registration form and your Shopware account is called master data. It combines company address, email, phone, name, and other details.
How to add a shop in Shopware?
You can add a new shop in Shopware 6 as follows. Visit your merchant area and click the corresponding link available at the start screen’s right part. After that, it is necessary to choose whether you want to launch a new cloud storefront or register an on-premise installation. Specify information about your new shop and proceed to its configuration.
How to add a payment method to your Shopware account?
You can add a payment method in Shopware 6 under Basic Information -> Accounting. Here, you configure a payment method for internal Shopware purposes, such as purchasing extensions and themes. The system offers the following three options: PayPal, credit card, direct debit.
How to create a deposit in Shopware?
With a payment method activated, you can create a deposit for purchasing themes and extensions. Do that as follows: visit Merchant Area -> Shops, specify a shop to provide funds to, click Open Account Details, and transfer funds.
How to purchase Shopware extensions?
Right after the deposit is created and confirmed, you can purchase extensions and themes on the Shopware Marketplace. Alternatively, it is possible to use the Plugin Manager for this purpose. No matter which way you choose. In both cases, you need to choose a tool your business requires and complete the purchase.
How to get support in Shopware?
Send questions regarding your account or license to info@shopware.com or +49 2555 9288 50. If you have inquiries about accounting and financial services, you are welcome here: financial.services@shopware.com and +49 2555 9288 510.
How to migrate to Shopware 6?
The default import tools of Shopware are not enough to conduct the migration to the platform. Therefore, we recommend using the Improved Import & Export tool. The module provides the ability to migrate core entities to your new website from any external platform or Shopware’s previous version. If you migrate from Magento or Shopify, use the corresponding extensions to export entities to Shopware 6. We provide Improved Import & Export for various platforms. So that the module will help you automate and simplify all the related synchronizations. Contact us for more information.
How to automate import and export processes in Shopware 6?
If you regularly export data to partners or import updates from external systems, we also recommend using the Improved Import & Export extension to automate these processes. The module provides the ability to create a schedule of updates per each data transfer. As a result, you get the ability to launch the corresponding import and export processes automatically, following the specified time frames.
How to integrate Shopware 6 with external systems?
Integration with external platforms and tools is another cool thing the Improved Import & Export extension is associated with. It lets you integrate your store with ERPs, CRMs, accounting platforms, and other e-commerce tools. The module’s duty is to automate repetitive import and export processes and modify data according to the requirements of your Shopware store upon import and the connected platforms upon export.
Related posts
 Amasty ChatGPT AI Content Generator for Magento 2
 Shopware 6 Advanced Pricing Guide + Import Tutorial
 Magento 2 B2B Company Guide: Revealing Company Structure & Import
 Adobe (Magento 2) Commerce and Cloud (Enterprise Edition) Specific Features
 How To Bulk Import Products In Shopify: CSV Description & Step-By-Step Guide
 CopyAI Review 2023
 How to Import Customers & Customer Addresses to Magento 2
 A Complete Guide to Shopify Customer Import