
Exploring Magento 2 Backend: Stores/Other Settings
The Magento 2 backend contains a section with miscellaneous unrelated screens. Today’s case in hand is Other Settings situated under Stores. It consists of the following three screens: Reward Exchange Rates, Gift Wrapping, and Gift Registry! Below, we train the spotlight on how to manage them as well as import/export the corresponding data. Let’s start the exploration.

Table of contents
How to Configure Reward Exchange Rates in Magento 2
This screen is available in Magento Commerce only. You can configure the number of points that are earned based on the order amount here. Besides, it is possible to manage the value of the points made. As a Magento 2 administrator, you can freely apply different exchange rates to various websites and customer groups. Use priority settings to avoid conflicts.
You can set up reward exchange rates under the corresponding screen of Stores -> Other Settings. When on the Reward Exchange Rates, screen, click Add New Rate.

Now, you are in the Reward Exchange Rate Information section. Fill in the necessary data.
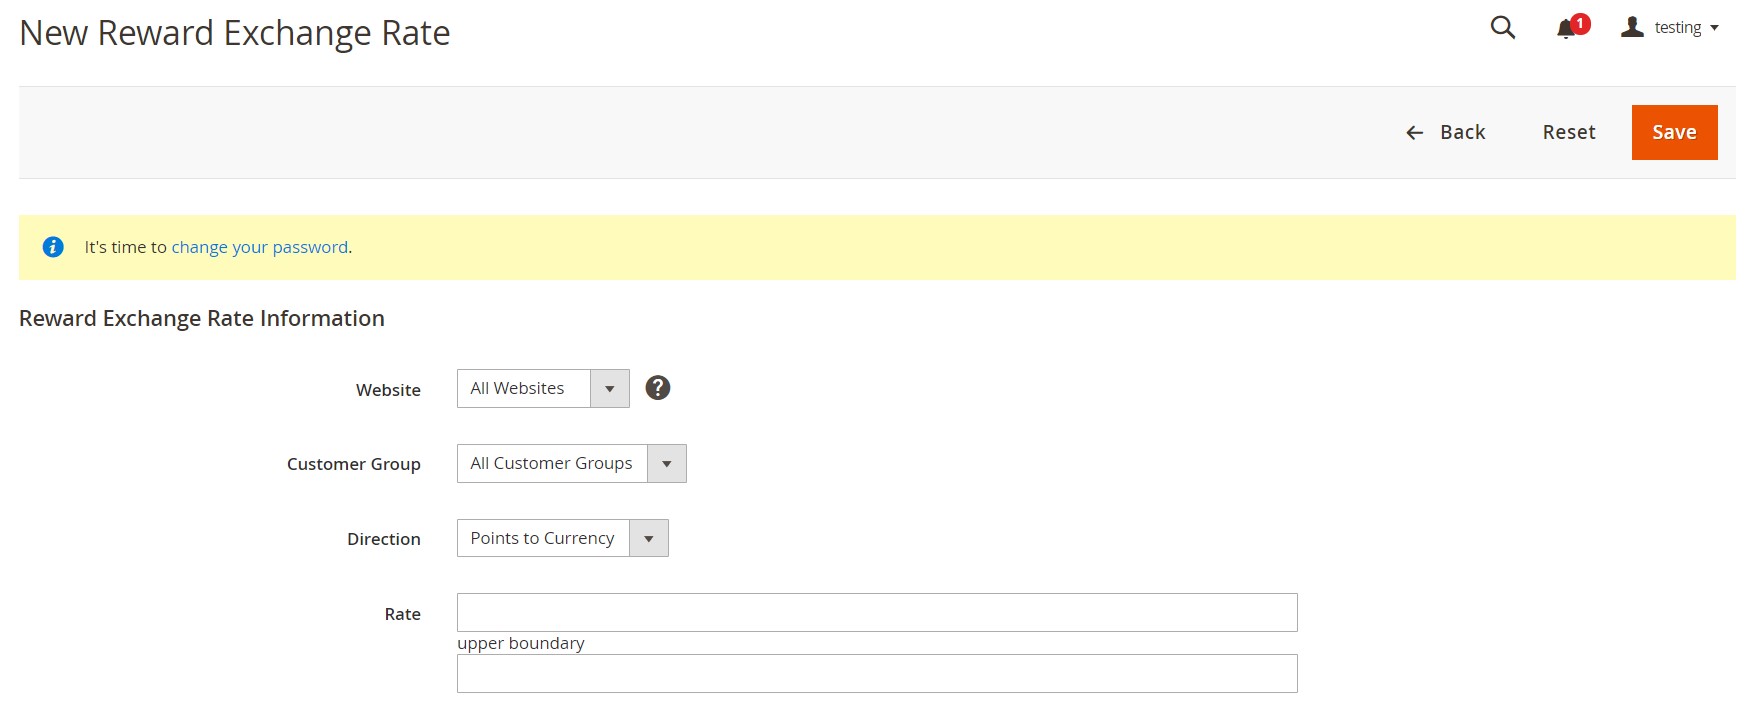
The Magento 2 Backend is flexible enough to let you select a website and customer group to apply the new rate. Besides, you should specify the direction of the exchange. It is either Points to Currency or Currency to Points. Note that the base currency of your website is utilized in both cases. Now, enter the rate values and save your new reward exchange rate. For further information, peruse this material: Rewards and Loyalty.
How to Set up Gift Wrap in Magento 2
The ability to create different gift wrapping in Magento 2 is available in its Commerce edition only. It is aimed at all products that can be shipped. Besides, it is possible to pack either an individual item or the entire order.
As a Magento 2 administrator, you can set separate prices for various gift wrap designs. Another possibility is the upload of a thumbnail image displayed in the cart as an additional option.
If a customer selects a gift wrapping, its charge appears with the other checkout totals in the Order Summary section.
Scan the wrapping paper or take a picture of a prepared package to upload it, informing customers about a possible festive appearance of their orders. Magento 2 supports GIF, JPG, and PNG image formats and requires square pictures.
To add a new gift wrap design, go to Stores -> Other Settings -> Gift Wrapping. You will see the following screen:
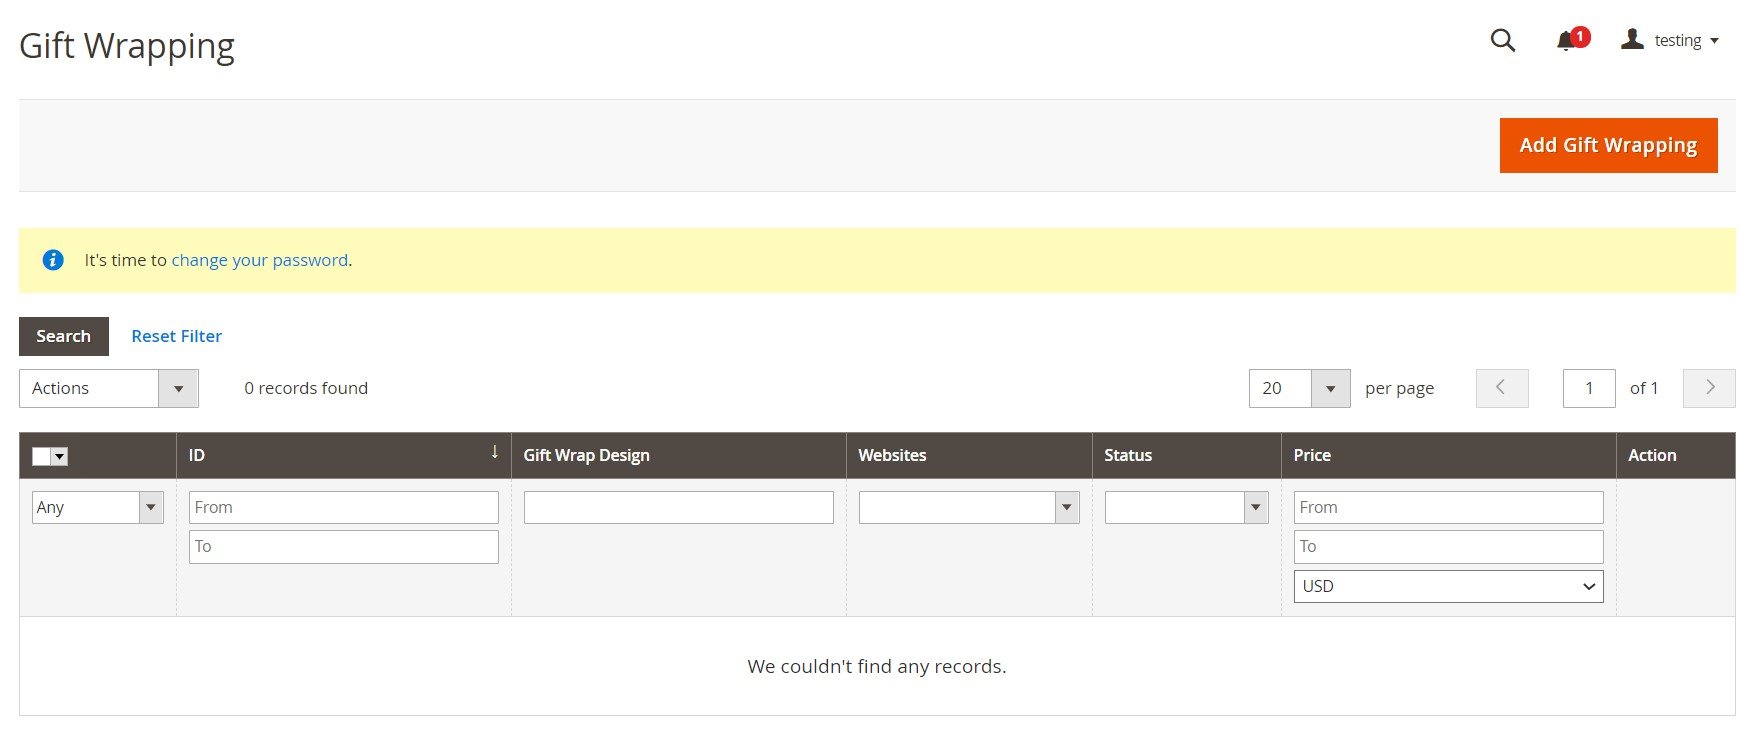
Hit the Add Gift Wrapping button and fill in the fields on the following screen:
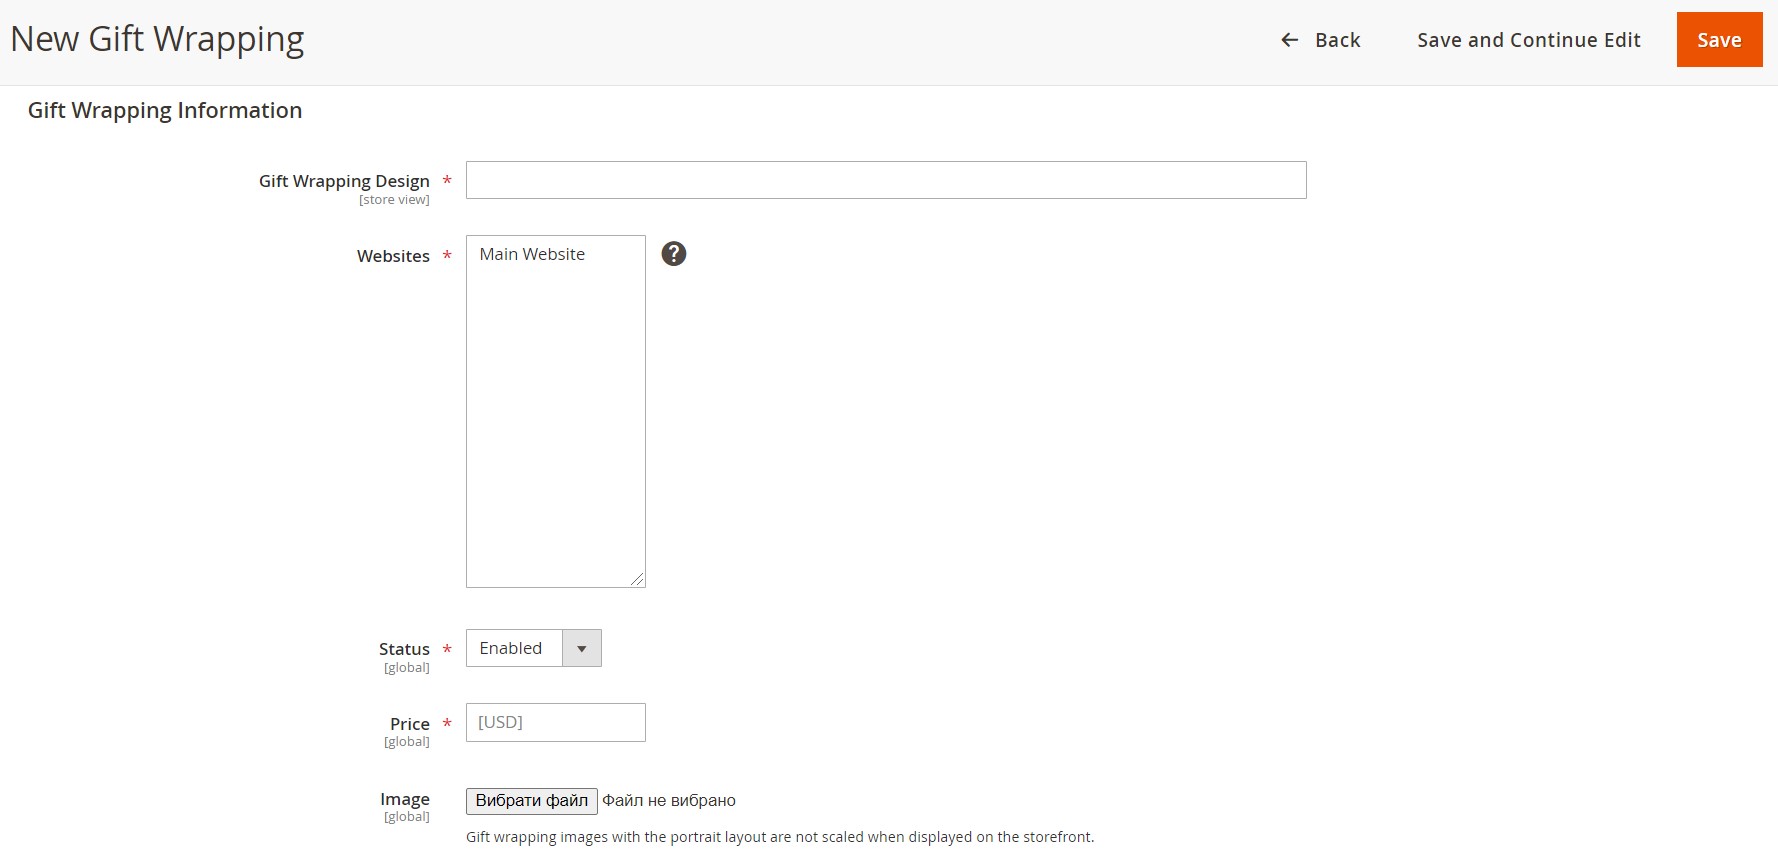
Specify the name of your new Gift Wrapping Design. It will be displayed during checkout. Choose the websites where the gift wrap design will be available, specify its price, and upload a thumbnail image. Save your work.
To edit an existing gift wrap design, return to the main screen with wrappings and choose the one you want to modify. Click the Edit link that is available in the Action column in a corresponding row. Modify the fields we’ve just described above.
To delete a gift wrap design in Magento 2, open it in edit mode, as we’ve just described, and click the Delete link at the top of the workspace. Confirm your action.
Alternatively, it is possible to delete a gift wrapping on the main screen. Mark the checkbox of each gift wrap design you want to delete in the Gift Wrapping grid, choose Delete from the Actions dropdown, and confirm the action.
How to Create a Gift Registry in Magento 2
The third screen of Stores/Other Settings is also exclusive for Commerce merchants. While you can create a gift registry for any event, Magento offers default solutions for baby, birthday, and wedding. Every time a new registry is created, it becomes available in the list of gift registry types both on the frontend and backend under Stores -> Other Settings -> Gift Registry.
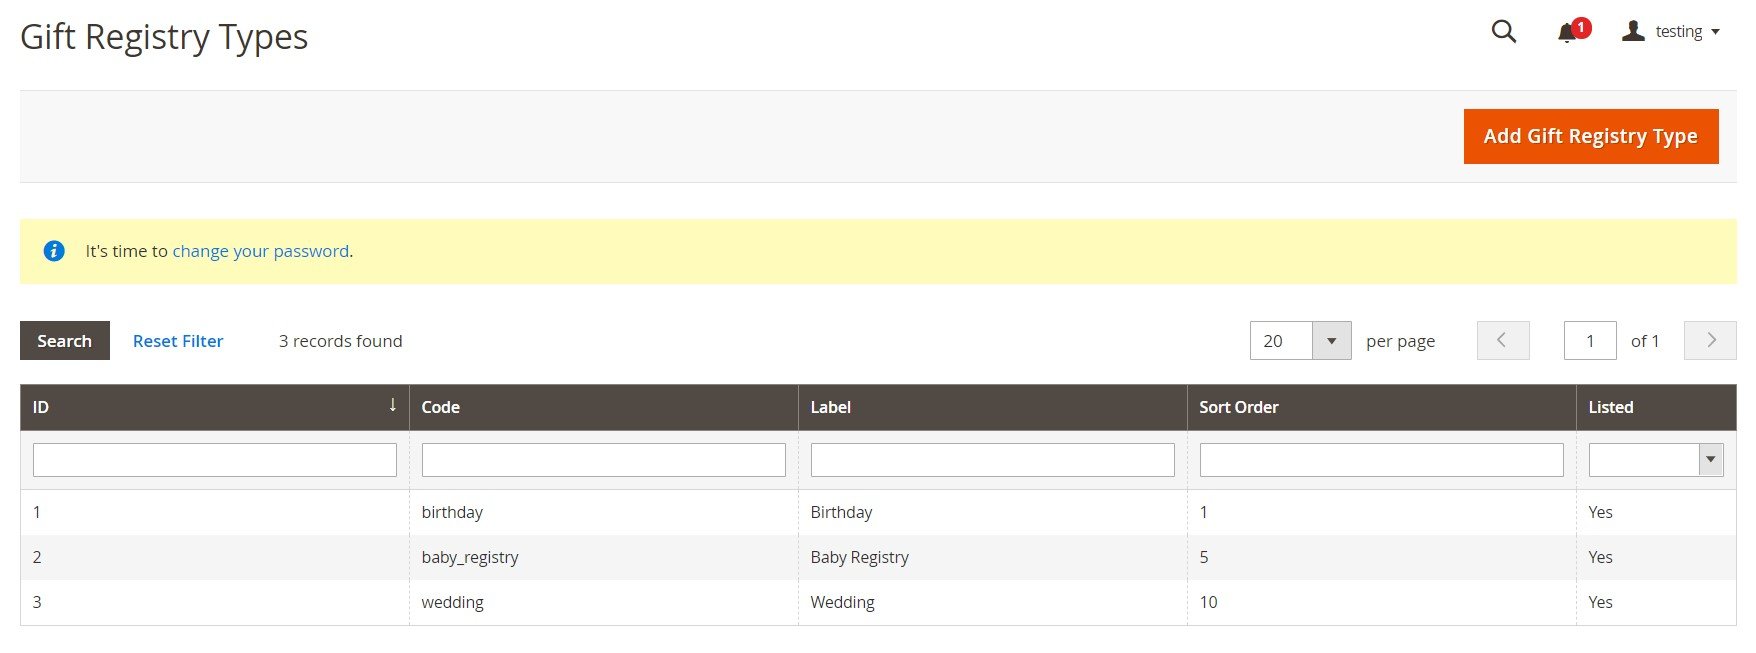
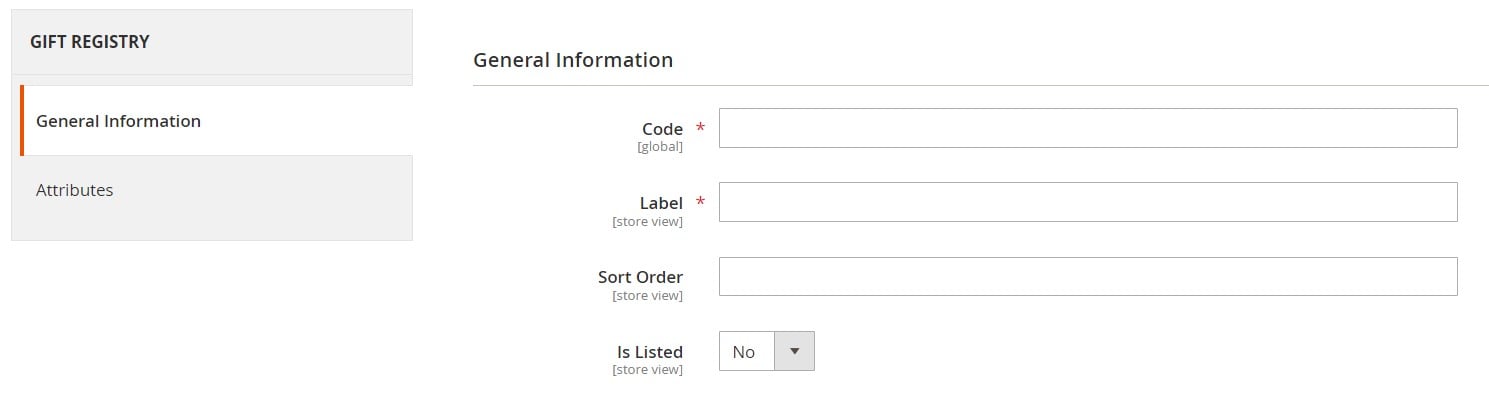
You can create a custom gift registry on the same page. Hit the Add Gift Registry Type button and specify information under General Information and Attributes tabs. Check the full process described here: Magento 2 Backend Exploration: Gift Registries.

How to Import & Export Stores Data in Magento 2
If you are exhausted by obsolete import and export mechanisms of Magento 2, you’ve come to the right place. Below, we shed light on how to migrate various entities of the Settings section of the Magento 2 backend in a way more efficient manner. The problem of the native data transfer solutions is that they can neither automate data transfer processes (except Commerce crone-based imports) nor attribute mapping. Besides, the selection of supported file formats and sources is limited. How to address these issues, you will ask?
Choose a reliable third-party replacement, such as the Improved Import & Export extension and its Magento 2 Migration add-on. Both solutions offer an opportunity to create a bridge between your e-commerce store and any system beyond it, moving all core entities with zero downtime. Let’s see how the tool helps to avoid various unpleasant chores and addresses issues typical for the default instruments.
Automated Data Transfers
If you run a storefront based on Magento 2 Open Source, it is impossible to enable automated data import/export processes. As for the Improved Import & Export module, it changes the game entirely. It allows merchants of all editions to create schedules or triggers to move data to and from Magento 2 automatically. In the first case, you can select a predefined interval or specify a custom one. The image below illustrates this feature:
As for the system of triggers, it lets you define rules and conditions that initiate the import/export processes when met.
Mapping
It is common knowledge that different data storing standards cause lots of headaches. Since each software solution has a unique attitude to storing data, various mapping issues occur when you try to synchronize the two systems. Unfortunately, when it comes to most existing data transfer solutions for Magento 2, they leave you alone with these problems. However, the Improved Import & Export Magento 2 extension helps you addresses them using such enhancements as:
- Presets – choose a predefined scheme to enable automated attributes mapping;
- Manual Matching – edit attributes right in the Magento 2 admin area if necessary;
- Attribute Values Mapping – map not only attributes but also their values;
- Attribute Values Editing – edit attribute values in bulk;
- Filters – export data that is required – not its entire scope;
- Category Mapping – move products right to the categories of your catalog;
- Attributes On The Fly – create missing attributes with the help of a few parameters specified.
Below, you can see how simple the application of presets is:
Extended Connectivity Options
Magento 2 is bound to CSV and XML files, but you can extend the selection of supported formats. The Improved Import & Export module works with CSV, XML, ODS, JSON, and Excel. Furthermore, such files can be compressed since our extension supports several archive types.
Besides, you can synchronize data between your Magento 2 website and an extensive array of file sources, such as a local or remote server and cloud storage.
Besides, Improved Import & Export relies on API connections for various complex integrations. Thus, you avoid conventional file transfers, exchanging data directly between the two platforms.
The module also supports direct file URL downloads as well as Google Sheets import, which looks as follows:

Now, let’s focus on the Magento 2 Migration add-on for Improved Import and Export extension. This tool is mainly focussed on moving Magento 1 data to Magento 2. It connects databases of the two websites to achieve the most seamless integration. The integration is controlled from a command line or admin panel. The following features help to make the most seamless data transfers:
- Selective Migration. You choose what entities to move. Keep the unnecessary stuff in your old database. Note that the native Magento 2 migration tool can only import objects it supports altogether.
- Direct SQL Connection. The direct connection between the two databases results in fast, user-friendly migration processes.
- No Downtime. The downtime associated with the migration is eliminated. You only have to reindex data when the work is done.
- M2-M2 Migration. Two Magento 2 websites can be synchronized too.
- Core Entities. Both the extension and its add-on support all core entities!
You can find more information here:
Get Improved Import & Export Magento 2 Extension
Get Magento 2 Migration Add-on
Related posts
 Adobe (Magento 2) Commerce and Cloud (Enterprise Edition) Specific Features
 Amasty ChatGPT AI Content Generator for Magento 2
 Magento Open Source and Adobe Commerce 2.4.7 Release Notes
 Magento 2 B2B Company Guide: Revealing Company Structure & Import
 How to Import Customers & Customer Addresses to Magento 2
 Magento 2 Release Notes
 Shopware 6 Advanced Pricing Guide + Import Tutorial
 How to Import Custom CSV to Magento 2 Programmatically