
Magento 2 Backend Exploration: Gift Registries
With Magento 2, you can provide your customers with the ability to create gift registries for special occasions. As in the case of third-party alternatives that exist for a while, the default tool lets registered buyers invite their friends to buy gift registry items. As a Magento administrator, you can monitor all purchased items and their remaining quantities. Below, we shed light on this tool, describing how to configure it from the backend. You can find more articles exploring Magento 2 admin here: Magento 2 Commerce In-Depth Review. Note that Magento 2 gift registries are available along with other Commerce-specific features. Check our comparison of Magento 2 editions to find the difference between versions of the platform.

Table of contents
Magento 2 Gift Registries Explained
As a registered buyer, you can add products to your gift registry from the customer account dashboard, wish list, or cart. Next, it is possible to invite other people to view our selection of desired gifts.
In their turn, recipients can follow the link in the email they receive or search by the name, email, or ID to access a gift registry. They can add items to cart from the registry. The system automatically updates the list of gifts to reflect the purchase. Besides, it notifies the gift registry owner.
As for store administrators, they can view and share customer gift registries. Besides, several maintenance procedures are supported. Firstly, an admin can add items from the customer’s cart. Secondly, they can update quantities. Thirdly, deleting a gift registry is possible.
Considering the things described above, we can express the Magento 2 gift registry workflow through the following four steps:
- A store administrator configures the store’s gift registries, including registry types and attributes.
- Registered customers create their registries for upcoming occasions.
- When items are placed, clients send invitations to friends. Each letter contains a link to a registry.
- Invitation recipients purchase items from the gift registry.
Although everything may seem quite obvious, there are some nuances we focus on below.
How to Set Up a Gift Registry in Magento 2
Magento 2 provides the ability to create a gift registry for any special occasion. Birthday, baby shower, and wedding are the three default registry types available in Magento 2. However, you can add any new event so that your clients can choose it in the list of gift registry types in the customer’s account.
Note that each gift registry type contains unique attributes that act as data entry fields customer have to complete when creating a gift registry. Thus, they provide additional information about the event. Below, you can see the default admin grid that lists all Magento 2 gift registries:
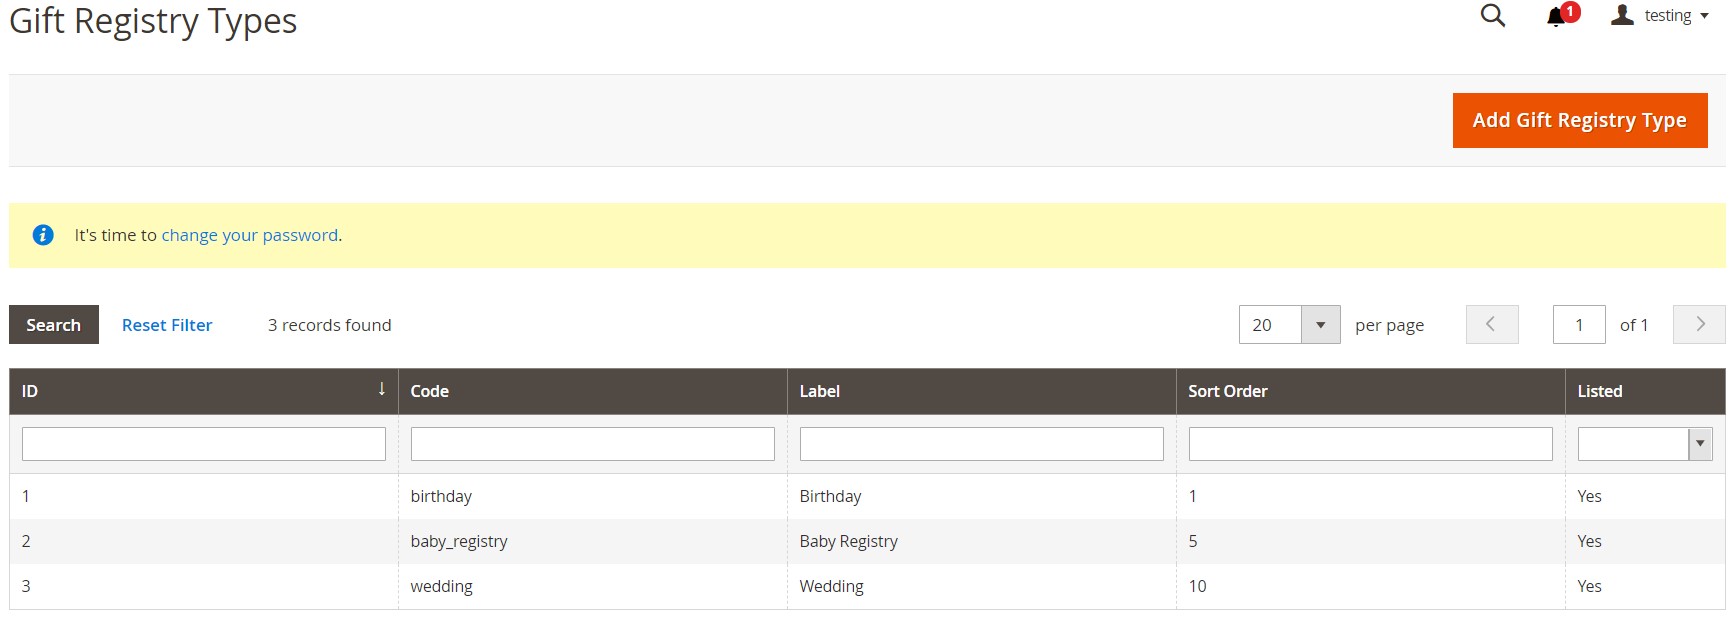
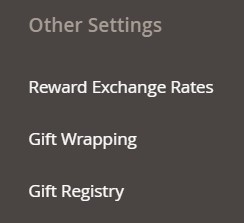
It is available under Stores -> Other Settings -> Gift Registry. As you can see, it is possible to add a new gift registry type there.
How to Create a Custom Gift Registry in Magento 2
There is the “Add Gift Registry Type” button on the upper-right corner of the screen. Click it to create a new gift registry type. You need to specify general information and add attributes. Let’s explore how to do that.
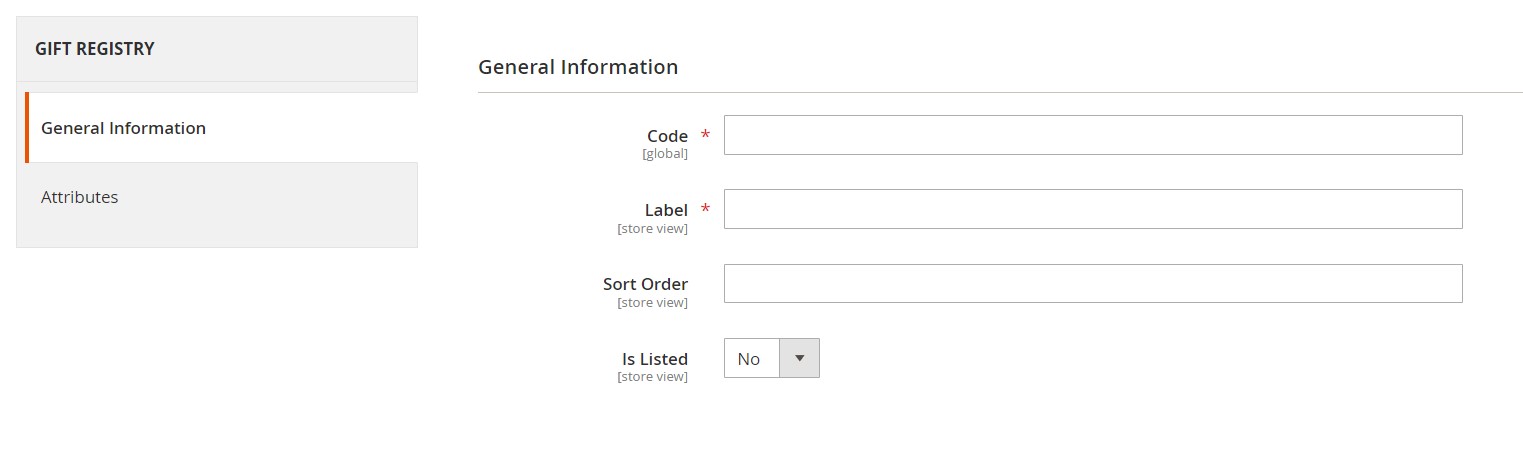
The “General Information” tab contains several fields where you need to specify the following information:
- Code – type an internal reference number using lowercase letters, numbers, and underscore.
- Label – add a name for the gift registry to identify it on the storefront and in the list of gift registry types.
- Sort Order – specify the priority of this gift registry.
- Is Listed – set this option to “Yes” to activate the gift registry.
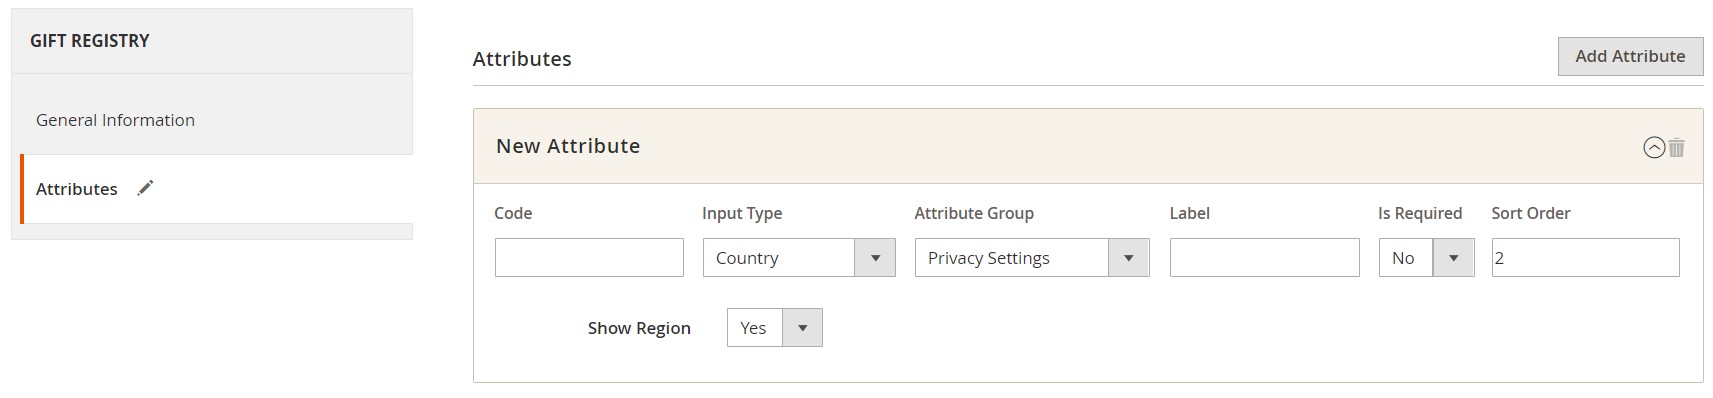
Now, it’s time to add attributes. You can do that under the “Attributes” tab in the left panel by clicking “Add Attribute”.
You can configure each attribute as follows:
- Code – type an internal reference number using lowercase letters, numbers, and underscore.
- Input Type – select a type to be utilized for data entry. It is possible to use both custom and static ones.
- If multiple options are associated with the input type, you can click “Add New Option” and complete the information for each one. Note that Additional properties may appear depending on the input type.
- Attribute Group – specify the section in the gift registry to display the attribute.
- Label – type a name of the associated data entry field in the registry.
- Is Required – set this option to “Yes” if the customer is required to complete the field.
- Sort Order – specify the priority of this field.
Note that you can add as many options as you need by simply clicking “Add New Option” and following the steps above.
Don’t forget to save your work.
How to Configure Gift Registries in Magento 2
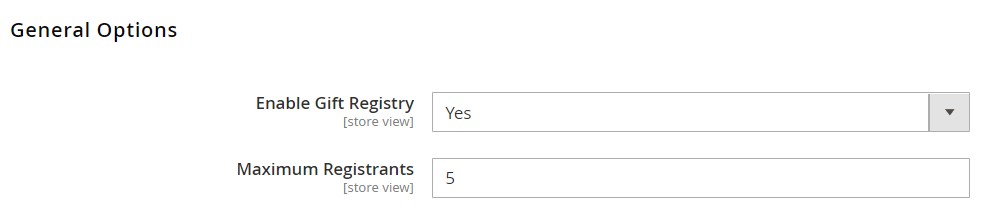
Whether you create a new gift registry type or decide to stay with the default options, it is necessary to enable the gift registry functionality and configure email notifications. Go to Stores -> Settings -> Configuration -> Customers (left panel) -> Gift Registry. Expand the “General Options” section and set “Enable Gift Registry” to “Yes.”
Specify the maximum number of people a customer can send invitations to in the “Maximum Registrants” field.
Now, let’s proceed to email notifications, associated with Magento 2 gift registries. The system sends their following types in response to gift registry workflow events:
- Upon a new gift registry creation;
- Upon an item from a gift registry is purchased (the buyer is not indicated).
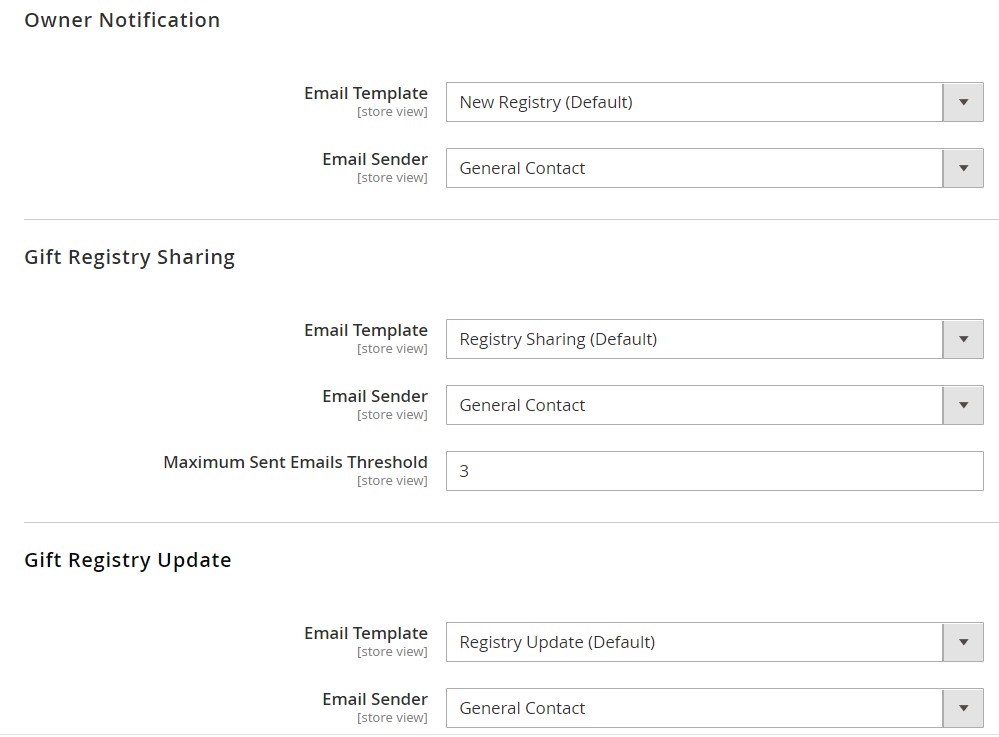
Magento offers predefined templates for each of these email messages. Still, you can customize them following your brand identity. Go to Stores -> Settings -> Configuration -> Customers (left panel) -> Gift Registry and expand the “Owner Notification” section. Here, you can choose a template and an email sender.
In the “Gift Registry Sharing” section, you can also select a template and choose a sender. Besides, it provides the ability to enter the maximum number of emails that can be sent at a time.
As for the “Gift Registry Update” section, it contains just two options: Email Template and Email Sender.
Don’t forget to save changes and update cache when prompted.
How to Configure Gift Registry Search in Magento 2
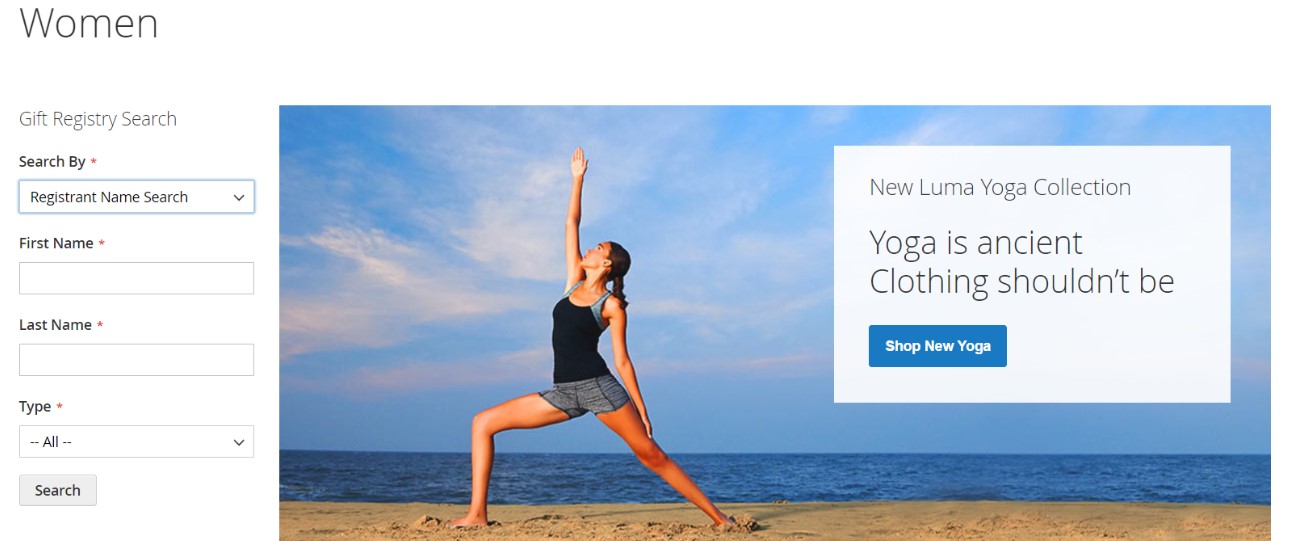
You can dramatically simplify the life of your customers by placing a gift registry search box on your website. Use the Widget tool to specify the available search options. All search results appear on the Gift Registry Search page.
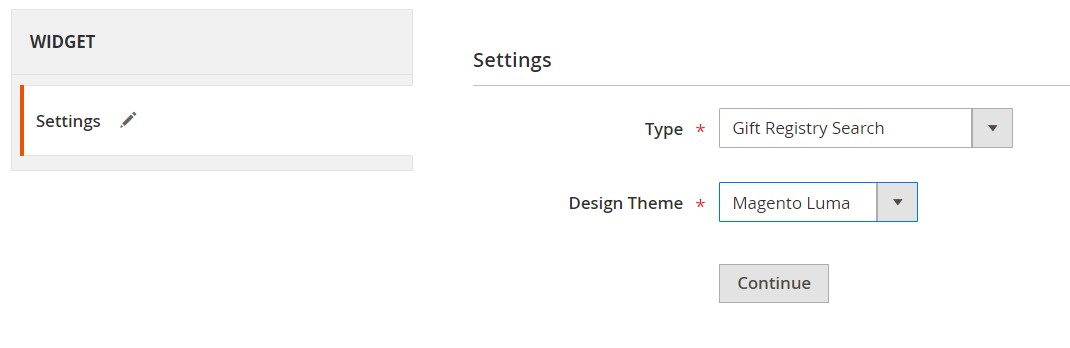
To add a gift registry search box, go to Content -> Elements -> Widgets and click Add Widget. You will be redirected to a new screen, where you should choose “Gift Registry Search” in the “Type” field and specify a design theme used by your store.
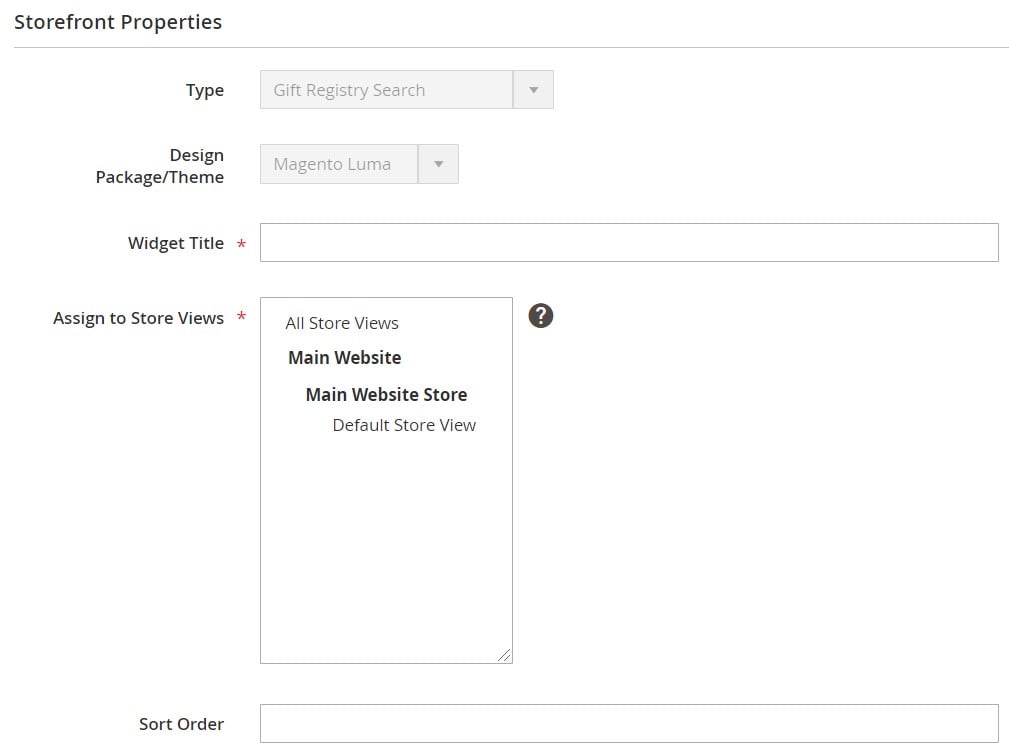
Next, proceed to the “Storefront Properties” section. Here, you can configure the following options:
- Widget Title – a name used for internal reference.
- Assign to Store Views – store views to display the search box.
- Sort Order – a priority number of the search box to avoid conflicts with other widgets.
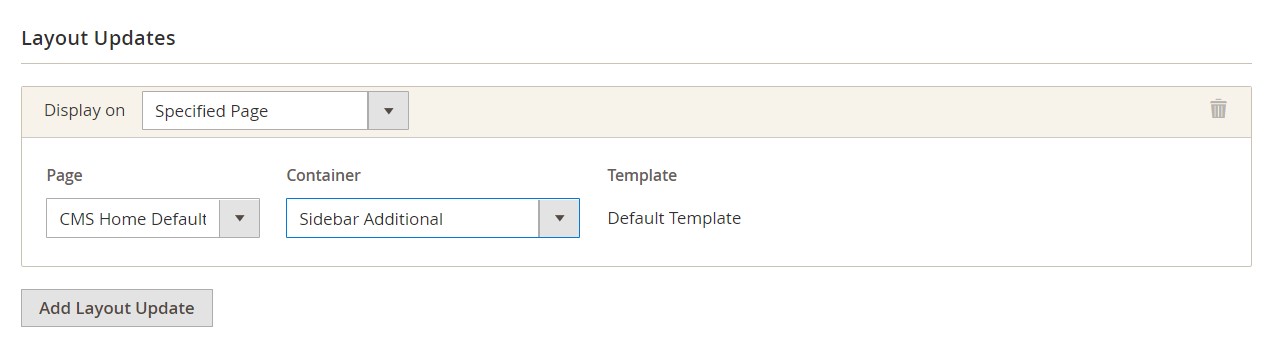
Next, you can configure the “Layout Updates” section. Click “Add Layout Update” to determine display conditions. You can choose store pages to display the gift registry search block on. Furthermore, it is also possible to select particular categories to enable more accurate display. You can also set the “Container” option to the location on the page to place the block on.
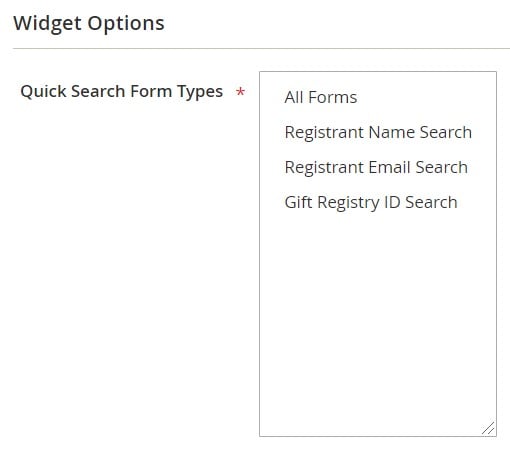
“Widget Options” is the last section that should be configured. It lets you determine how visitors can search for gift registries. You can select either all forms or specify parameters available for search:
- Registrant Name;
- Registrant Email;
- Gift Registry ID.
Don’t forget to save changes and refresh the page cache when prompted.
How to Import & Export Gift Registries in Magento 2
Although you cannot import and export gift registries in Magento 2 by default, there is always a chance that the missing functionality is already delivered with a third-party module. For instance, your e-commerce store doesn’t support API data transfers or Google Sheets integrations. Still, you can achieve both functionalities with the help of the Improved Import & Export extension. As for the gift registry data, we continually add support for new entities that cannot be transferred in Magento 2 by default. If you need to move gift registries, .
Let’s see what features can potentially simplify the import and export processes related to Magento 2 gift registries.
Automated Data Transfers
Improved Import & Export lets you automate gift registry data transfer with update schedules (you choose a predefined interval or specify a custom one) or a system of triggers (import/export processes are launched automatically when certain conditions are met).
Mapping
Issues caused by different attribute standards don’t let you transfer gift registries between Magento 2 and other systems. However, the Improved Import & Export extension allows you to address them with the features below:
- Presets – you can apply predefined schemes to map attributes automatically;
- Manual Matching – still, it is possible to do everything manually in the Magento admin;
- Attribute Values Mapping – manual mapping is also possible for attribute values;
- Attribute Values Editing – additionally, you can modify multiple attribute values in bulk;
- Filters – the extension lets you specify export parameters to narrow down the selection of transferred data;
- Category Mapping – you can assign products bound to external catalogs to particular categories used on your website;
- Attributes On The Fly – with this feature, it is possible to create missing attributes and values automatically.
Below, you can see how to apply presets:
Extended Connectivity Options
Besides, the Improved Import & Export module delivers broad connectivity options. It means that you can use an extensive selection of file formats and sources to transfer gift registries and other entities between Magento 2 and other platforms. CSV, XML, ODS, JSON, and Excel files, as well as several archive types, are under your disposal. You can transfer them through a local or remote server. Alternatively, it is possible to leverage cloud storage or import files by URL.
As we’ve already mentioned above, API support represents another competitive advantage of Improved Import & Export. Besides, you can transfer data from Google Sheets as displayed below:

To find more information about the module and explore its possibilities regarding gift registries, follow the link below and contact our support:
Get Improved Import & Export Magento 2 Extension
Related posts
 How to Import Customers & Customer Addresses to Magento 2
 Magento 2 B2B Company Guide: Revealing Company Structure & Import
 Adobe (Magento 2) Commerce and Cloud (Enterprise Edition) Specific Features
 How To Bulk Import Products In Shopify: CSV Description & Step-By-Step Guide
 Magento Open Source and Adobe Commerce 2.4.7 Release Notes
 Magento 2 Release Notes
 Reputon Amazon Importer Review: How to Connect Shopify to Amazon in a Few Clicks
 Amasty ChatGPT AI Content Generator for Magento 2