
Exploring Magento 2 Backend: Permissions (All Users, Locked Users, User Roles)
As a store owner, you can take hold of Magento 2 roles and permissions to make your store more secure, creating different access levels to the backend. When setting up your store for the very first time, the system provides you with a set of login credentials that provide full permissions. Thus, you become the chief administrator, who can decide what information and functions are available to other backend users. For instance, a sales manager can be given access to customer and order information, while various design elements are unreachable. Besides, it is possible to restrict admin access on the basis of a specific site, set of sites, or other business units. Let’s see what other opportunities the Magento 2 Permissions section of the admin offers.

Table of contents
How to Add an Admin User in Magento 2
Let’s see how to add a new backend user and assign them to a role. Bear in mind that you can limit the websites or stores that users can access by creating a position with the necessary resources selected. After that, it is possible to assign the role to a specific user account. Magento 2 even lets you set an expiration date for the user account so that temporary roles are in the game. This feature is quite handy when you hire a third-party specialist for a particular timestamp.
Creating a new user
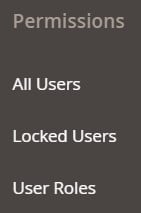
You can elaborate a new admin user in Magento 2 On the under System -> Permissions -> All Users. The grid displays all administrator accounts. You can see a user ID, name, email, role, and status here.
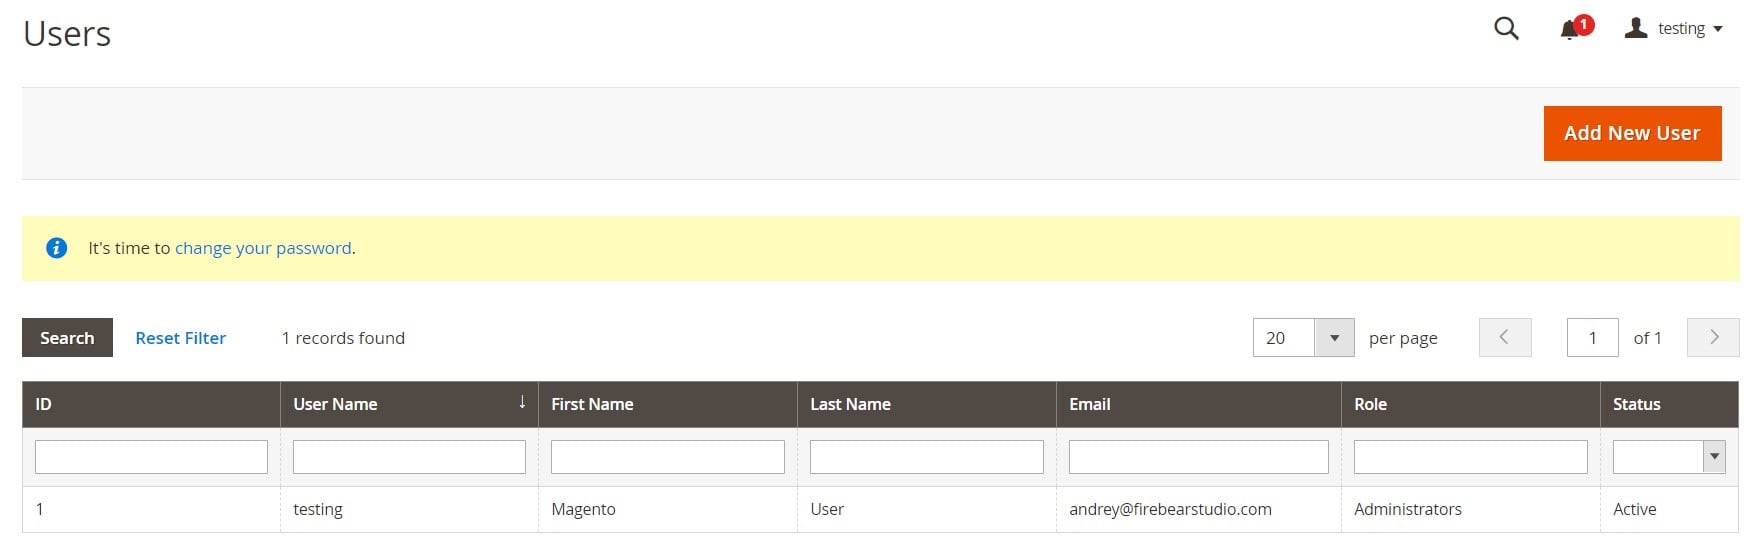
To add a new user, hit the Add New User button in the upper-right corner.
At the same time, you can edit any existing user. Click the corresponding record and modify options available under the User Info, User Role, and 2FA tabs. But let’s return to our mutton.
When you add a new user, the same three sections of settings are under your disposal. Start configuring your new user account from the Account Information section of User Info, do the following.
First of all, you should specify the User Name for the account. Note that it is not case-sensitive, so both Mark and mark are suitable.
Next, complete the following fields: First Name, Last Name, and Email address (must be unique for every account). Type a Password for the account: 7+ characters, including both letters and numbers. Re-enter it for confirmation. Set a language in Interface Locale and activate the account: set This Account is to Active.
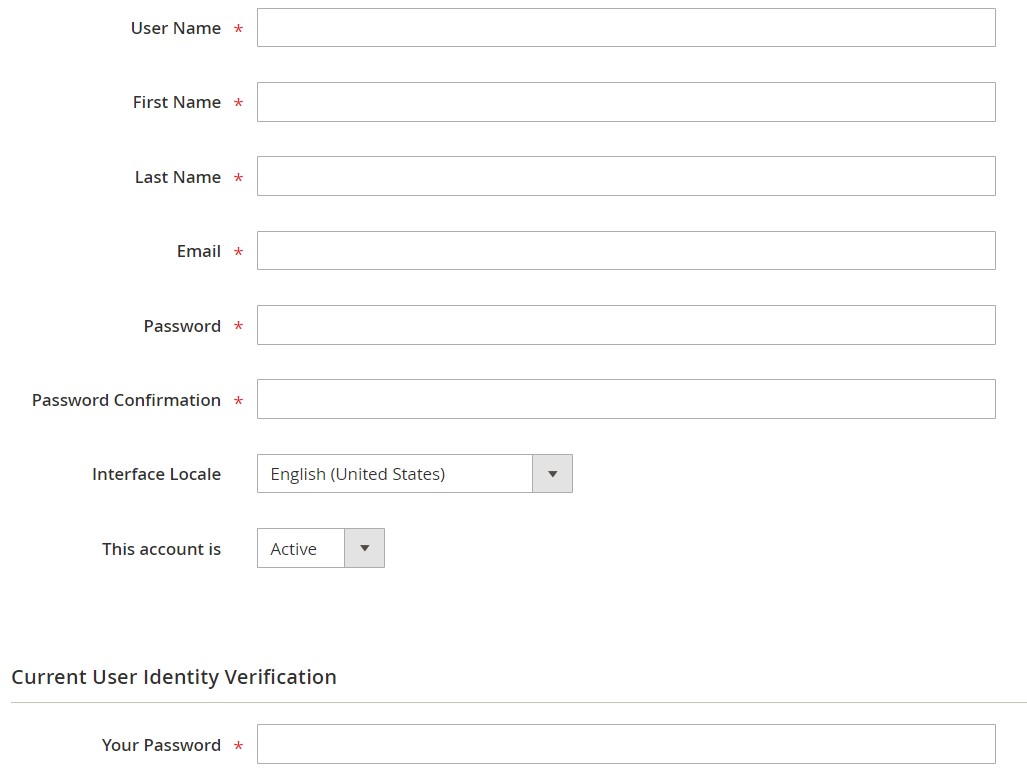
Here, you can also configure the Expiration Date for the account. Click the calendar icon to define a period for it to be active. After the expiration date, the system will change the status of your user account to Inactive. However, you can reactivate it if necessary.
Now, you have to pass the Current User Identity Verification. Enter your user account password there. Save the newly created account. The corresponding record will appear in the All Users grid.
Assigning a user role
Now, let’s exoplore how to assign a user role to your newly created account. Choose the User Role tab in the left panel. The page contains a grid that lists all the existing user roles. If your store is new or you didn’t create any additional roles, the only available option is Administrators.
If the necessary role is not available, create it, and then assign it to the user account you are working on. We explore how to create a new user role after going through the 2FA provider verification.

Verifying a 2FA provider
In Magento 2.4, two-factor authentication is mandatory for all admins, and it cannot be disabled. Therefore, you need to configure it for every admin user. Open the 2FA tab. You will face a screen that looks as the following one:
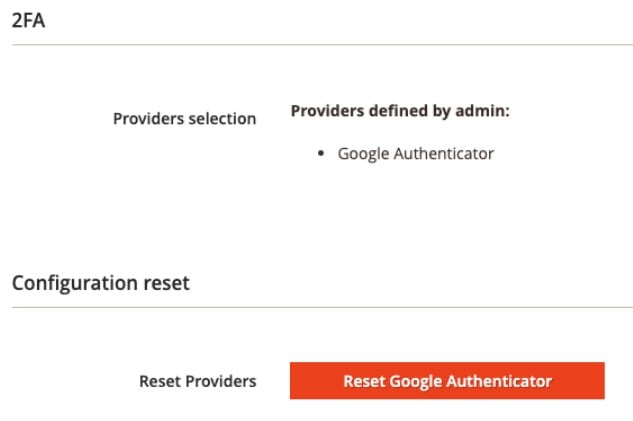
You can verify 2FA provides available to your Magento 2 backend administrators. After that, you have to ensure that your administrators have installed a solution they want to use. Otherwise, they won’t be able to sign in.
Note that if the user needs to reinstall their current 2FA solution, it is necessary to reset the current 2FA configuration. Magento 2 sends an email notification with a single-use link to configure 2FA. A new link is sent every time a user tries to sign in.
Now, your user account is fully configured. Click Save User and enter your password when prompted.
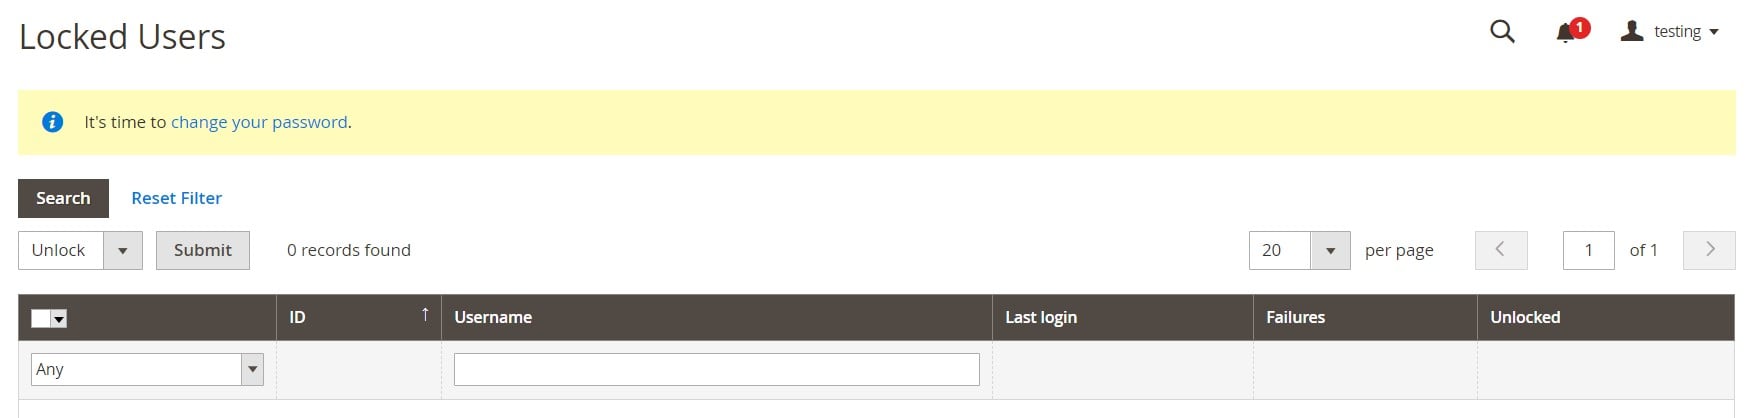
How to Unlock an Admin Account in Magento 2
Magento 2 locks an admin account after six failed attempts to log in. After a series of unsuccessful efforts, a locked user account appears in the Locked Users grid. As a user with full administrator permissions, you can unlock it under System -> Permissions –> Locked Users. Select the checkbox of the locked account and choose set Unlock from the Actions dropdown. You unlock the account upon clicking Submit.
How to Add a New User Role in Magento 2
As we’ve just mentioned above, you can create various user roles with different levels of access to Magento backend. Thus, you provide your admins with restricted rights. Let’s see how to define a role in Magento 2.
You can add a new user role in Magento 2 under System -> Permissions –> User Roles. The grid contains the existing roles and shows their ID, name, and allowed scopes.
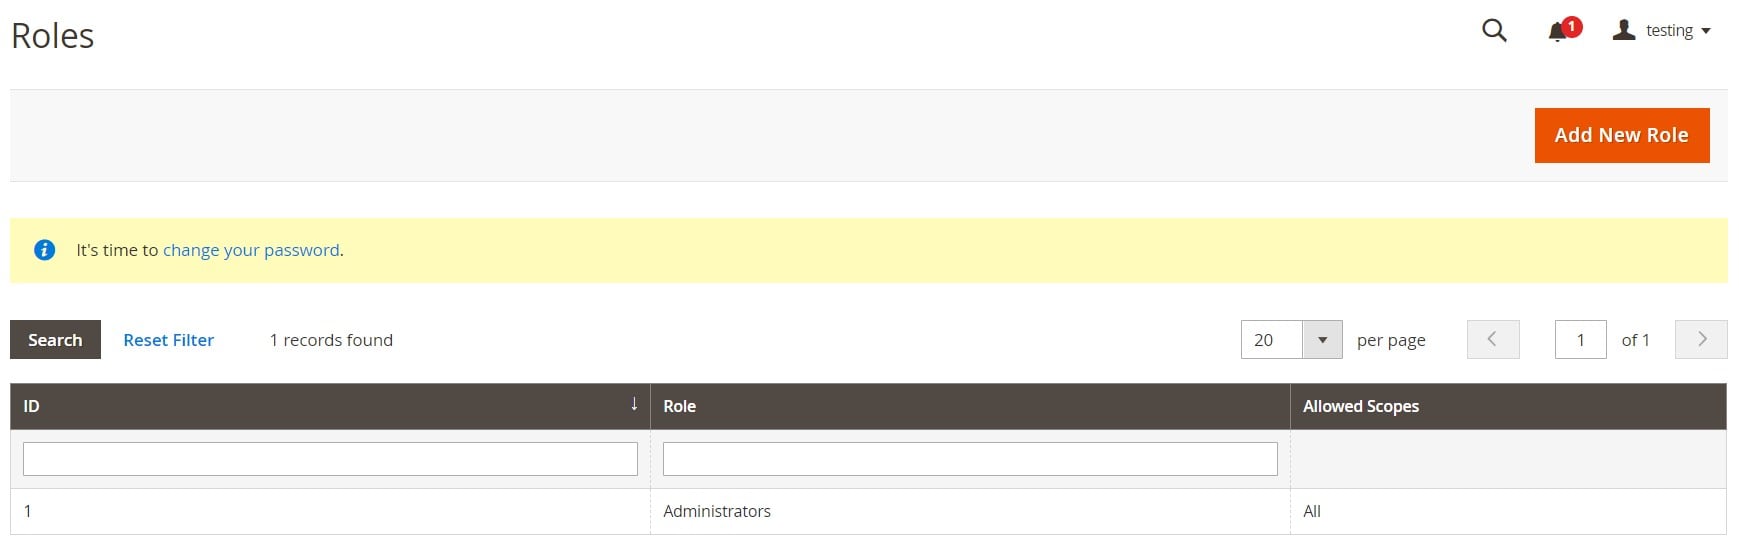
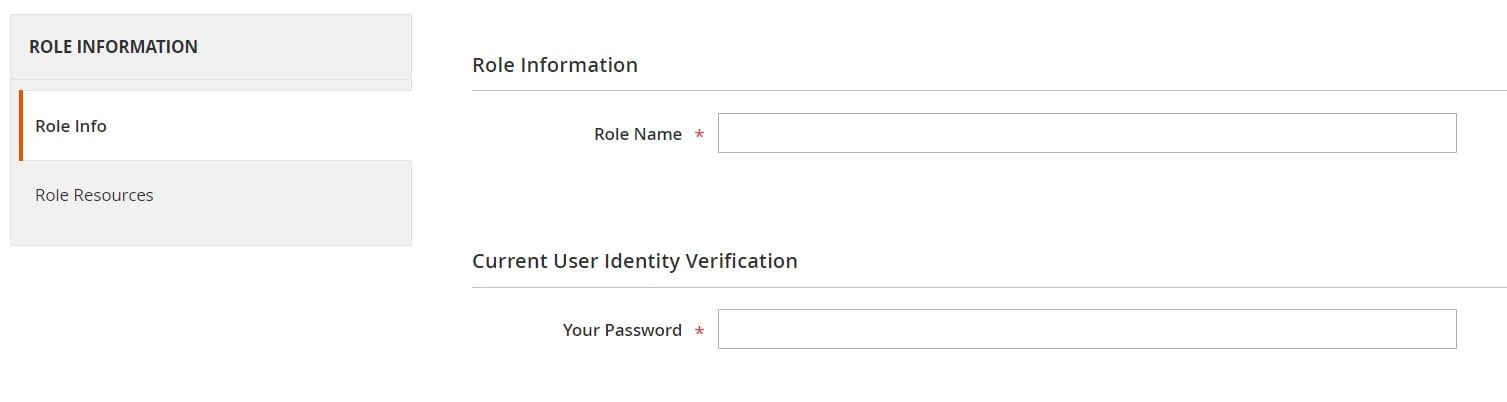
Click Add New Role above the grid in the upper-right corner. The system redirects another screen where you can specify the name of your new role in the Role Information section. After that, pass Current User Identity Verification by entering Your Password.
Now, you can assign resources to the new user role. Pay heed to the fact that if you don’t disable access to the Permissions tool, a user will be able to modify their own permissions.
Magento 2 lets you set Role Scopes to either All or Custom. The former lets you retain access to the entire Magento 2 installation. The second option lets you choose websites and stores accessible for users assigned to the role.
As for the Roles Resources section, it enables you to set the Resource Access option to All or Custom. While the first configuration provides admission to all actions and areas, the second one activates a resource tree, where you can select backend sections visible to the administrator. Bear in mind that choosing the top-most permission for each feature assigns all sub-permissions.
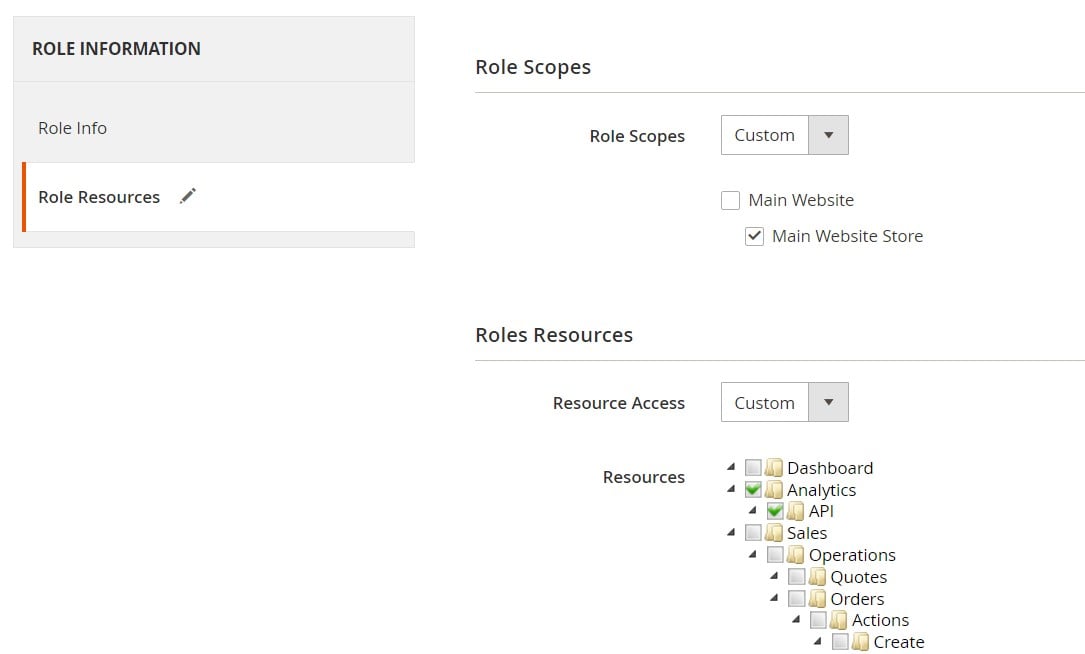
Now, when the resource tree is configured, you can save your new user role.
How to assign a role to multiple users
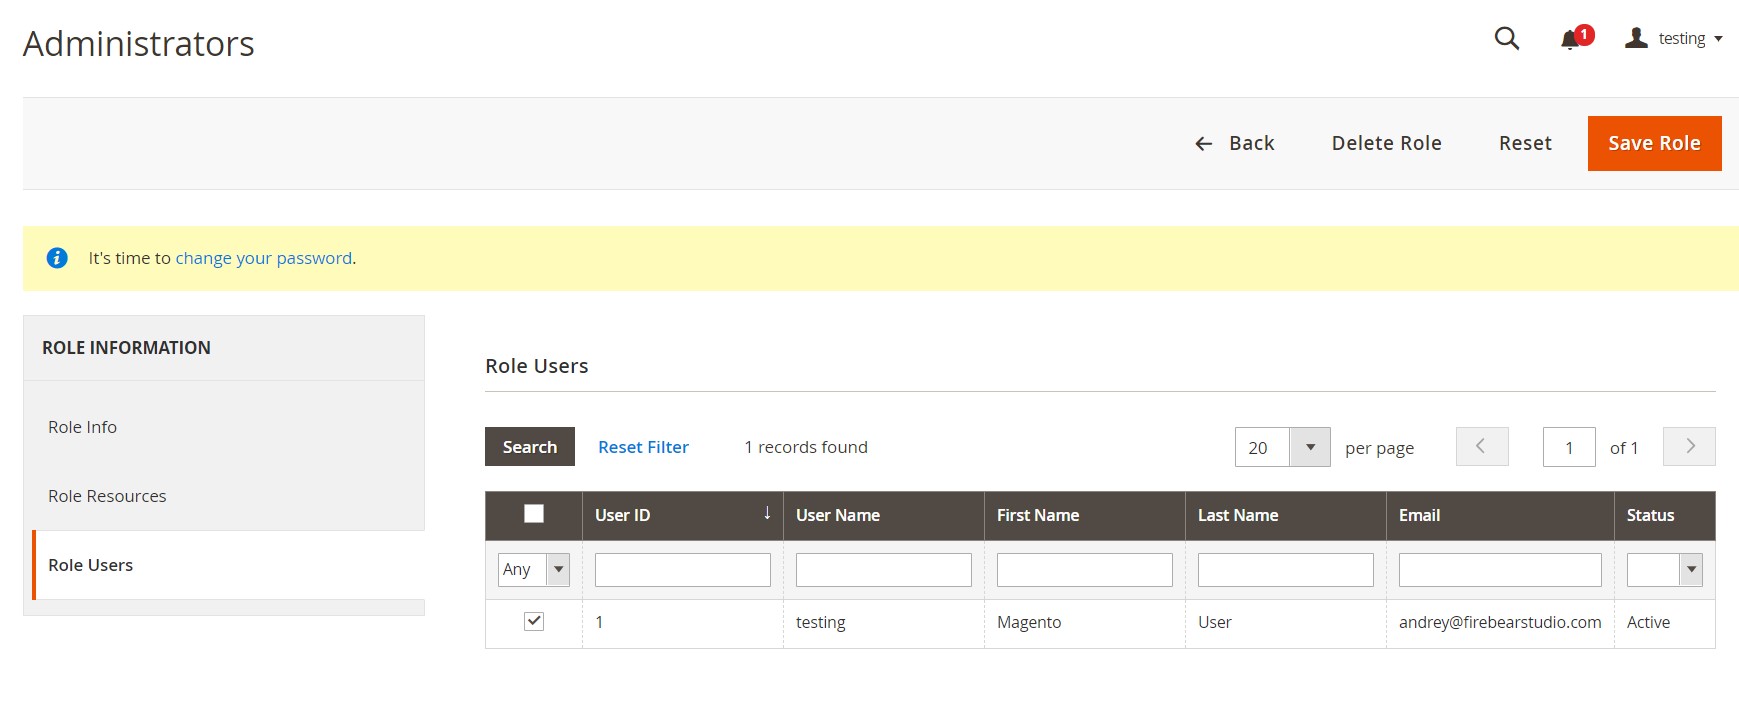
We’ve already described how to assign a user role to a new admin account. However, you can appoint a current user role to numerous administrators simultaneously. Go to the Roles grid and open the record you want to attach to multiple accounts.
Enter your password under Current User Identity Verification and proceed to Role Users. You will see a grid with standard control options. Select the account records you want to assign the role to. Click Save Role to complete the procedure.
Related posts
 Shopify Gift Cards Explained: How to Set Up, Manage & Sell Them
 Shopify Inventory Management: A Comprehensive Guide to Tracking and Optimizing Your Stock
 Magento Inventory Management: A Complete Guide to Stock Optimization and Efficiency
 Shopify Preorders Explained: How to Sell Before You Stock
 How to Block Customers on Shopify: A Complete Guide to Protect Your Store
 What’s Wrong with Shopify App Store: How to Spot a Scam or Low-Quality App in 2025
 Magento SEO in 2026: Proven Strategies to Rank Higher and Boost Sales (50+ Tips)
 How to Import Customers & Customer Addresses to Magento 2: Complete Tutorial, CSV Samples & Tips