How to Remove Images From Magento 2 Directory After Import
![]()
You’ve probably been in a situation when the Magento 2 directory gets full of unnecessary product images. Therefore, it is necessary to clear them manually from time to time. If there are several unnecessary files in the directory, it’s not a big deal. However, if you regularly import hundreds of products, deleting the corresponding images may consume much time. And, unfortunately, we don’t know any instrument that can clear your Magento 2 directory automatically. But you can harness advanced import processes to keep it clear. In the following article, we shed light on how to automatically remove product images from the Magento 2 directory after every import. For more tips like that, follow our Magento 2 Developer’s Cookbook.

Table of contents
Remove Images from Directory: The Option’s Definition & Impact
As you’ve probably guessed already, the desired import functionality is associated with the Improved Import & Export extension. We already explained its “Remove All Images” feature and the feature’s impact on the imported product images. If you don’t know, the feature deletes all images related to the imported products from the database when enabled. However, it doesn’t touch your directory where the corresponding images are sorted.
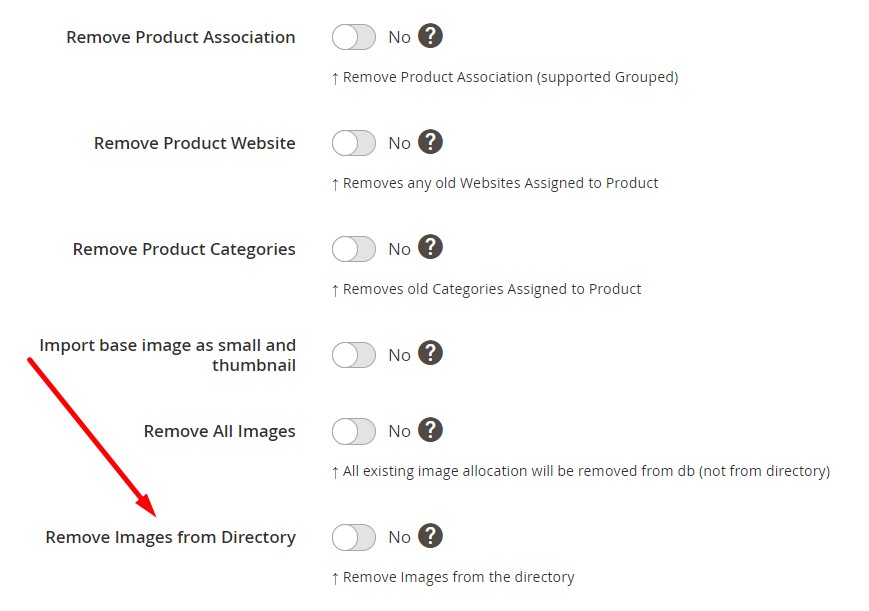
If you want to clear product images from the Magento 2 directory, you need to turn on another feature – “Remove Images from Directory”. It clears images from the Magento 2 storage folder. That’s it.
Now, let’s see remove product images from the Magento 2 directory after every import.
How to Import Products to Magento 2 & Remove Their Existing Images From The Directory
The whole process of removing is reduced to a single click – you only need to enable the corresponding option. Follow these steps to import products to Magento 2, removing product images that are already available on your website from your Magento 2 storage folder:
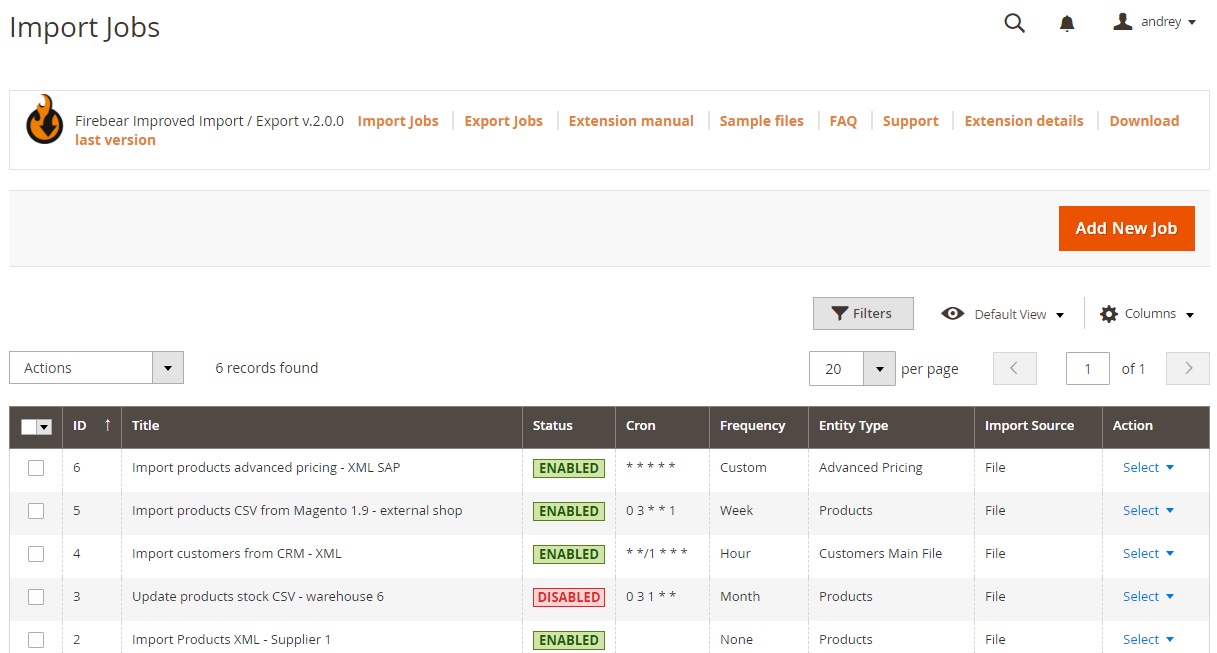
- Go to System -> Improved Import/Export -> Import Jobs and create a new import job here (“Add New Job”).
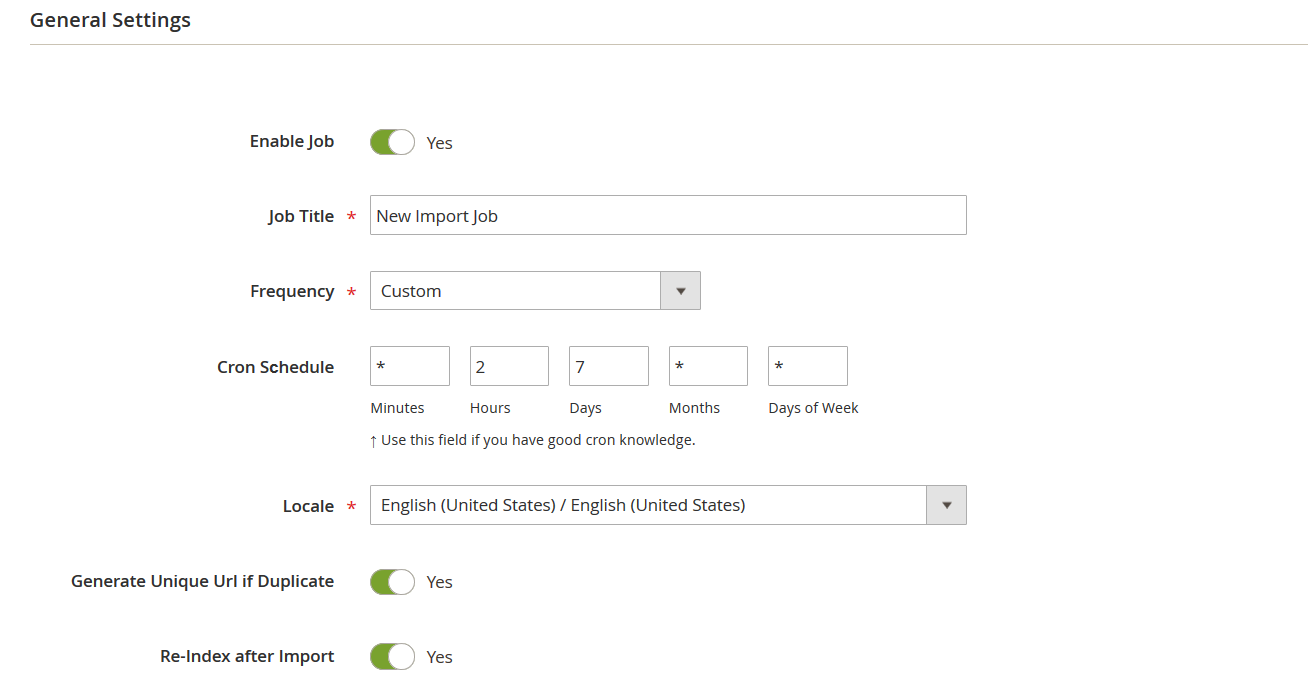
- Turn on your job, specify its title, and set the update frequency on the General Settings tab.
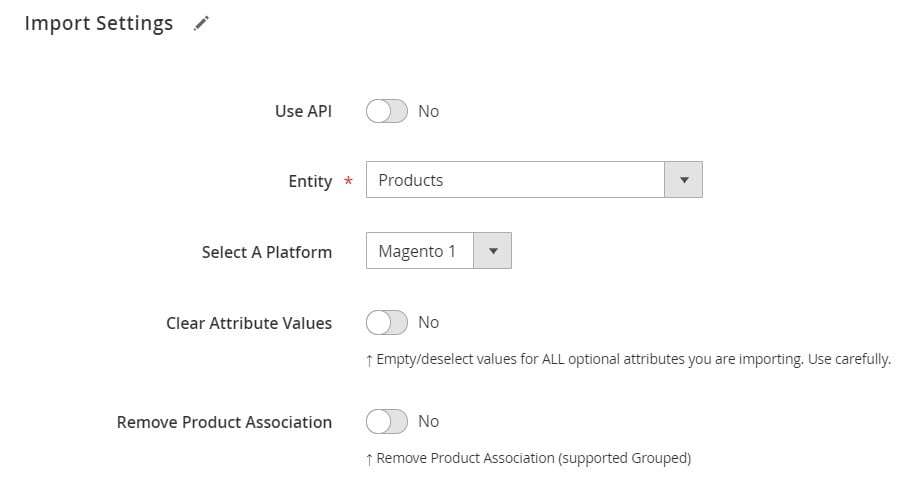
- When the previous configurations are applied, go to the Import Settings tab. Choose Products as your import entity to unveil a couple of additional settings.
- You can find the “Remove Images from Directory” option here. Enable it to remove product images associated with imported products from your Magento storage.
- Configure other options and save your import job.
Now, you can start importing products to Magento 2, removing associated images from your Magento 2 directory. For further information on how to import products to Magento 2, follow this link: The Complete Guide to Magento 2 Product Import.
Improved Import & Export Features
The option to delete product photos isn’t the sole benefit of Improved Import & Export. As previously stated, the plugin totally redesigns Magento 2’s import and export methods.
With the aid of our module, you may avoid time-consuming and inconvenient file transformations. Although Magento 2 only supports CSV files (you must convert all files to this format before importing them), the Improved Import extension allows you to import and export files of different standards, including CSV, XML, JSON, ODS, and XLSX.
In addition to that, you can run data exchange using numerous file sources, such as Google Drive Dropbox, FTP/SFTP, direct file uploads, or URL uploads. Alternatively, you can rely on Google Sheets to import products:
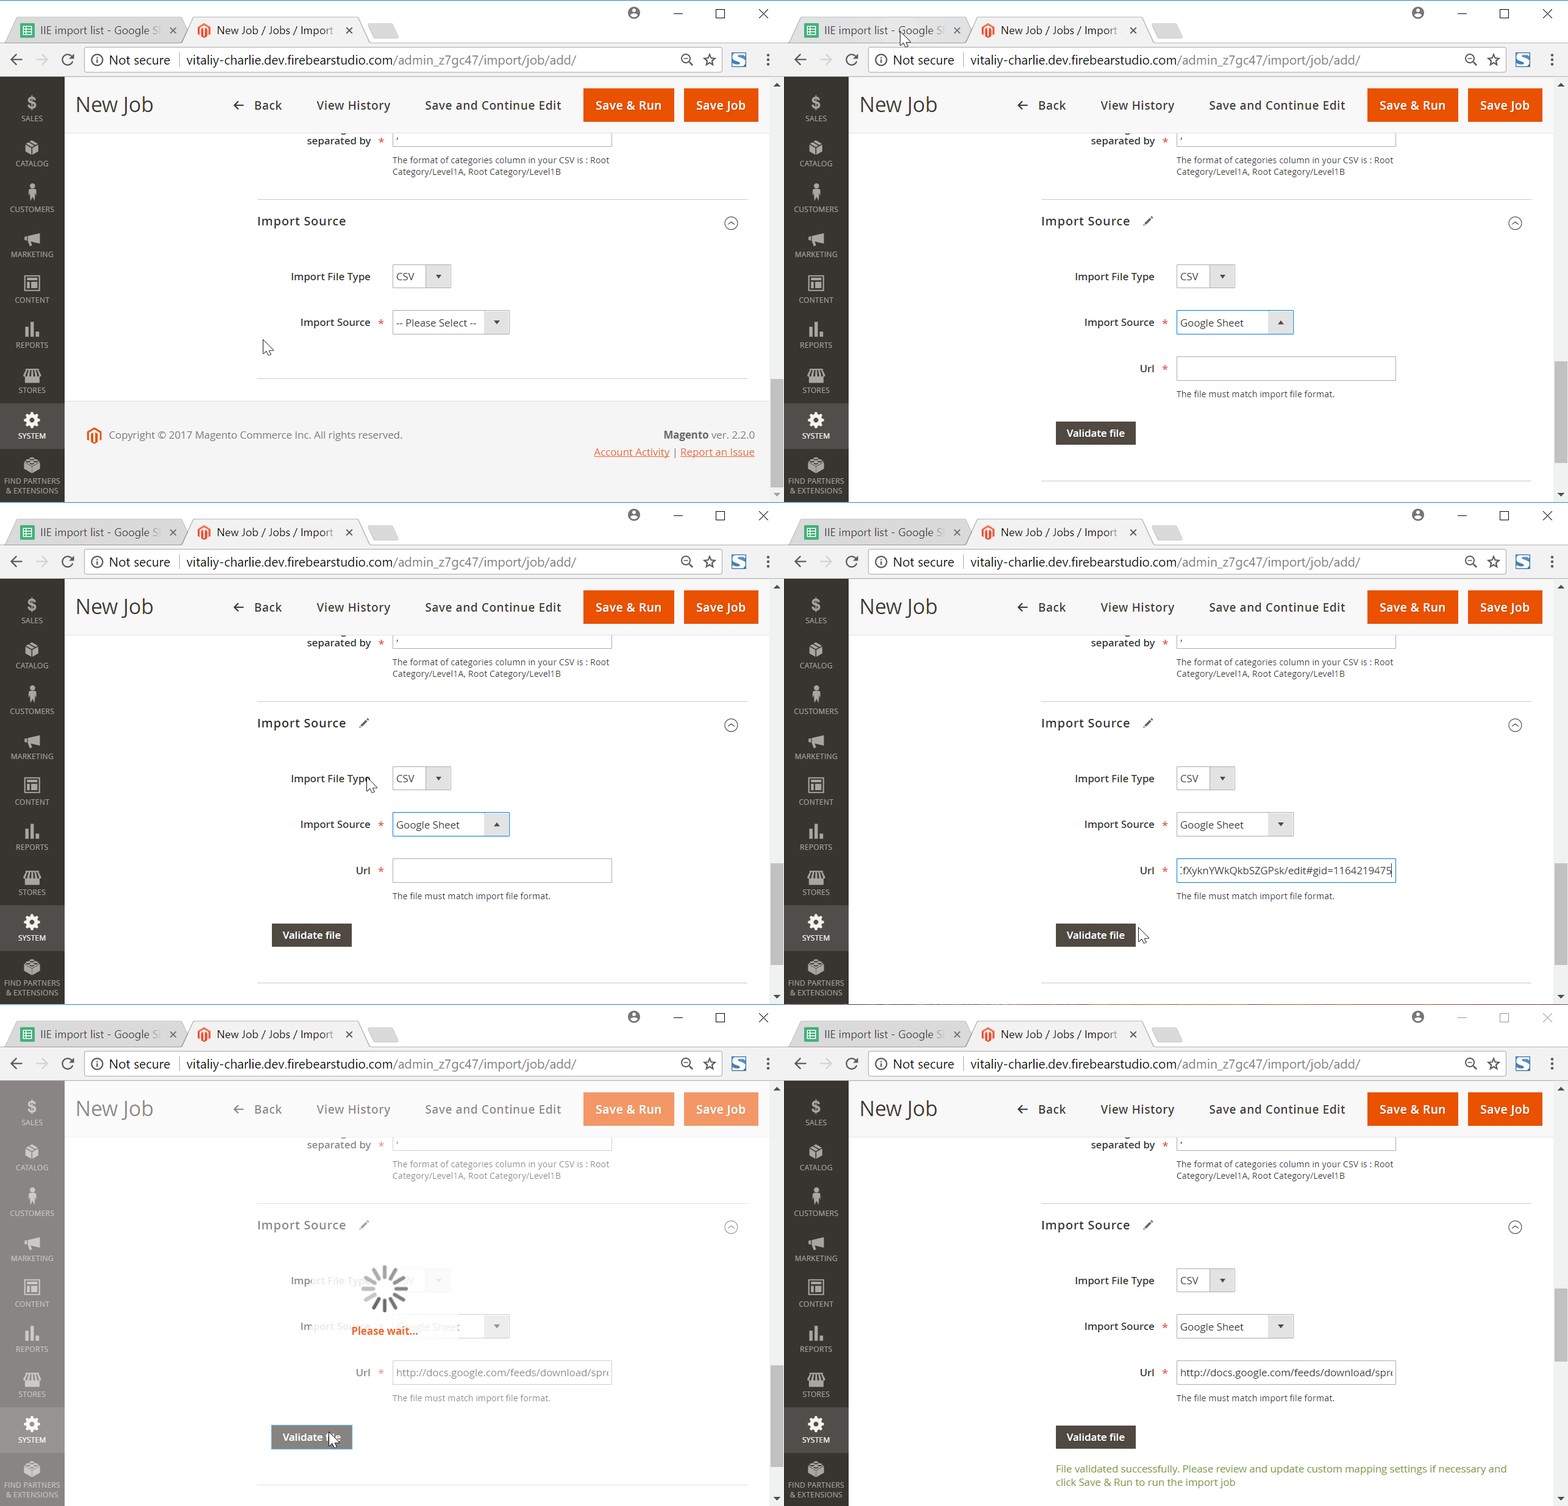
The extension allows you to avoid using third-party services. When you link your e-commerce website directly to external systems, Import & Export offers direct API transfers, bringing a whole new method to import and export procedures between Magento 2 and external systems.
Another handy enhancement that can be found in every import and export process is scheduling. It allows you to update your e-commerce website automatically at a set time.
And don’t forget about the extension’s extensive mapping features, which allow you to convert third-party attributes to Magento 2 attributes or even build new attributes and values if required. Follow these links for further information:

