
Shopware 6 Export Automation: Scheduling Made Easy

If you deal with regular updates, export automation is a very desired feature. However, Shopware 6 doesn’t support it by default, so you have to run every Shopware export manually. It won’t take much time if data transfers occur once a week, but what if you have to deal with hourly transfers? In this case, manual export becomes extremely annoying and time-consuming. However, if you need to automate data exports in Shopware 6, consider using the Improved Import, Export, and Mass Actions app. This app allows you to schedule data exports at your preferred intervals, whether it’s hourly, daily, or weekly. By setting up export schedules, you can save time and eliminate the need for manual exports, especially when dealing with frequent data updates. The following tutorial will teach you how to export data to Shopware 6 on schedule. You can find other helpful suggestions in our Shopware Cookbook. And don’t forget to explore the Shopware 6 import automation.

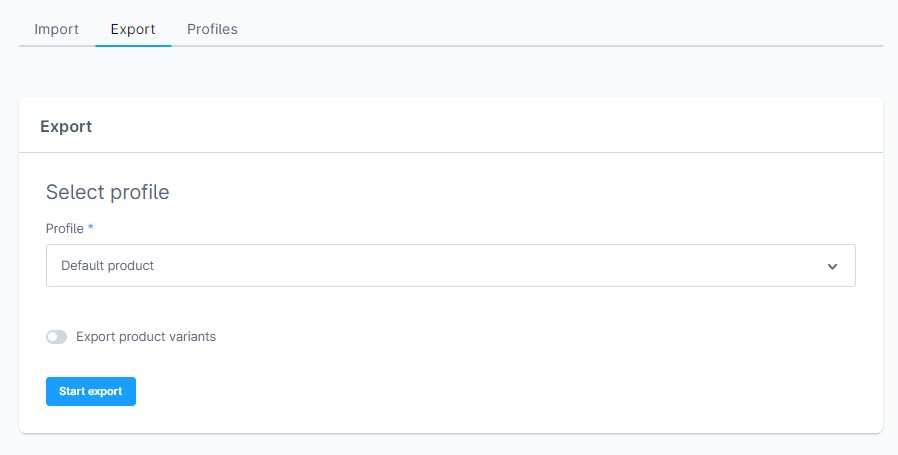
Default Shopware 6 Export
With the default export process in Shopware 6, you pick your export profile, initiate the transfer, and then manually retrieve the file once the export is finished.
However, this manual approach can be cumbersome and time-consuming, especially when you need to provide updates to your partners regularly. Every time your partner requires an update, you’re forced to follow the same repetitive steps: start the export, retrieve the update, and either reupload it to a third-party platform or directly deliver it to the recipient.
But there is a better way to provide your exported files to your partners. The Improved Import, Export, and Mass Actions app lets you export data from Shopware 6 to external storage at a predefined time regularly.
How to Run Shopware 6 Export On Sсhedule
The latest version of the Improved Import, Export & Mass Actions application introduces scheduled automation for both import and export processes. Here’s a guide on how to set up automated data transfers in Shopware 6:
- Navigate to your Shopware 6 admin panel.
- Access the Improved Import, Export & Mass Actions extension:
- Go to “Extensions” in the main menu.
- Select “Improved Import, Export & Mass Actions.”
- To create a new export schedule, follow these steps:
- Click on “Product Export.”
- Locate and click the “New Profile” button.
The Select file screen is where you configure automated export processes to Shopware 6. By following these steps, you’ll be able to configure and set up various automation plans for your data transfers, allowing you to schedule both import and export processes in Shopware 6:
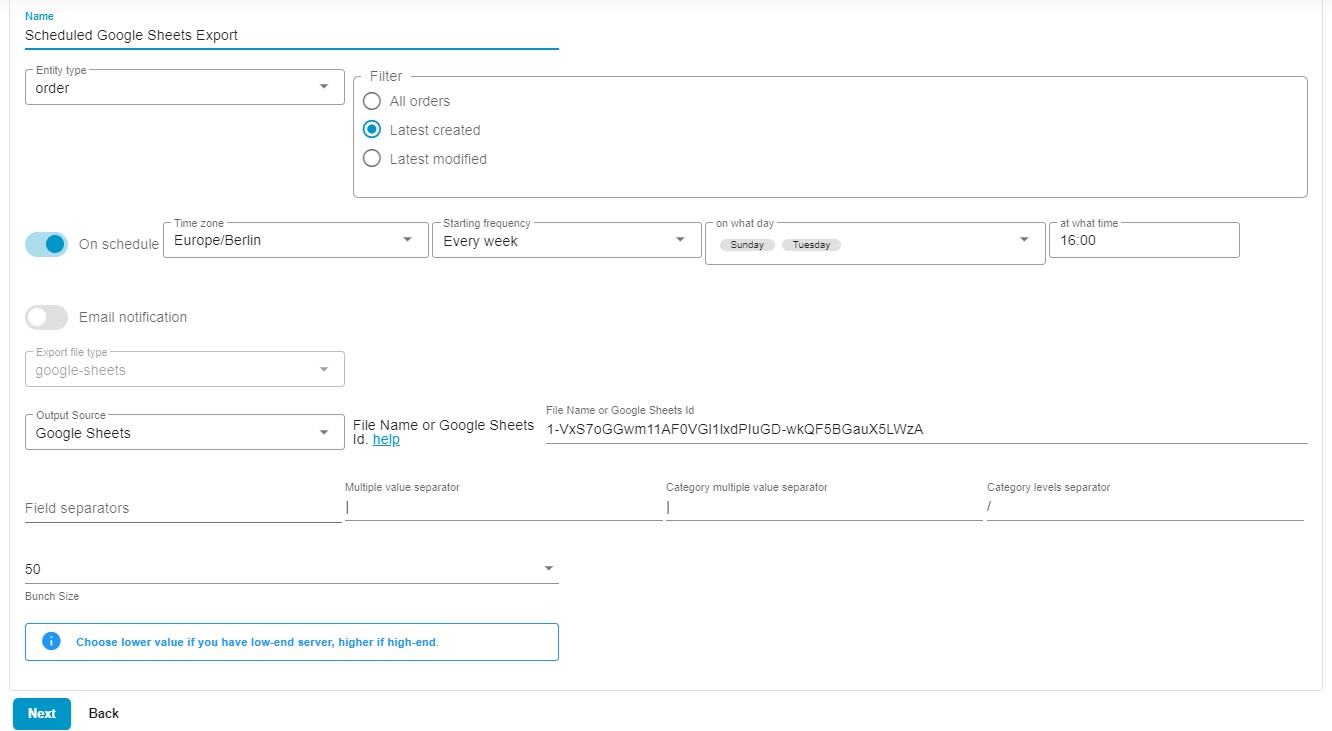
- Specify the name of your import profile;
- Choose an entity you want to export (e.g., products, customers, or orders);
- Enable the On Schedule toggle to create a schedule of updates:
- Select your time zone.

- Choose the starting frequency: every hour, day, week, or month;
- For hourly exports, select at what minute to start your data transfer processes;

- For daily updates, select the time of the day to run Shopware export;

- For weekly updates, select the day and time to initiate the data transfer;

- For monthly exports, select what date and time to begin the process.

- Select your time zone.
- Configure email notifications if necessary;
- Select your file format (e.g., CSV, XML, XLSX, or Google Sheets);
- Choose your export source (e.g., file, Google Drive, Google Sheets, or FTP);
- Specify separators;
- Choose a bunch size for your file export: specify a lower value if you have a low-end server.
After configuring your export profile in the Improved Import, Export & Mass Actions application for Shopware 6, the next step is to proceed to the mapping screen, where you can specify which Shopware columns you want to replace or customize. Here’s what to do:
- Click “Next” and you’ll be guided to the mapping screen as part of the profile setup process.
- On the mapping screen, you’ll see a list of default Shopware columns that correspond to the data you’re exporting.
- To specify which columns to replace or customize, make the necessary changes by entering new values or labels in front of the default column titles. For example, if you need to change the “Product Name” column to “Item Title,” you can enter “Item Title” in front of “Product Name.”
- You can also select only the necessary columns to export. Simply deselect all columns and check the columns to add to your export file.

- The Improved Import, Export & Mass Actions application will automatically make the changes you’ve specified, ensuring that the exported data adheres to the desired column titles as required by your partner or third party.
By customizing the column titles and deselecting columns on this mapping screen, you can ensure that the exported data aligns with the specific naming conventions or requirements of your partner or recipient. This customization ensures a smooth and compatible data exchange process.
If you don’t want to export all records, you can create filters. Click “Next” on the Select Columns screen to proceed to the Filter screen:
- Press the “+” button;
- Select a product property to create a foundation for your export filter. For instance, you can choose orderDate to filter out orders by their creation date.
- Select an operator. For instance, Range lets you export records for a specific interval;
- Specify a value. If you export orders, and orderDate and Range are selected, you can export orders from today, yesterday, last week, month, etc.

Note that it is possible to create multiple filters by clicking the Add filter button.
Next, click the Save & Close button to save your Shopware export profile and run it according to the schedule. When you click the Export button at the bottom, the app launches the update transferring your data file from Shopware 6 to the specified destination right now.

You can read more about the enhanced Shopware 6 export in our Improved Import, Export & Mass Actions Manual.
Other Features
The Improved Import, Export, and Mass Actions app for Shopware 6 is designed to address the most common challenges faced by Shopware 6 shop owners during import and export processes. It offers a range of essential features to streamline these operations and enhance your e-commerce experience. Here are some key highlights:
- Efficient Product Editing: The app allows you to perform bulk edits for your products from a single page, simplifying the management of your product catalog.
- Unified Data Output: Unlike standard import and export methods, the app consolidates all product attributes into a single file, eliminating the need for multiple separate files for each property.
- Comprehensive Product Support: The app provides full support for both importing and exporting products, including custom properties (attributes). This ensures that you can efficiently manage your product data.
- Customer and Address Handling: It offers complete support for importing and exporting customer data, including their associated addresses, facilitating customer management tasks.
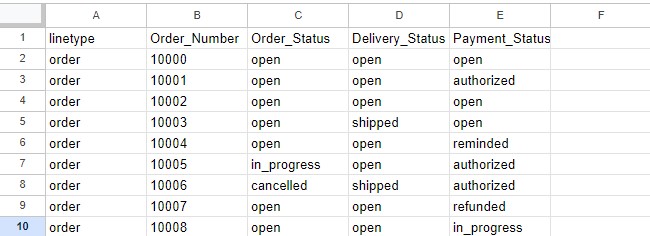
- Order Export: You can export orders seamlessly, simplifying order management and analysis.
- Product Variants: The app fully supports product variants, enabling you to work with a comprehensive set of attributes for your products.
- Mapping and Presets: You can easily map product properties and take advantage of mapping presets for smoother data handling.
- Scheduled Import and Export: Set up import and export schedules to automate data transfers based on your preferred timing and frequency.
- File Type Compatibility: It supports various file types, including CSV, XLSX, XLSX, and Google Sheets, ensuring flexibility in data formats.
- Direct and FTP/FTPS Uploads: You can upload data directly or through FTP/FTPS for secure and convenient data transfer.
- Google Drive Support: Import and export data straight between your Shopware 6 website and your Google Drive storage.
- Google Sheets Integration: The Improved Import, Export, and Mass Actions app is integrated with Google Sheets. It means that you can easily import data from ane spreadsheet stored on this platform as well as create an output as a Google Sheets file.
With these features, the Improved Import, Export, and Mass Actions app empowers Shopware 6 shop owners to efficiently manage their e-commerce operations, from product catalog management to customer data handling and order processing. It simplifies complex tasks and enhances the overall efficiency of your online store. You can find more information about the app here:
- Improved Import, Export & Mass Actions application for Shopware 6
- Improved Import, Export & Mass Actions Manual
- Contact us