Magestore Shop by Brand Magento 2 Extension

Although some layered navigation Magento 2 extensions offer shop-by-brand functionality, for instance, Amasty Improved Layered Navigation, there is also a tool designed to implement this feature in the most advanced way. Meet the Magestore Shop by Brand Magento 2 extension – a better navigation and filtering module for your e-commerce website.

Unfortunately, Magestore no longer provides this module, but you can replace it with the help of the following Magento 2 shop by brand extension:
AheadWorks Shop By Brand Magento 2 Extension

AheadWorks offers a reliable replacement of the Magestore Magento 2 shop by brand extension. You get similar features for only $79.
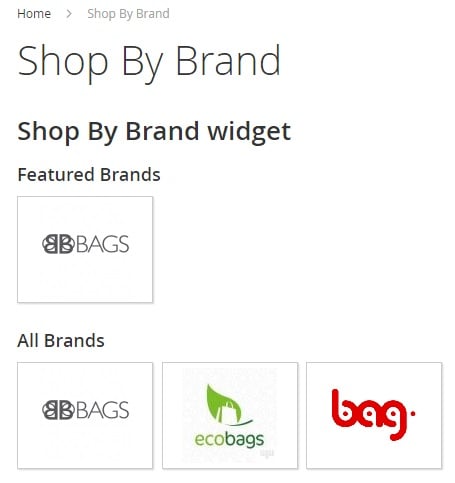
Shop by brand widget loos as follows:
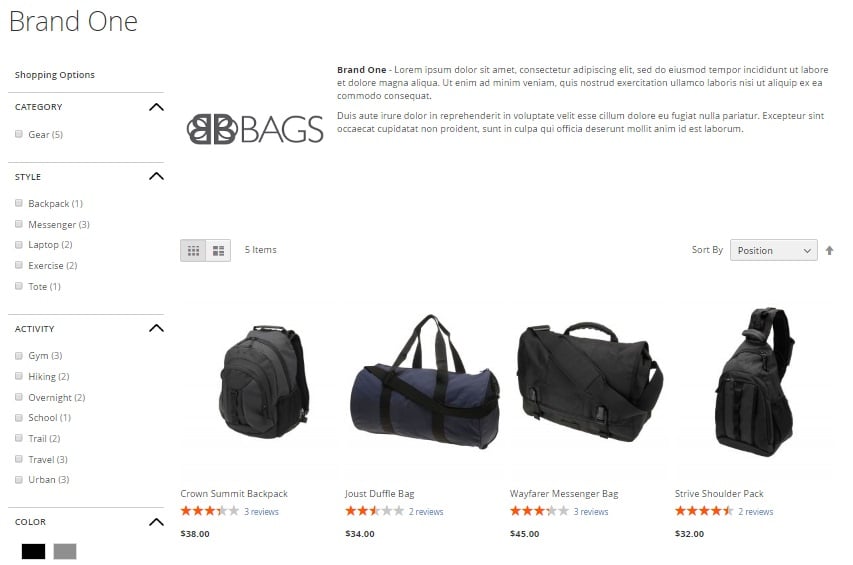
And this is a brand page:
For any further information, follow this link:
Magestore Shop by Brand for Magento 2 adds several display options, such as menu, sidebar, and separate brand pages. Besides, it offers 4 ways to find the desired brand: by category, with the help of search box, via featured content, or in a list with brands in alphabetical order. You can fully customize the brand appearance, view sales reports by brand, and import brands due to a manufacturer attribute via CSV. Note that the Magestore Shop by Brand Magento 2 extension is search engine friendly since it helps you optimize such SEO elements as URL, Title, and Meta info. And you can embed featured brands anywhere. CMS pages, Static blocks, template or layout files – the extension can be integrated into everything.
Backend
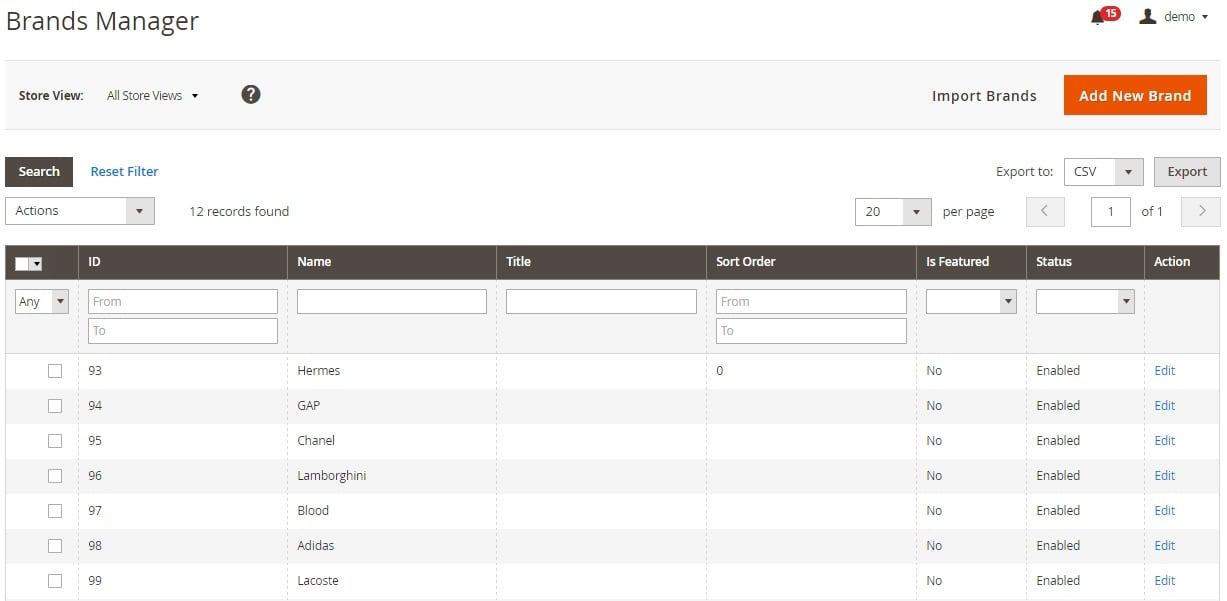
All your brands are available on the Brands Manager grid. You can import them via CSV here as well as add manually. Available mass actions are: delete, update status, and update feature. Brands can be exported in CSV and XML formats. You can use filters to find certain brands. The grid itself contains the following columns:
- Checkbox – select brands for applying mass actions here;
- ID – each brand gets an ID number;
- Name and Title – columns that help you identify each brand;
- Sort order – position in the brand list;
- Is Featured – find out what brands are featured and what are not;
- Status – enabled or disabled;
- Actions – a column where you can edit each brand.
While adding a new brand, you should specify general information and add products related to it. Both settings are available in separate tabs. Thus, in General Information, you should specify brand name, page title, URL key, as well as short and full descriptions.
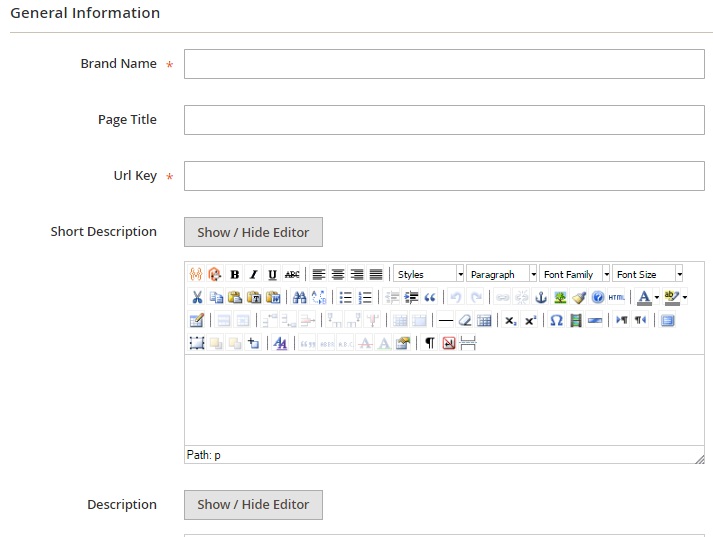
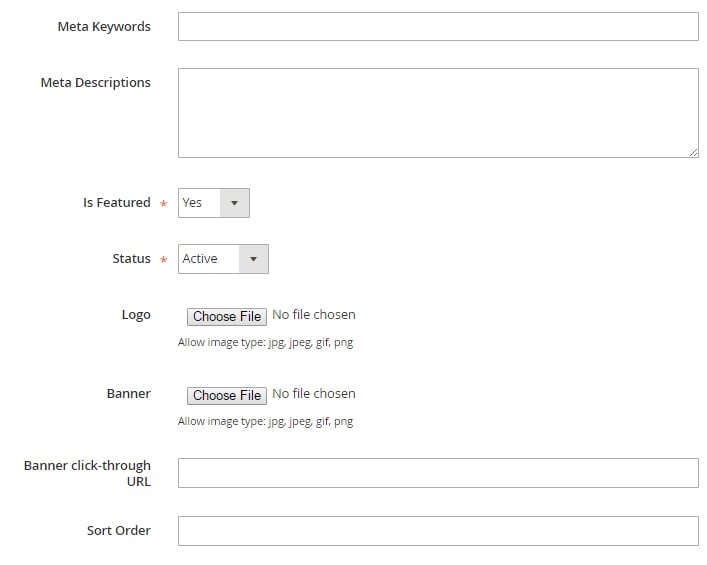
Next, add meta keywords and description, decide whether the brand is featured or not, choose its status (active or inactive), upload logo and banner, add banner click-through URL, and specify sort order.
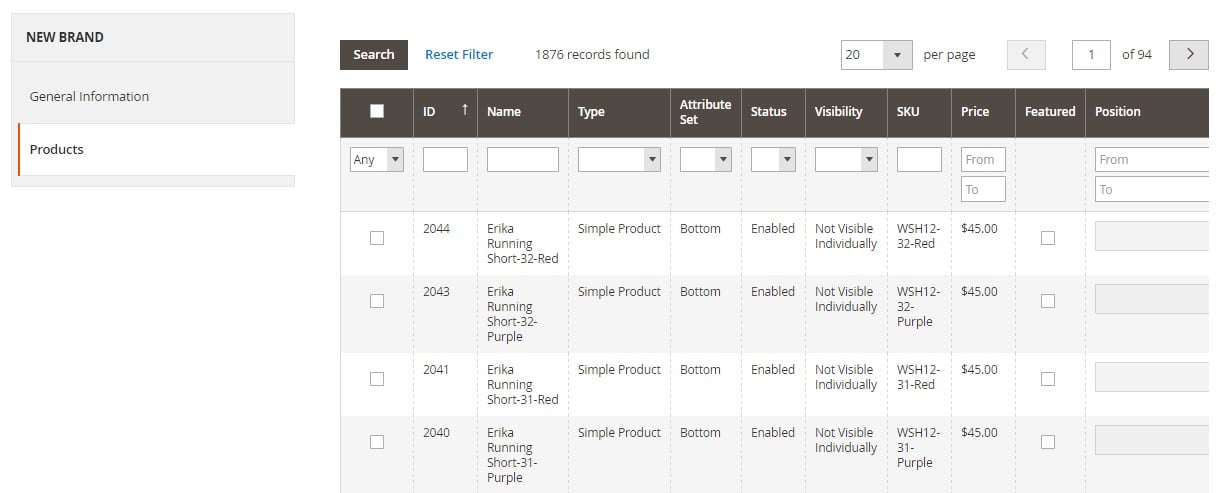
On the Product tab, select products related to the brand.
While editing an already existing brand, you also get the Sold Items tab that illustrates detailed stats on sold products related to this brand. The information is separated in a grid among the following columns:
- ID;
- Name;
- Purchased from Store;
- Purchase Date;
- Bill to Name;
- Ship to Name;
- Qty;
- Row Total (Base).

While importing brands via CSV, choose import behavior (keep or replace existing data). Next, select a file with brands.

As for the extension’s settings, they are divided into 6 sections: General, Brand Listing Page, Brand Detailed Page, Brand Listing Sidebar, Featured Brands Advanced Conditions, and Style Configuration.
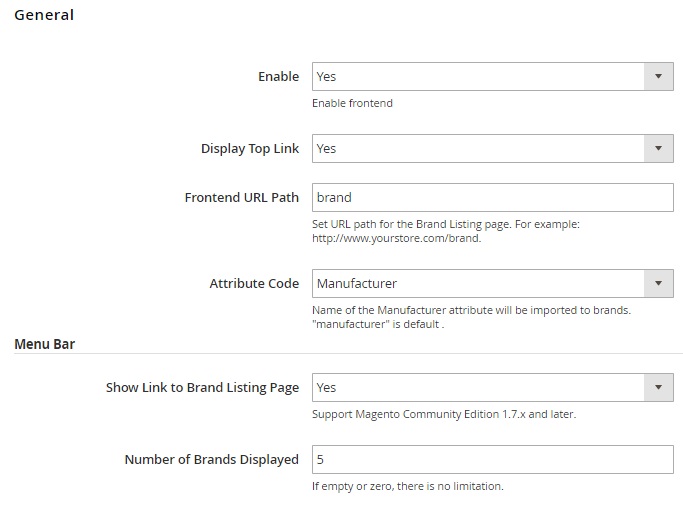
The General section allows you to enable/disable the module, show/hide top links, specify a frontend URL path, and choose attribute code (Manufacturer, Color, Format, Size). Besides, there are two Menu Bar settings: Show Link to Brand Listing Page and Number of Brands Displayed.
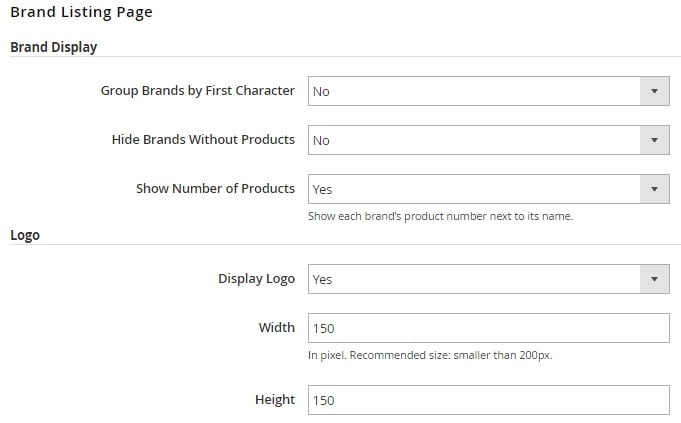
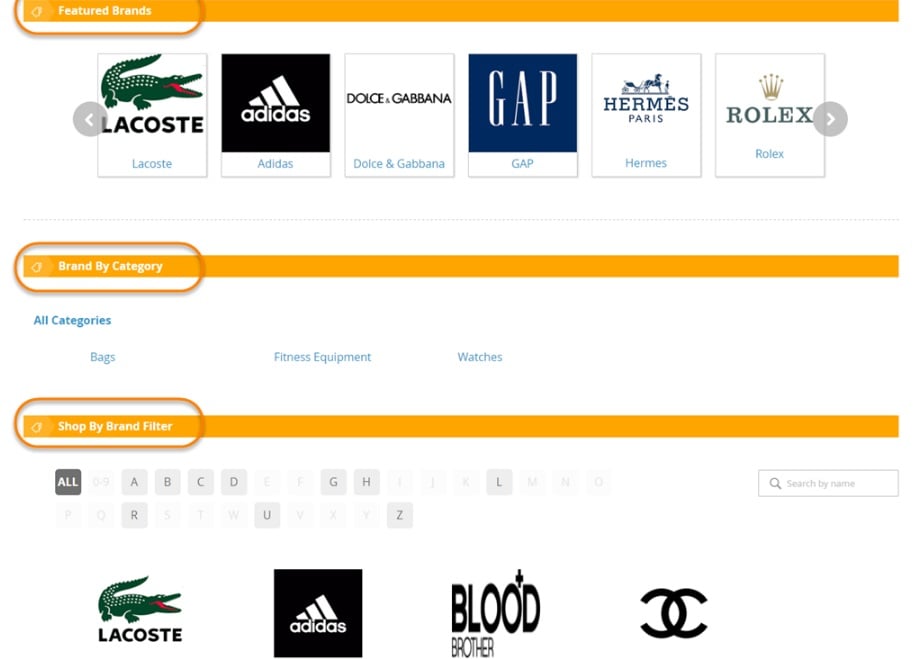
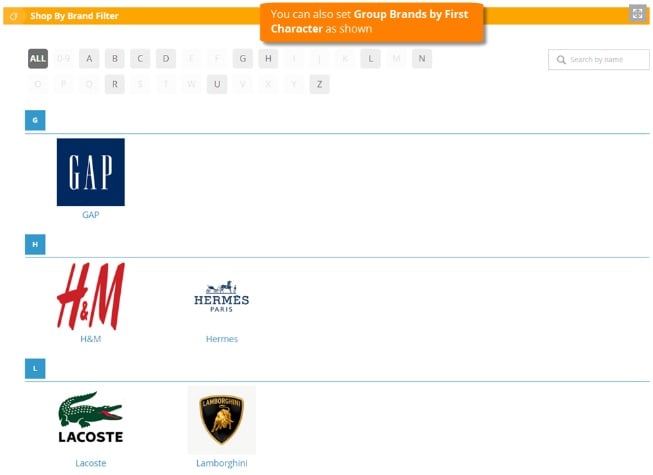
The Brand Listing Page is divided into 4 subsections: Brand Display, Logo, Featured Brands, and Search & Filter. In the first one, you decide whether to group brands by the first character, hide brands without products, and show product count. In the Logo subsection, you can show/hide a brand logo as well as configure its parameters (Width and Height).
In Featured Brands, you enable/disable the feature and decide whether to show them as a slider. As for the last subsection, it provides the ability to enable/disable filter by character, search box, and brand by category on the frontend.
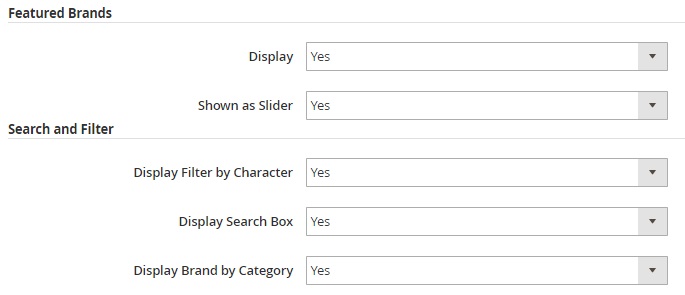
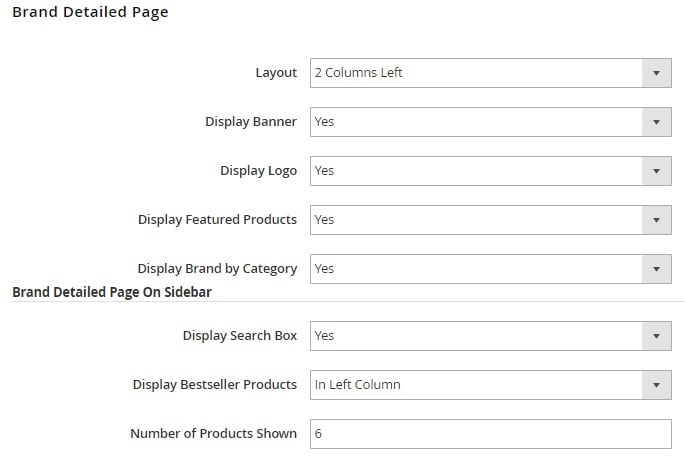
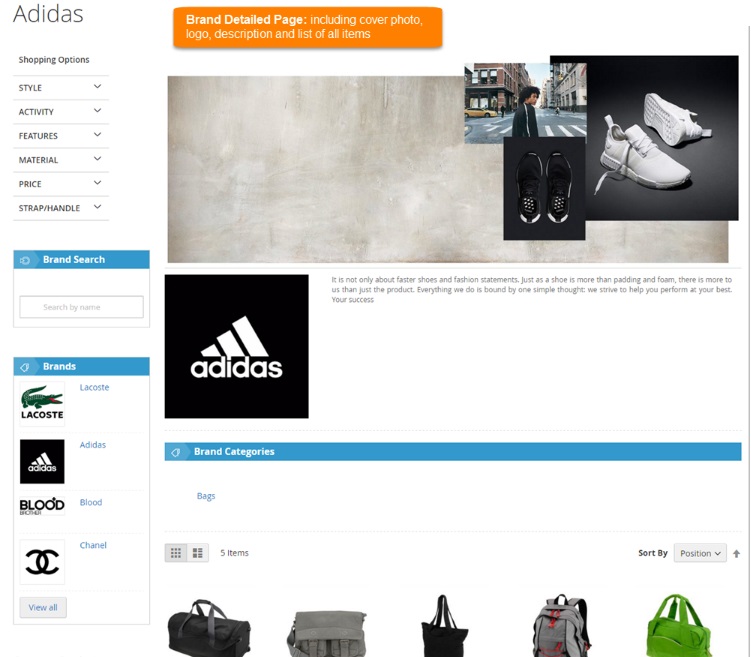
In the Brand Detailed Page settings, you can choose a layout type (1 column, 2 columns left, 2 columns right, 3 columns) and display/hide banner, logo, featured products, and brand by category. As for the Brand Detailed Page On Sidebar, it contains 3 fields: Display Search Box (yes/no), Display Bestseller Products (None, In Left Column, In Right Column), and Number of Products Shown (specify the amount).
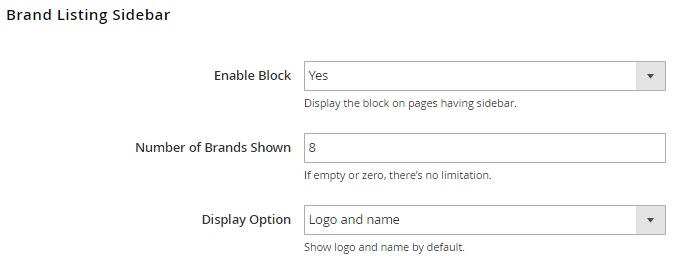
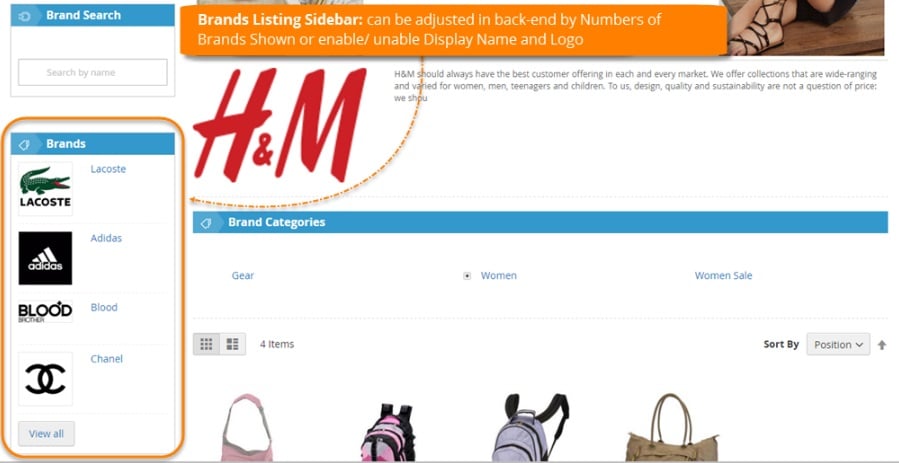
In Brand Listing Sidebar, you enable/disable the block, set a number of displayed brands, and choose display options (Logo and name, Only logo, Only name).
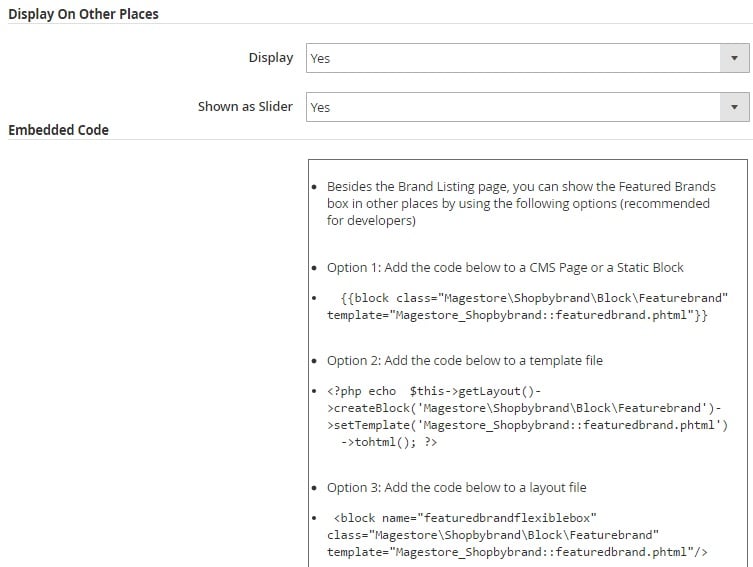
The Featured Brands Advanced Configuration section allows you to display featured brands on other places and show them as a slider. The Embedded Code section describes how to do this.
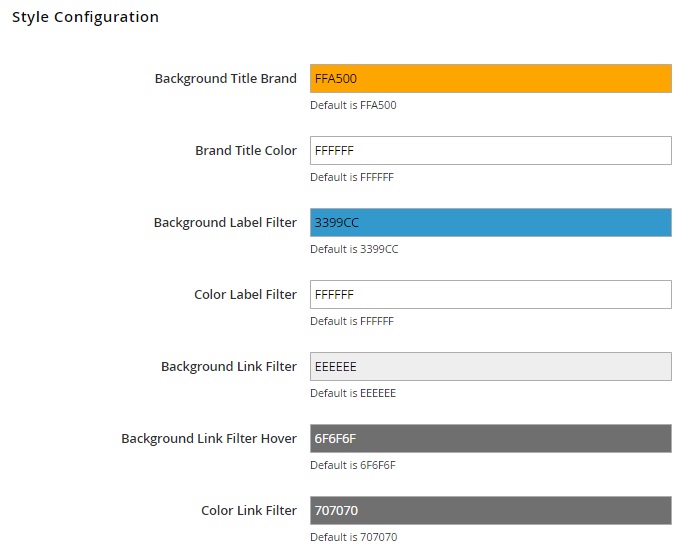
In Style Configuration, you can specify colors for various frontend elements of the Magestore Shop by Brand Magento 2 extension.
Frontend
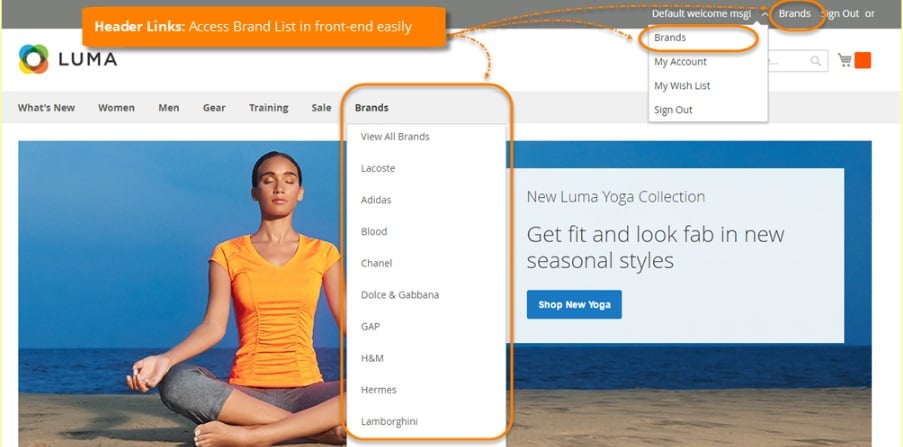
Below, we show how the Magestore Shop by Brand Magento 2 module is displayed on the Magento 2 frontend. These are header links:
Featured Brands, Brand By Category, and All Brands:
Brand Listing Sidebar:
Group Brands by First Character:
Brand page with cover photo, logo, description, and products:
Final Words
The Magestore Shop by Brand Magento 2 extension provides advanced shop by brand functionality. Although a similar feature is available in layered navigation modules, it is implemented in a much more advanced way with the Magestore’s tool. As for the price, the extension costs $199, while it’s Magento 1 version can be purchased for $99.


