
How To Update Shopware 6 Through Shell
In the following article, we shed light on how to upgrade your Shopware 6 website to the latest version through the shell. Please, pay heed to the fact that every Shopware update falls within the ambit of experienced specialists already familiar with the challenge. If you already have such skills or want to gain them within the test environment, you’ve come to the right place. Below, we shed light upon the key prerequisites necessary for every update. You will learn to secure your Shopware 6 update and maintain the extension compatibility. After that, we proceed to the upgrade procedure in the shell. It consists of the following steps: unzip the update and provide it to the system, execute and complete the update, flush caches, validate changes, and update the extensions. So, let’s run through the preparations and see how to update Shopware 6 in the shell. You can find more materials about the platform in our Cookbook.

Note that we provide Shopware integration with external platforms. Contact our support for further information or try our Improved Import, Export & Mass Actions.
Table of contents
How To Secure Shopware 6 Update
The most important security rule for every update, no matter you apply it in the shell, browser, or administration, is that you need to backup your e-commerce website. It will help you easily restore your Shopware 6 installation if something goes wrong during the upgrade process.
However, Shopware does not create backups for you. You need to enable the backup creation on your server manually. Although a hosting partner is usually responsible for that, it is always good to contact them to figure out the nuances.
And as we’ve already mentioned, a test environment is another essential part of the update. Install the update there first to see how safe the process is and what improvements it brings. If something gets spoiled, it won’t affect your production website. We explain how to create a test environment in this guide: How To Create Test Environment For Shopware 6.
As for the system requirements, they may vary depending on the update. Check them before applying any changes. You can find the list of the latest system requirements .
Maintain The Extension Compatibility
Another vital aspect of any update is related to third-party extensions. Check whether they are compatible with the version of your Shopware update. If not, upgrade or uninstall the insufficient modules. If you don’t do that, you may need to recover your e-commerce website from the backup due to the failed upgrade caused by incompatible plugins. So, how to maintain the extension compatibility in Shopware 6?
You need to check whether the modules are compatible with the update. Visit the Shopware , open the Auto-Updater in the admin, or proceed to your Shopware Account at Licenses to see this information. If their current versions don’t support the update, upgrade the extensions. If the latest module version is incompatible, contact the extension provider and discuss the issue.
How To Update Shopware 6 Through Shell
We need to emphasize that this tutorial is made for professionals already familiar with the shell. If you’ve never worked with the shell, try another way to update Shopware.
Since the shell executes commands without further inquiry, you should use it only if you know what you’re doing! Even if you are familiar with the tool, don’t forget to create the backup and use your test environment first.
I: Get the update archive
You can get the update as follows:
- Find the correct Shopware version in the ;
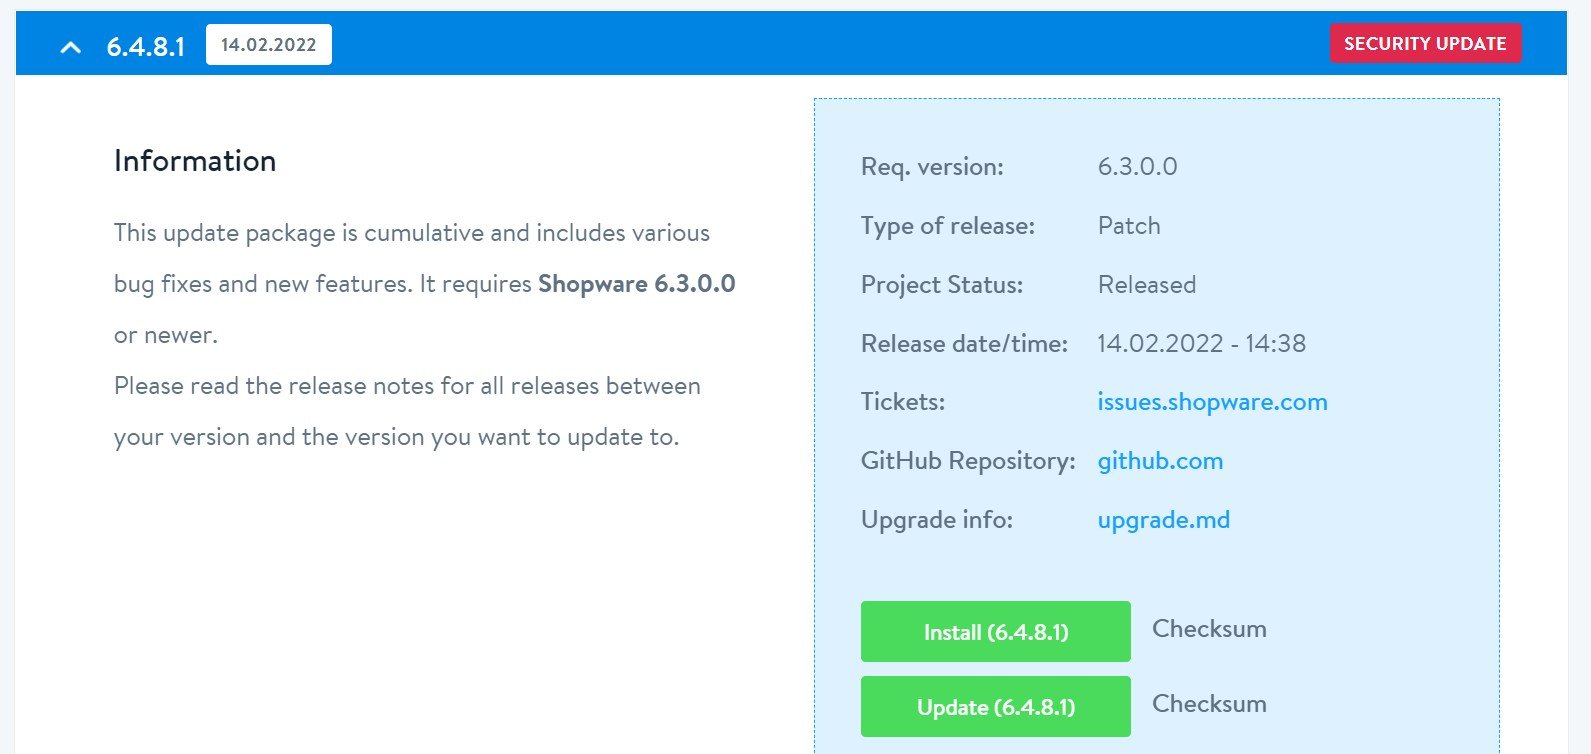
- Download the zip archive (update);
- Unpack the update;
- Copy all its files to your Shopware installation by FTP, overwriting the existing files.
At the same time, it is possible to upload and unzip the zip file through the hoster’s control panel. This approach tends to be faster.
II: Launch the update
Now, you need to use the shell to navigate to the main directory of your shop. You can run the update via the wizard or with a single command.
Update Shopware 6 via the wizard
Use the following command to launch the update wizard:
|
1 |
php public/recovery/update/index.php |
You will see the following welcome message when the updater starts:
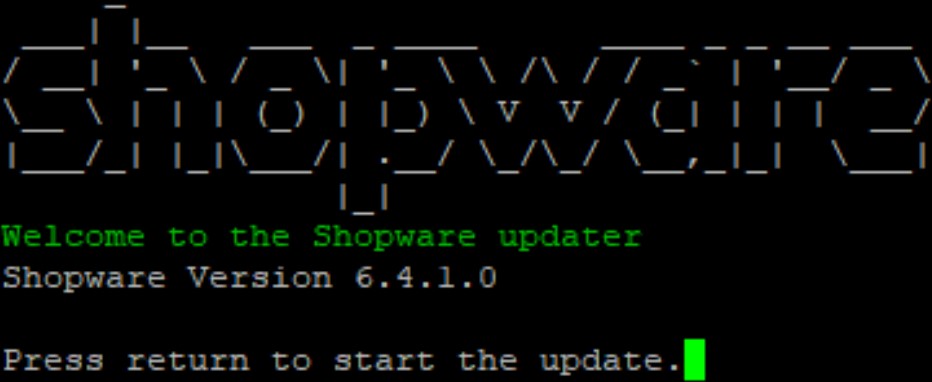
Press ENTER to launch the update: the system will update the database, deleting old files and flushing the cache afterward.
If the update is successful, you need to remove the /update-assets directory to set the shop live again. Use the following command:
|
1 |
rm -r update-assets/ |
Next, remove the update.json file after the update. Use this command:
|
1 |
rm update.json |
That’s it! Before going any further, let’s explore another approach.
Update Shopware with a single command
It is also possible to avoid the wizard when updating Shopware 6 through the shell. Use the following parameters:
- –quiet – execution in the background
- –no-interaction – no interaction
Also, you need to remove the /update-assets directory. You can add the corresponding command after the above parameters. In this case, the update command would look as follows:
|
1 |
php public/recovery/update/index.php --no-interaction --quiet && rm -r update-assets/ |
III: Flush browser cache
You need to flush your browser cache to access the administration correctly. Please, delete your browser cache: cache and offline website data.
IV: Validate the update
Now, it is necessary to check whether your shop works correctly. Open its frontend and review the functionality. If any problems occur, do the following:
- Visit your Shopware Admin;
- Go to Settings -> System -> Cache & Indexes;
- Clear the caches there.
Also, it may be necessary to delete the /var/cache/prod_xxxxxxxxxxxx directory, where xxxxxxxxxxxx is the revision of your Shopware version.
V: Install the extension updates
The very final step of your Shopware 6 update in the browser is to check what extension upgrades are available. If you find any, initiate the process to complete the update of your e-commerce website.
Also, check how to update Shopware 6 in the browser and administration.
Shopware 6 Essentials FAQ
How to create a Shopware account?
You won’t run any updates if you don’t have a Shopware account. However, creating it is a matter of a few clicks. Visit the registration page, hit the Register Now link, and fill in the form to create a new account. After receiving a confirmation email, follow the instructions provided in it.
What about a Shopware ID?
You will receive a Shopware ID upon registration automatically. Next, you will need to install a Shopware store to apply updates.
What is Shopware master data?
Master data is all the information about your company and business, including physical addresses, phone numbers, and emails. The system requires it during the registration and configuration. Updates don’t affect it.
How to add a new Shopware shop?
You need to create a shop to apply updates to it. It is possible to add it to your merchant area. Click the corresponding link and choose the type of your new shop: a cloud storefront or an on-premise installation. The latter requires updates similar to the one we’ve described above. Provide all the requested information.
How to add a payment method to your Shopware account?
You need to add a payment method to purchase themes and extensions (don’t forget that the installed plugins should be compatible with the update). You can add a payment method to purchase them under Basic Information -> Accounting. Select PayPal, credit card, or direct debit as a way to transfer funds to your account.
How to create a deposit in Shopware?
You need a deposit for purchasing commercial third-party extensions and themes. With a working payment method, go to your Merchant Area -> Shops, choose a shop to provide funds to, click Open Account Details, and transfer a deposit that covers the amount of your purchase.
How to purchase Shopware extensions?
It is possible to purchase extensions and themes in two ways: on the Shopware Marketplace or within the Plugin Manager (you can also view their compatibility with the update there). Create a deposit in advance that equals the amount of your future purchase. Next, select a tool you want to buy and complete the checkout.
How to get support in Shopware?
Contact Shopware via financial.services@shopware.com and +49 2555 9288 510 for support regarding accounting and financial issues. You can get help regarding license inquiries here: info@shopware.com or call +49 2555 9288 50.
How to automate import and export processes in Shopware 6?
The Improved Import, Export & Mass Actions module is suitable for automating recurring data transfers. It lets you create schedules and automatically launches the corresponding import and export processes in the background afterward.
How to migrate to Shopware 6?
You can also simplify the Shopware 6 migration with the Improved Import, Export & Mass Actions tool. It can help you transfer data from your existing website based on another e-commerce platform or a previous Shopware version (5 and older) to Shopware 6. Note that we also offer export solutions for systems like Magento and Shopify so that you can simplify your data transfers between them and Shopware. for more information.
How to integrate Shopware 6 with external systems?
Connecting your Shopware 6 website to ERPs, CRMs, accounting tools, and other similar platforms is possible with the Improved Import, Export & Mass Actions plugin. It can help you automate repetitive import and export processes using schedules. The extension also introduces mapping presets for modifying data according to the requirements of your Shopware store during import and the rules of the connected platform during export.
Related posts
 solution25: Your Trusted Shopware Agency in New York & Germany
 How to Import Products to Shopware 6 & Automatically Assign Them to Parent Categories: A Time-Saving Import Feature You Shouldn’t Miss
 New in Shopware 6 Product Import: Control Topseller Products with the markAsTopseller Field
 Take Full Control over Product Visibility in Shopware 6: Introducing the ‘Replace Product Sales Channels’ Feature for Import
 How to Import & Export Shopware 6 Advanced Prices as Separate Entity
 How to Boost Sales with Shopware 6 Cross Selling: The Ultimate 2025 Guide
 E-Commerce Impulse Buys Guide: Boost Your Sales with Effective Strategies and Smart Tools
 Shopware Pricing Guide: How to Manage & Import Advanced Prices in Shopware 6