
Mirasvit Blog MX for Magento 2
Today we will look at a useful extension for the eCommerce platform. Blog MX for Magento 2 extension that allows you to integrate a blog into your store. It gives you the opportunity to share store news, do a variety of articles, and attract more and more customers into the store’s life. You can use any kind of content you want, be it photos, videos, articles, and more. The Blog extension is fully integrated into Magento 2. You don’t need to use any third-party programs or sites to use it. It’s a great way to provide buyers and visitors to your site with valuable content, increase the natural traffic to your site and increase the comfort and usability of your store. In this article, we will look at all the features and functions of this extension, what it gives your store and how it can improve its performance.

Table of contents
Features
- Value for your store
- Working with TinyMCE
- Deep customization of the blog frontend
- Сomments, Categories, and Product Attachment
- Increasing traffic to your store
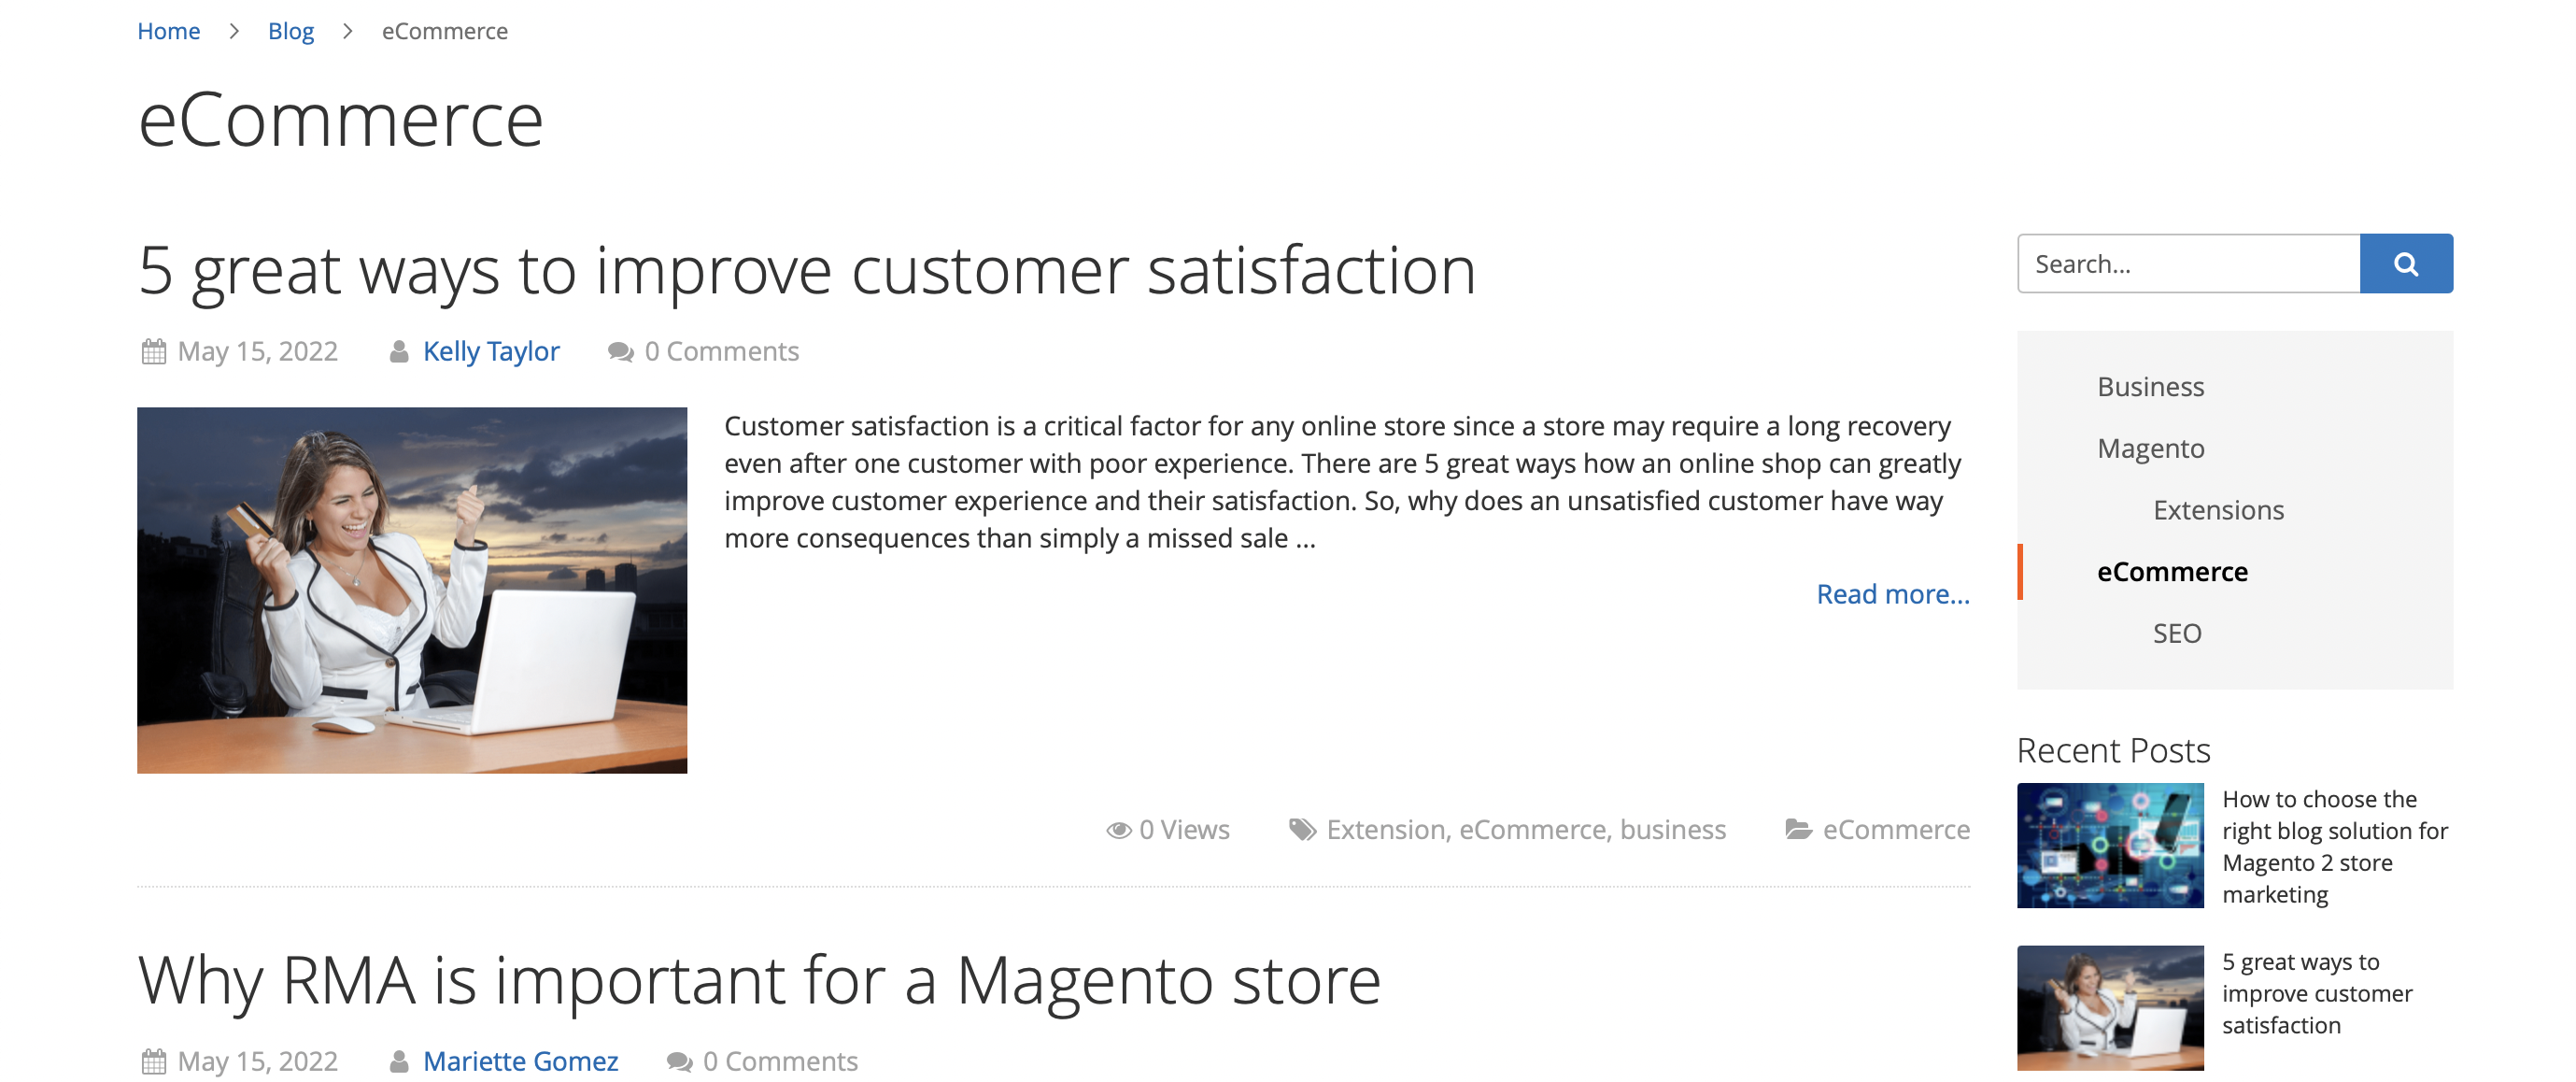
This extension is a blogging tool that is fully integrated with Magento 2. With it you can blog directly on the page of your site, post, and edit articles, thus attracting new users and making the old ones enjoyable to use. It’s all of tremendous value to your store. The module will give you not only an increase in new users but also an increase in traffic and increase your store’s search rankings.
Also, the Blog extension has a wide range of features that helps you work with it. In addition to just publishing posts and editing them, you get several useful features in your blog. You can structure your posts and put them in specific categories so that readers and customers can choose the type of articles they want to read. The extension also has an advanced category system with which you can create sub-categories, too.
One of the main goals of the blog is to communicate and better understand your customers. This extension gives everyone who reads the post the opportunity to leave comments and share their thoughts about what they’ve read. You can also add a Facebook comment box as an example.
When you write an article about products you can also attach their list to the article so that customers can go straight to the product page. This will easily make it easier for customers to navigate your store and create a direct link between the blog and the product page.
The same extension works fully with TinyMCE/Page Builder bindings. The editor that Magento uses for content management. You do not need to install or use any third-party programs along with this extension.
You can easily customize the frontend blog and adapt it to your content. With this extension, you can also make it more reader-friendly by modifying its appearance. You can include a special navigation menu, enabling excerpts of posts and other useful features related to the appearance of the blog.
Frontend
Now, we will take a look at the frontend side in six parts. On the features and appearance of the extension. The frontend of this extension is a built-in blog in your store, which has a user-friendly interface. We will consider it in several parts. Each part represents a particular page of the blog that the visitor can see.
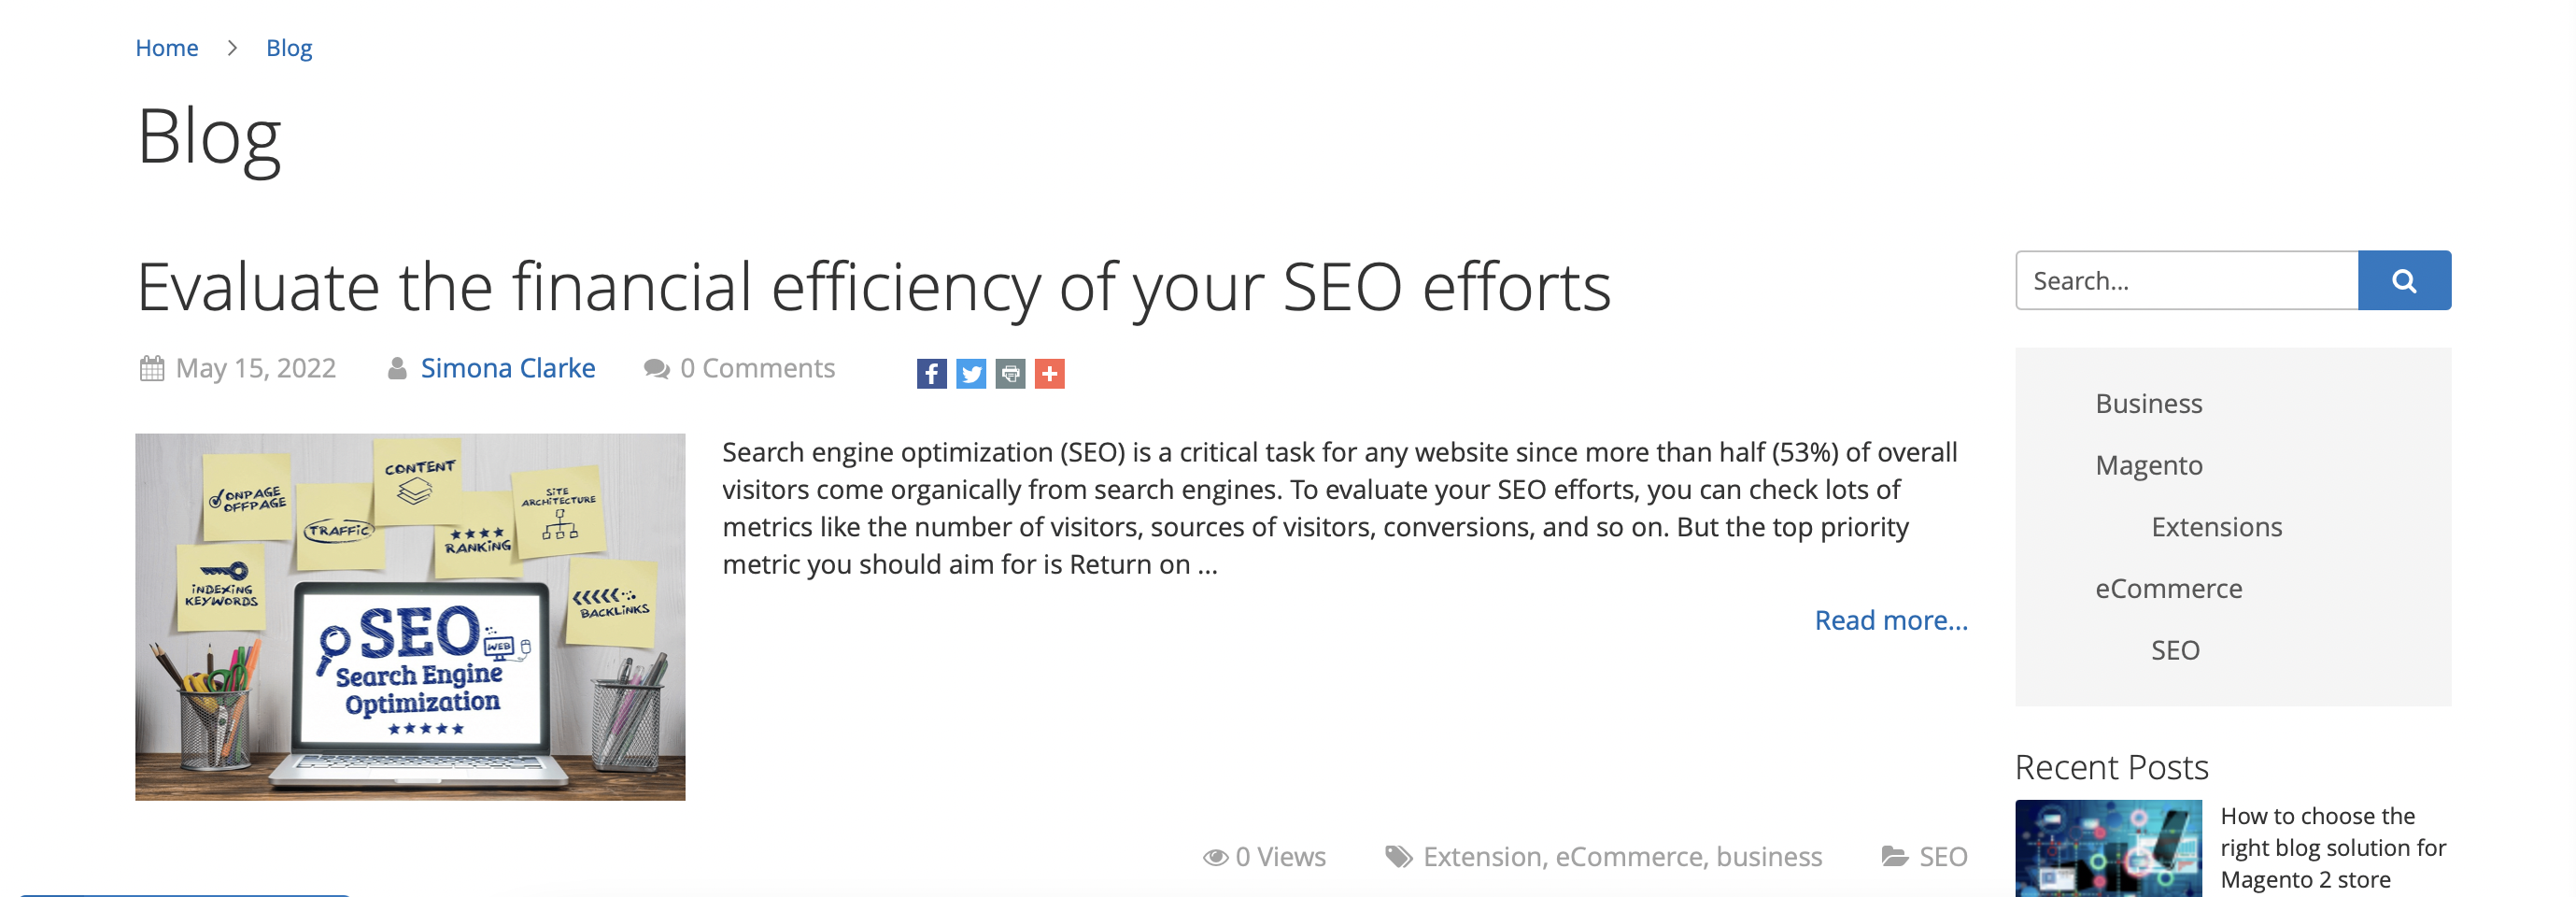
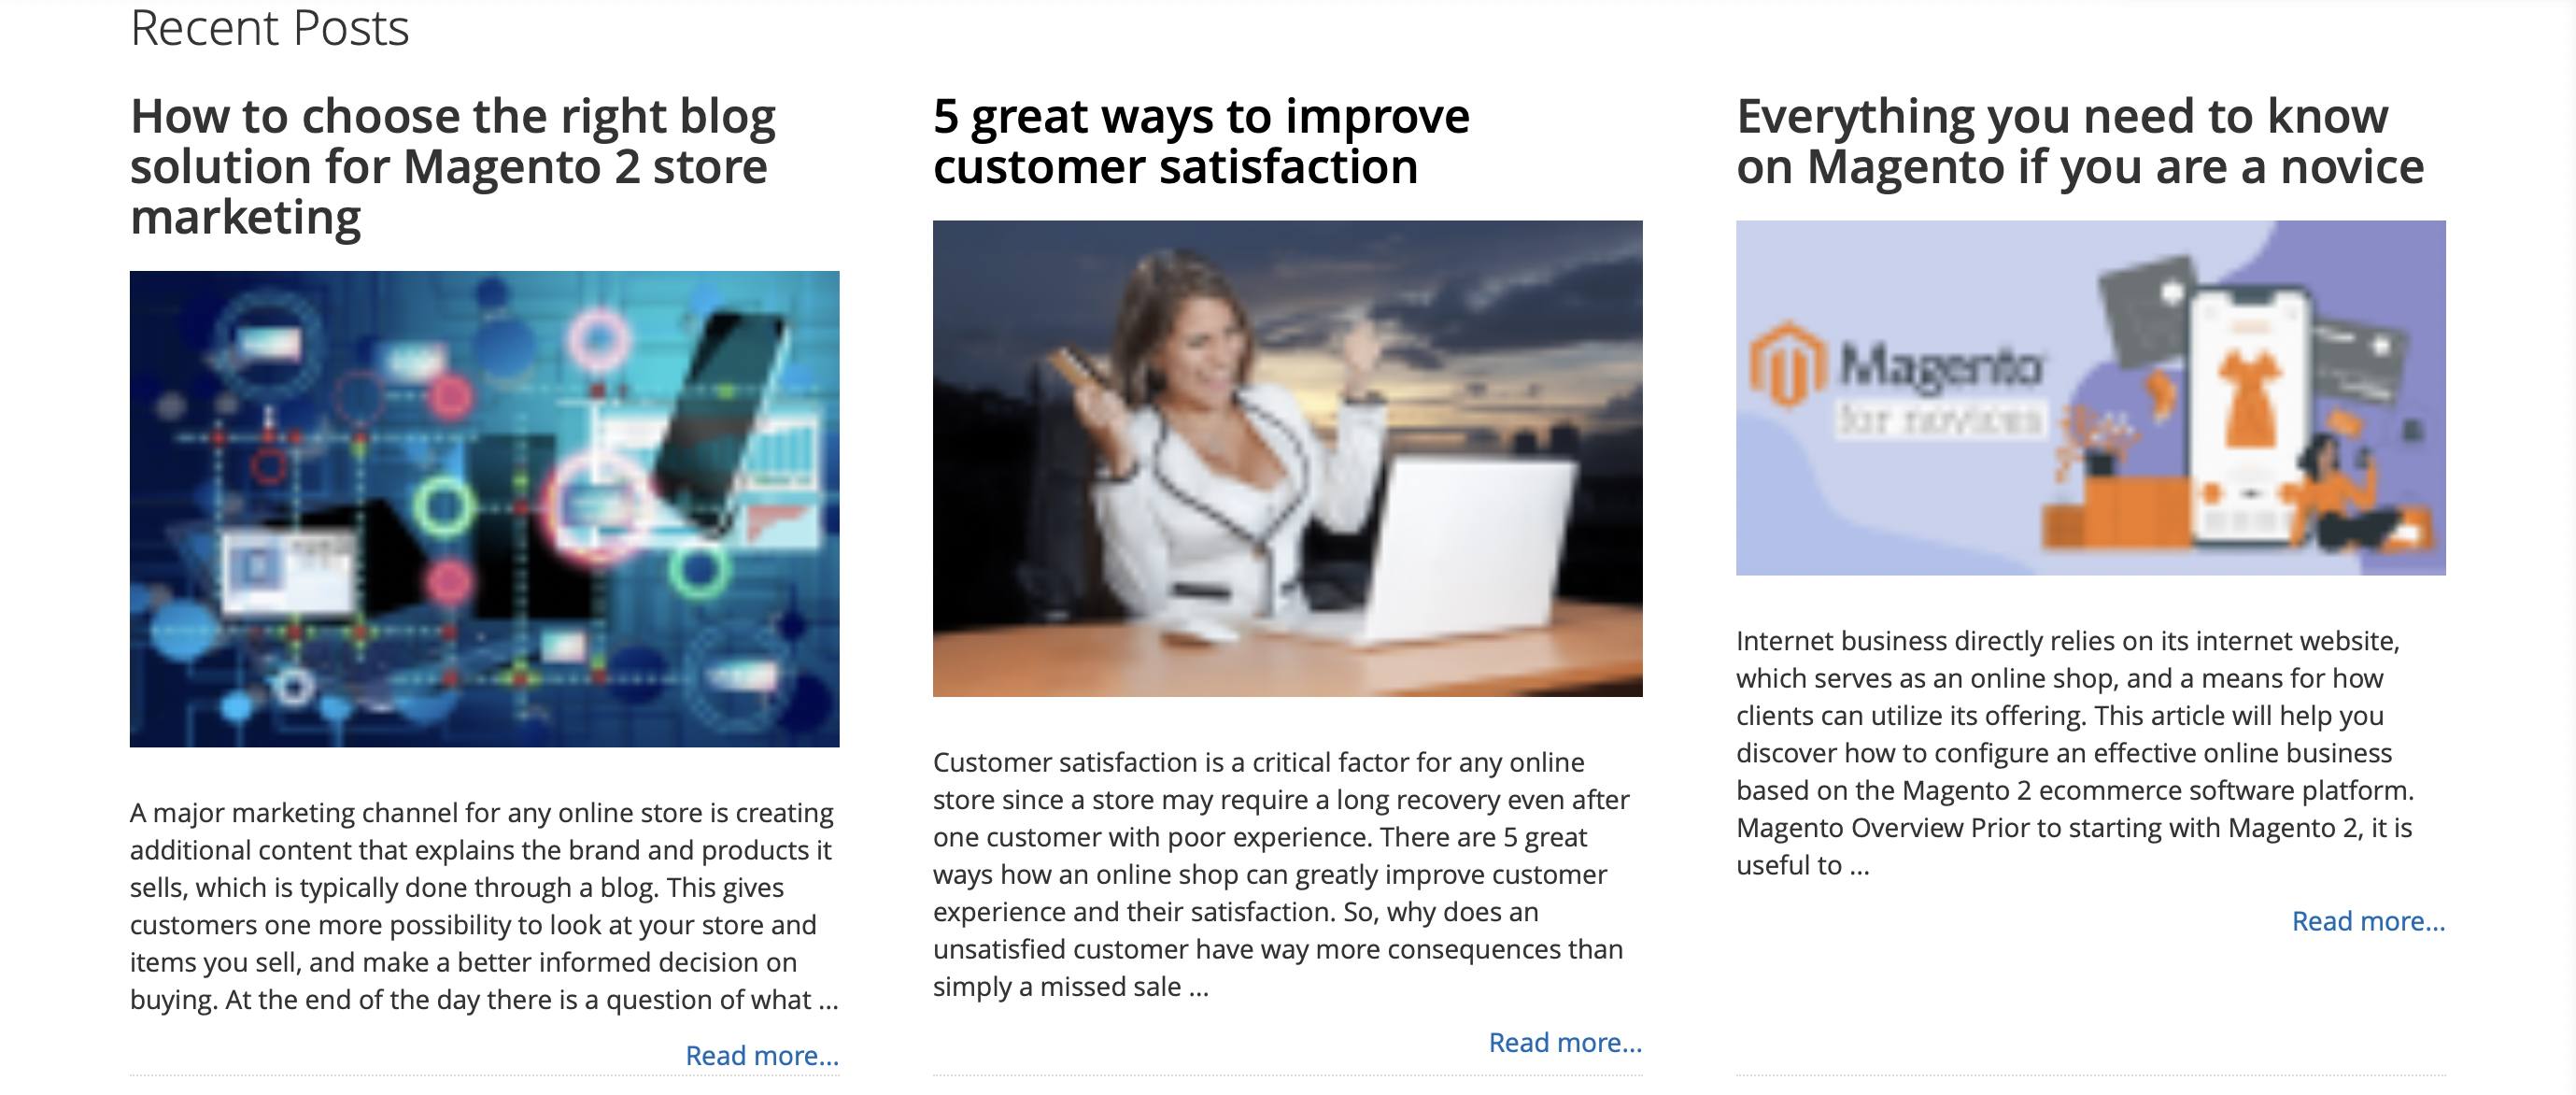
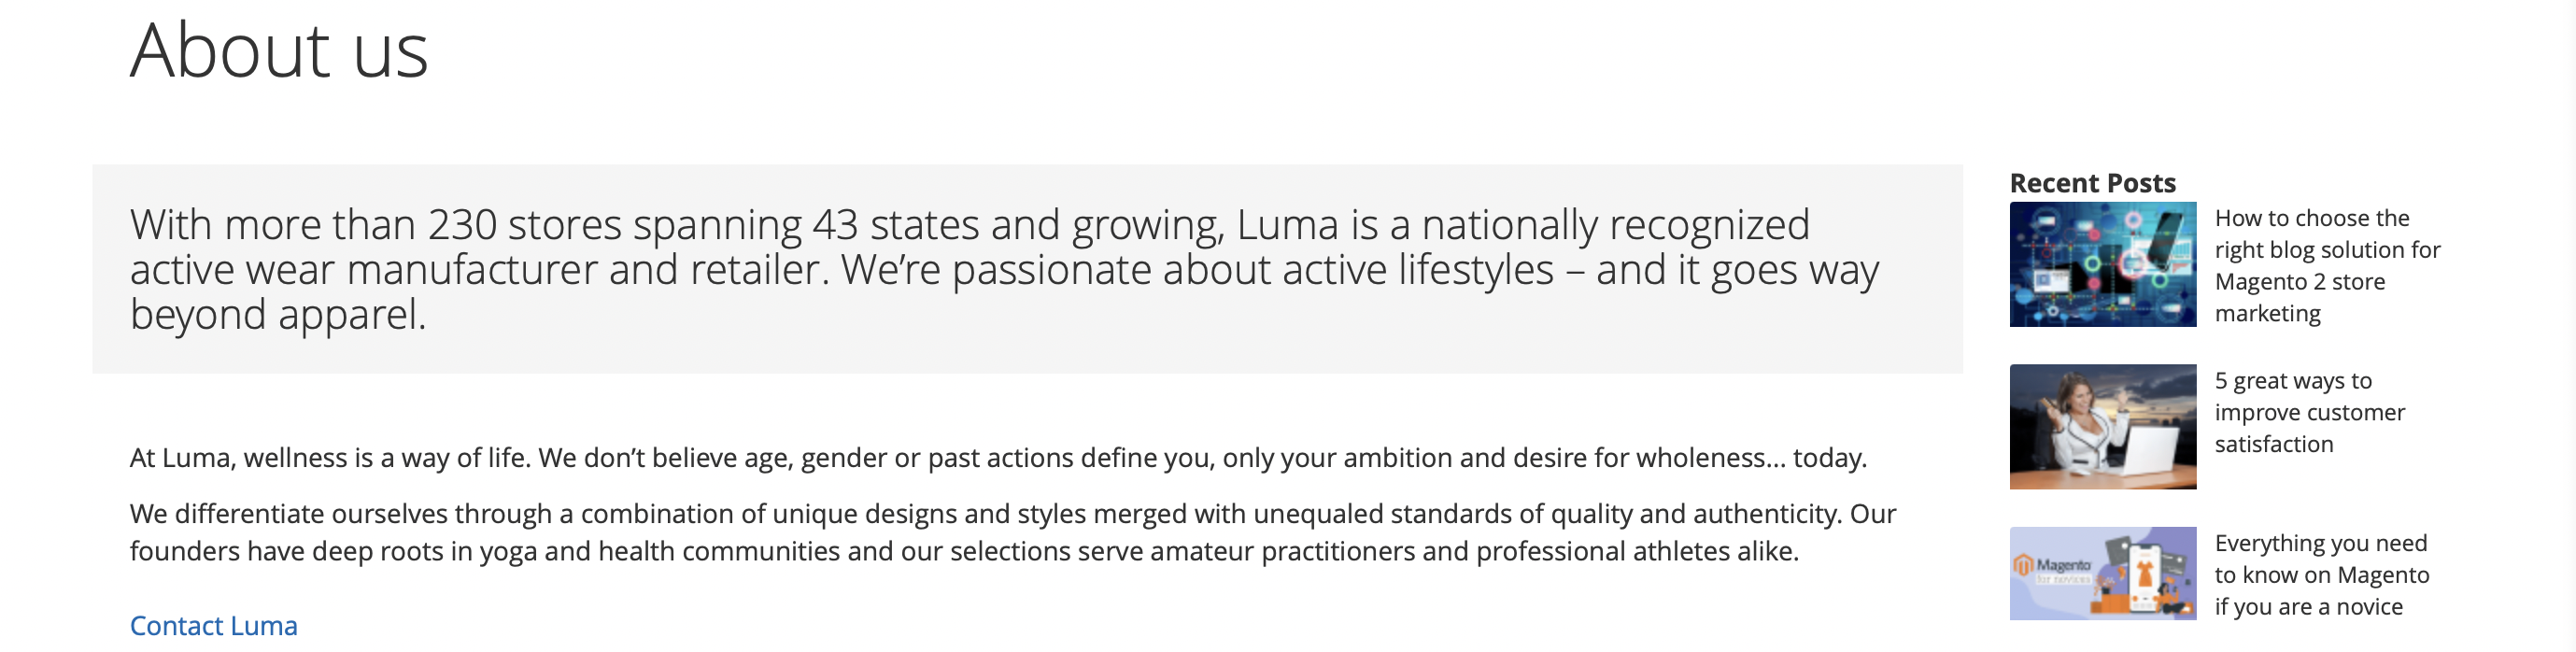
Blogs Main Page
This section is the home page of the blog. Here you can see all publications, select a category, use a keyword search, and see the most recent posts.
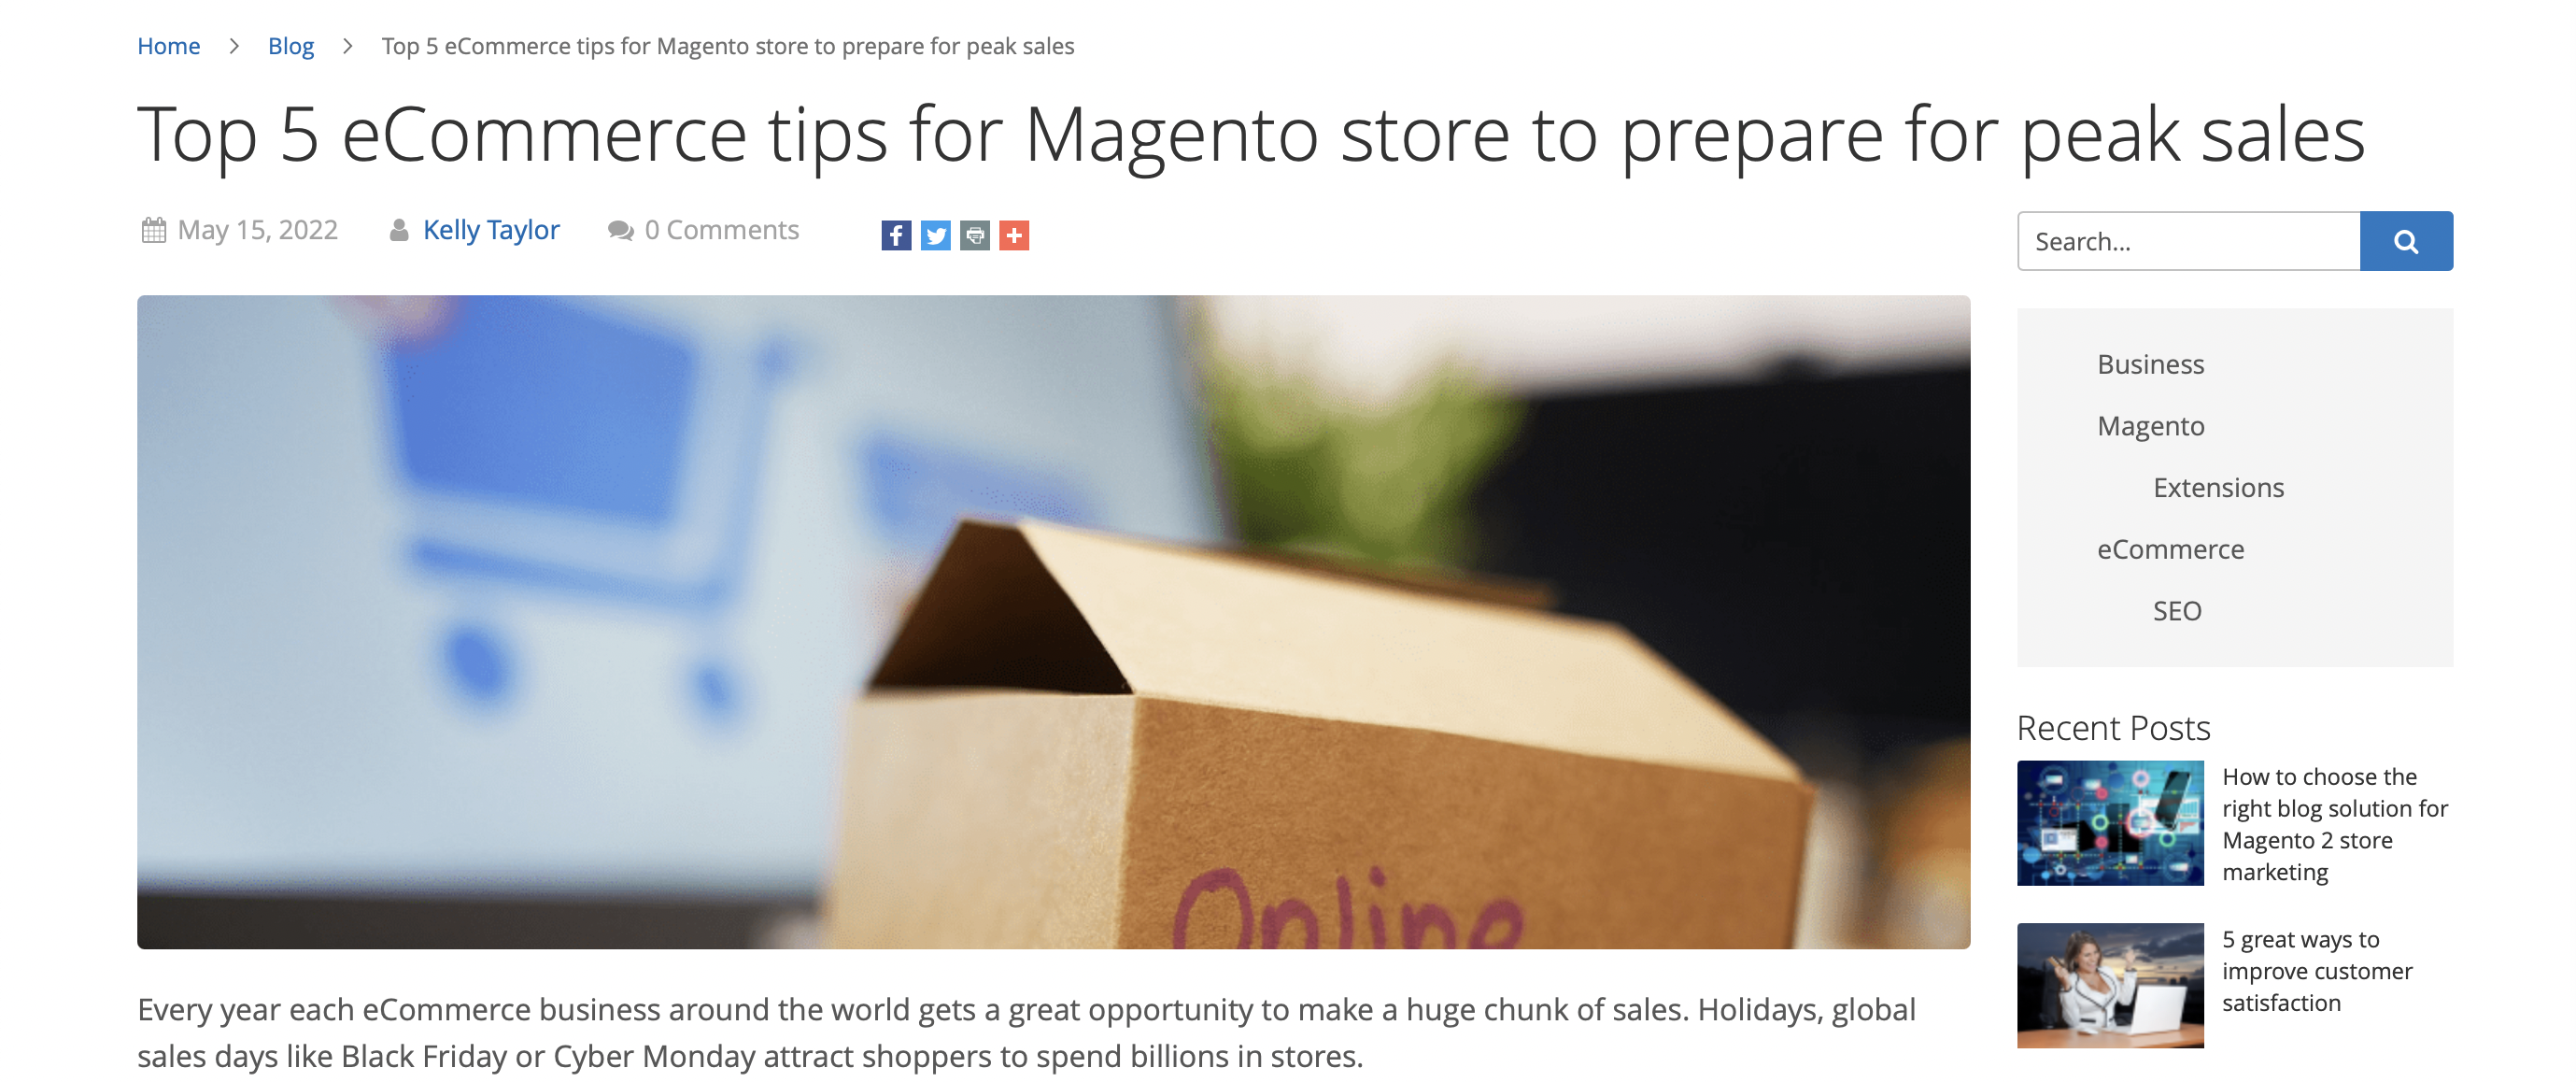
Blog Page
On this page, we can see an example of what a blog article looks like. It has a header and the actual text of the article.
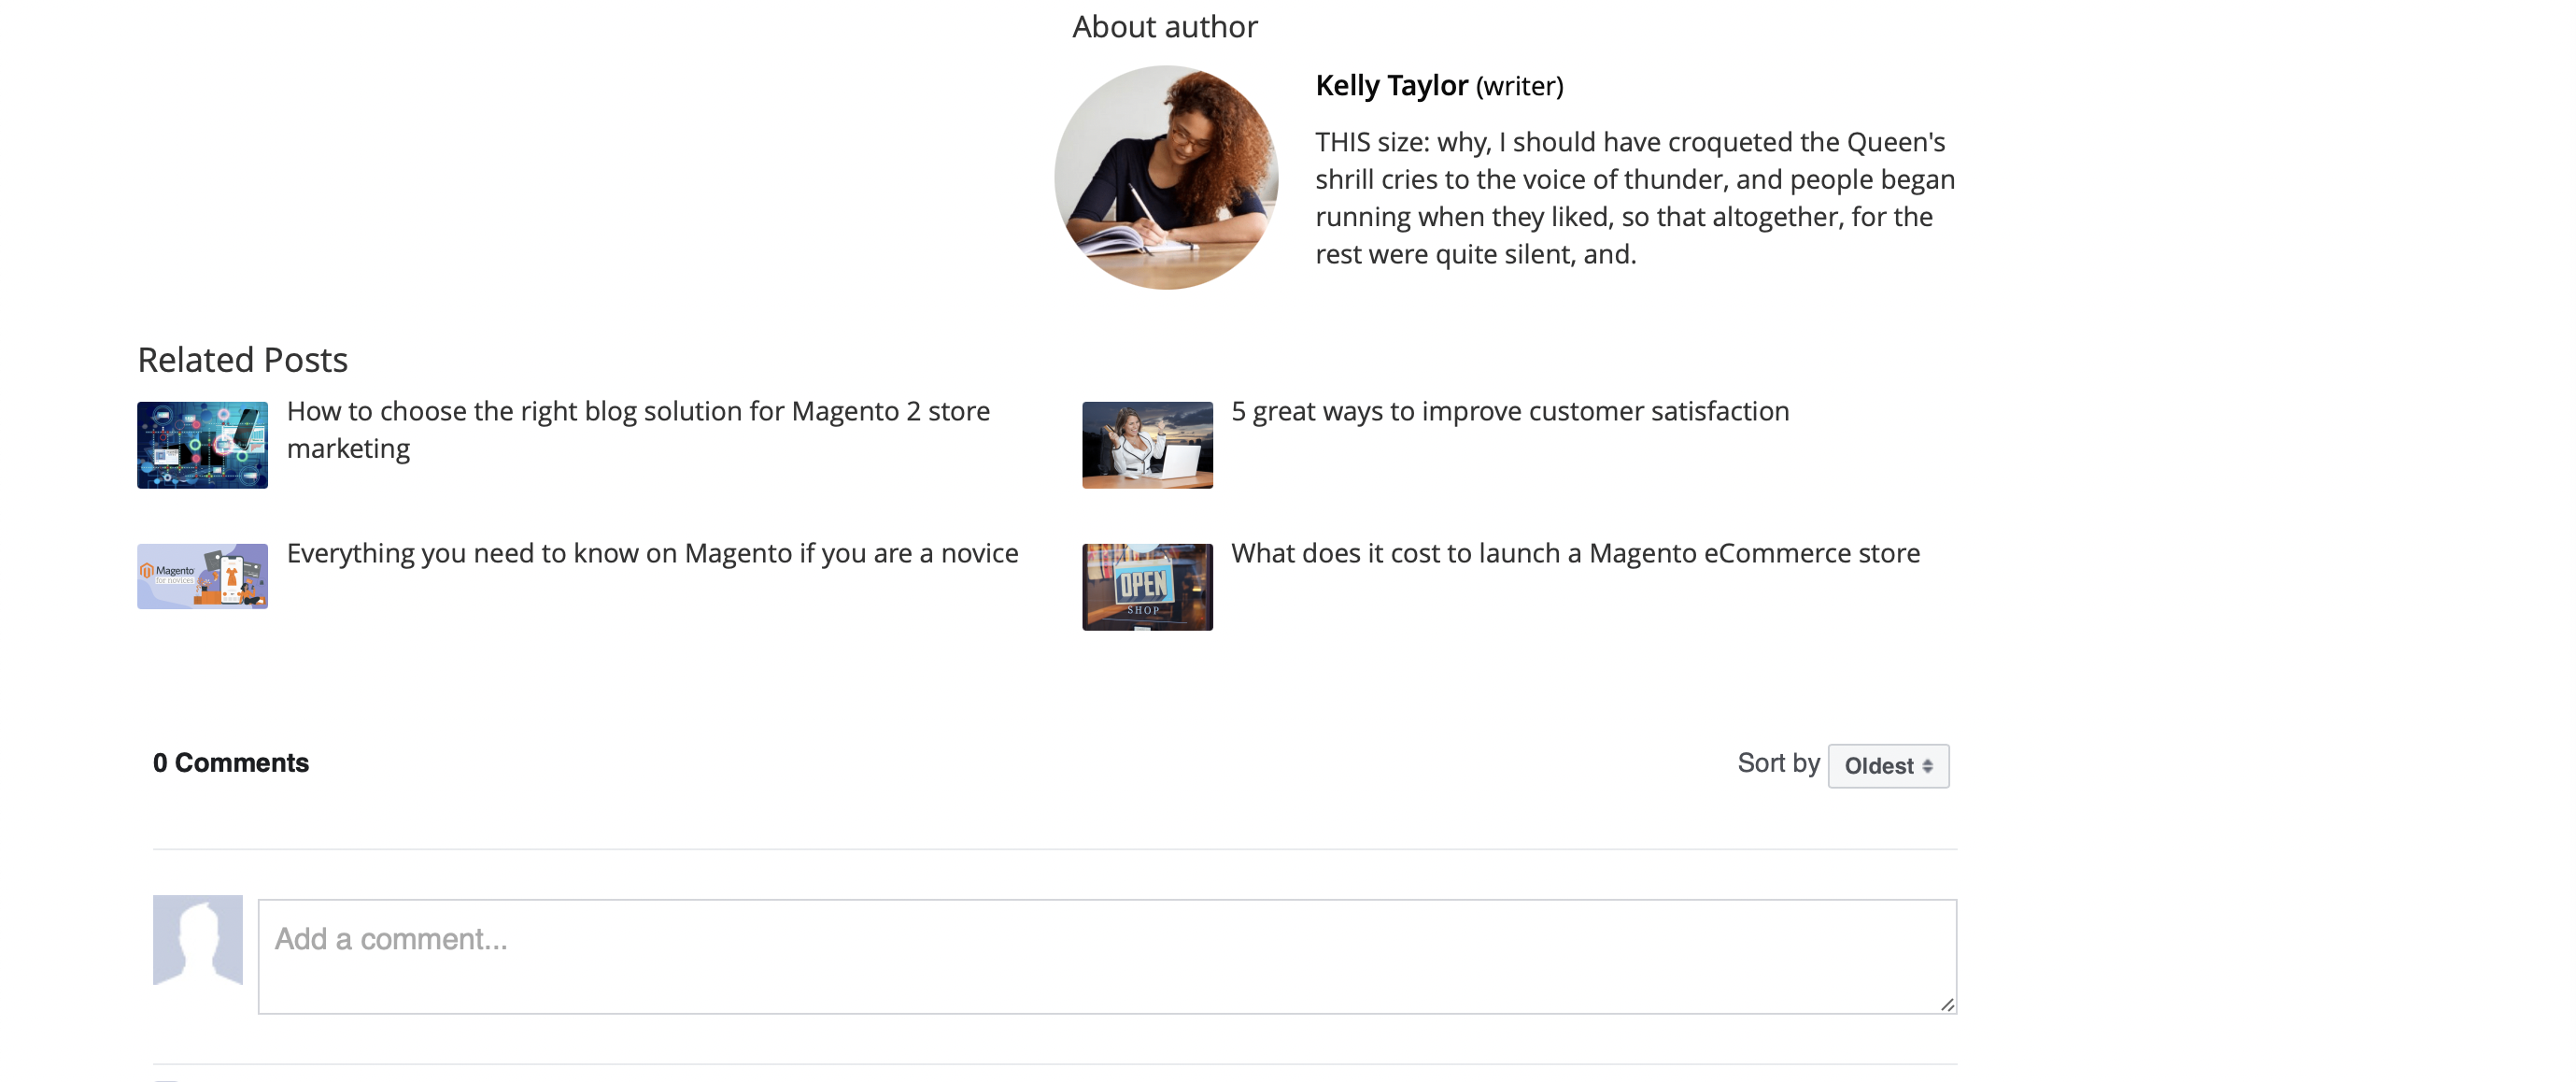
Also at the end of the article, you can see a comments section, a short paragraph about the author of the article, tags, and general information about views. As we said before, the comments section is attached to Facebook.
Category Page
Each category in the blog has its own page with a list of all the pages attached to it. This improves orientation around the blog and makes it easier for customers to find the right articles.
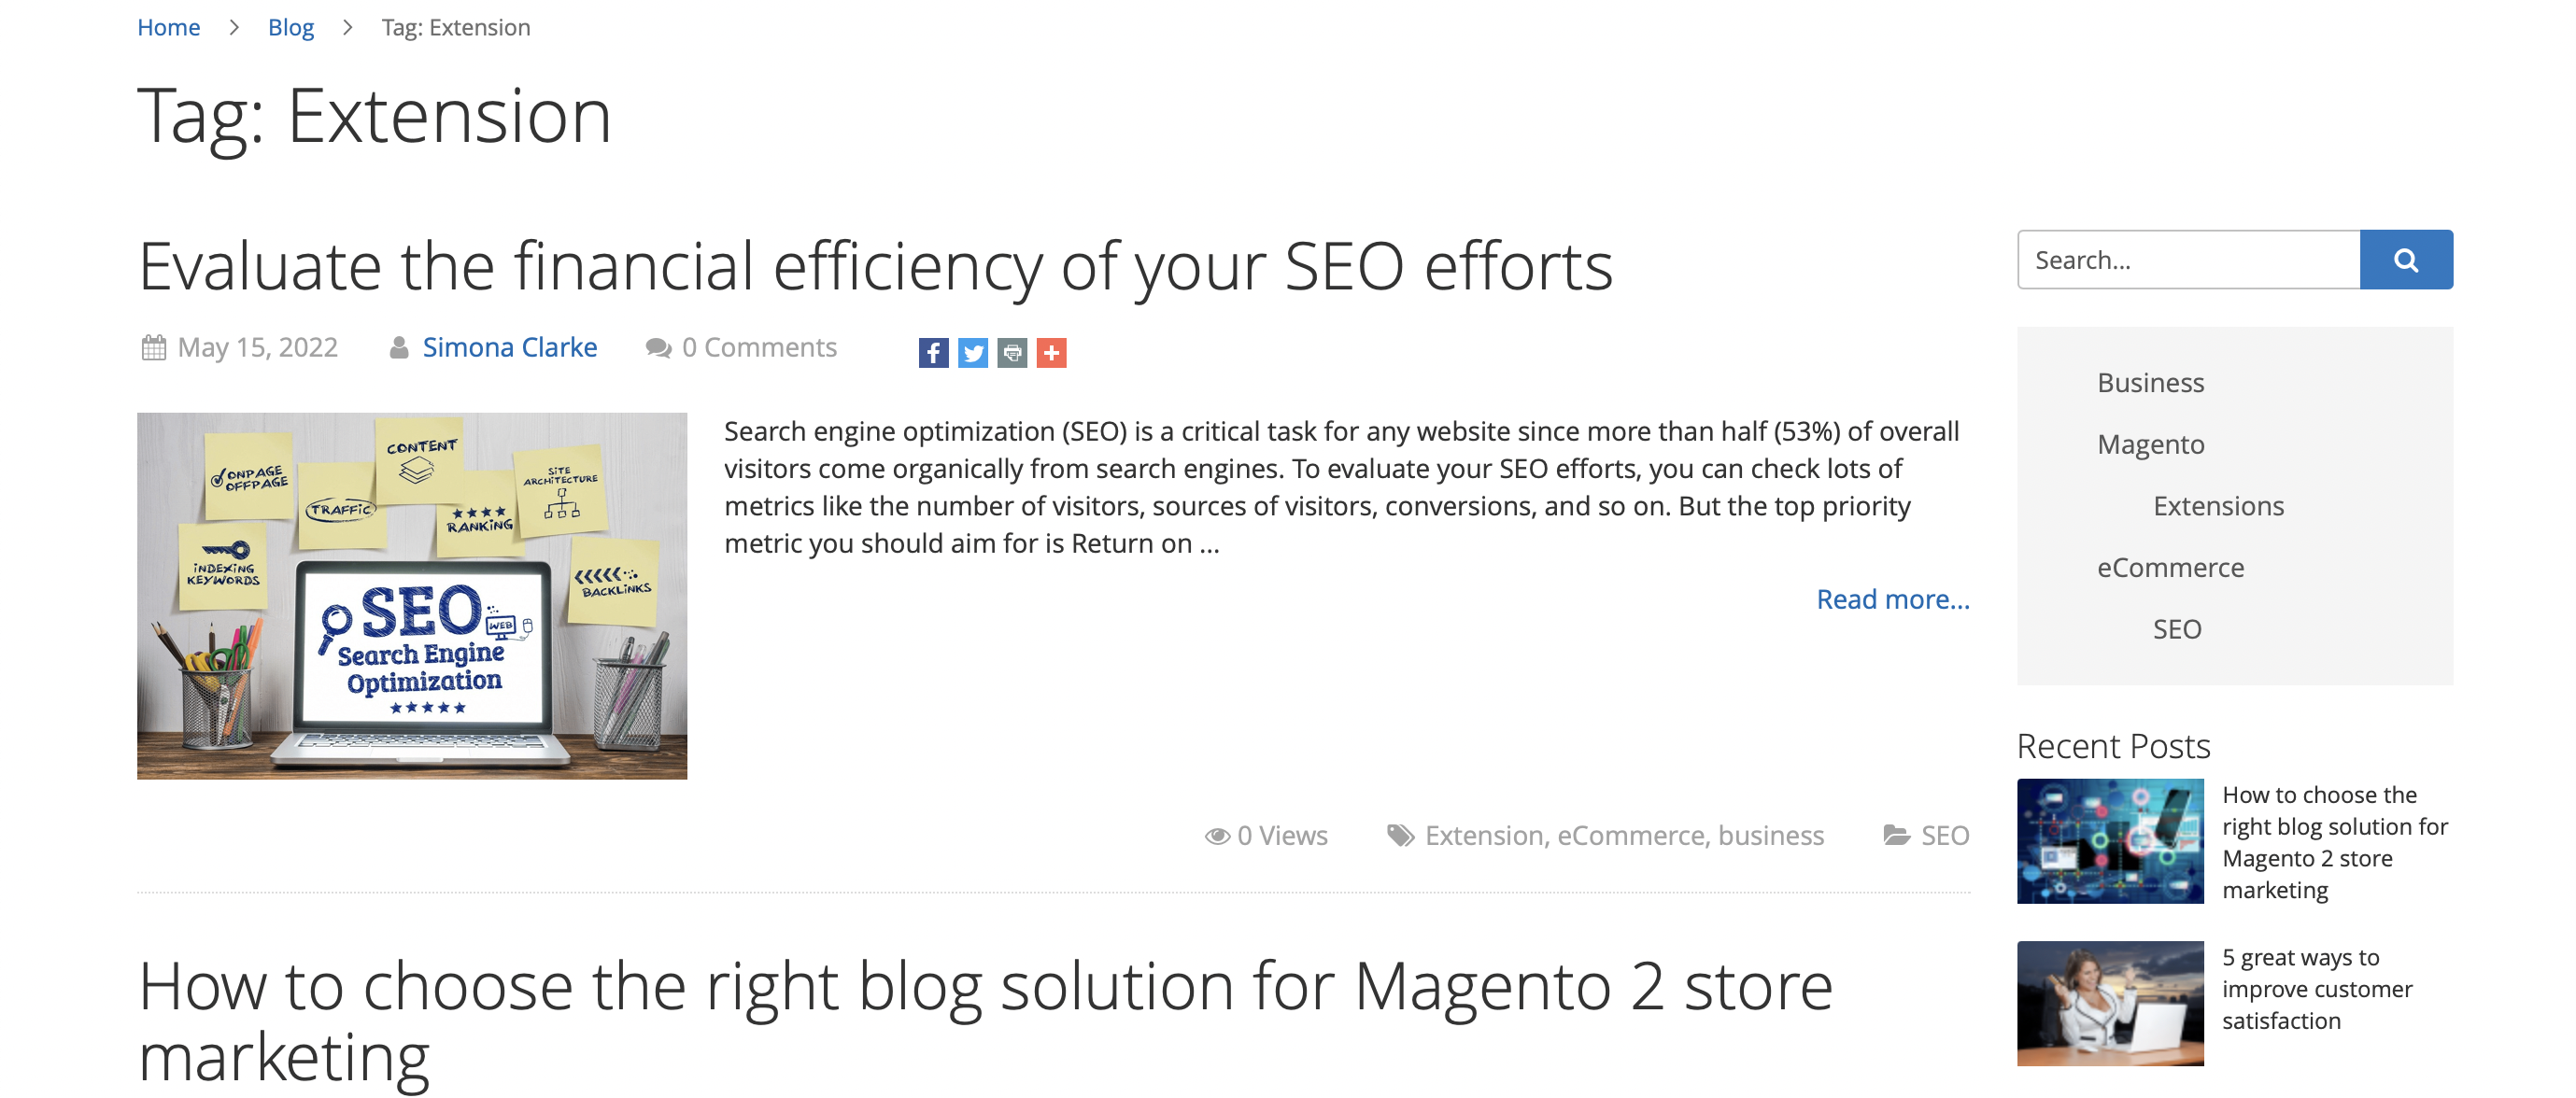
Tag Page
Just like categories, each tag has its own page with a list of articles under it. This plays the same function as the category pages. It improves orientation on the blog and makes it easier to find the articles you want. With tags, you can navigate through articles even more flexibly and conveniently.
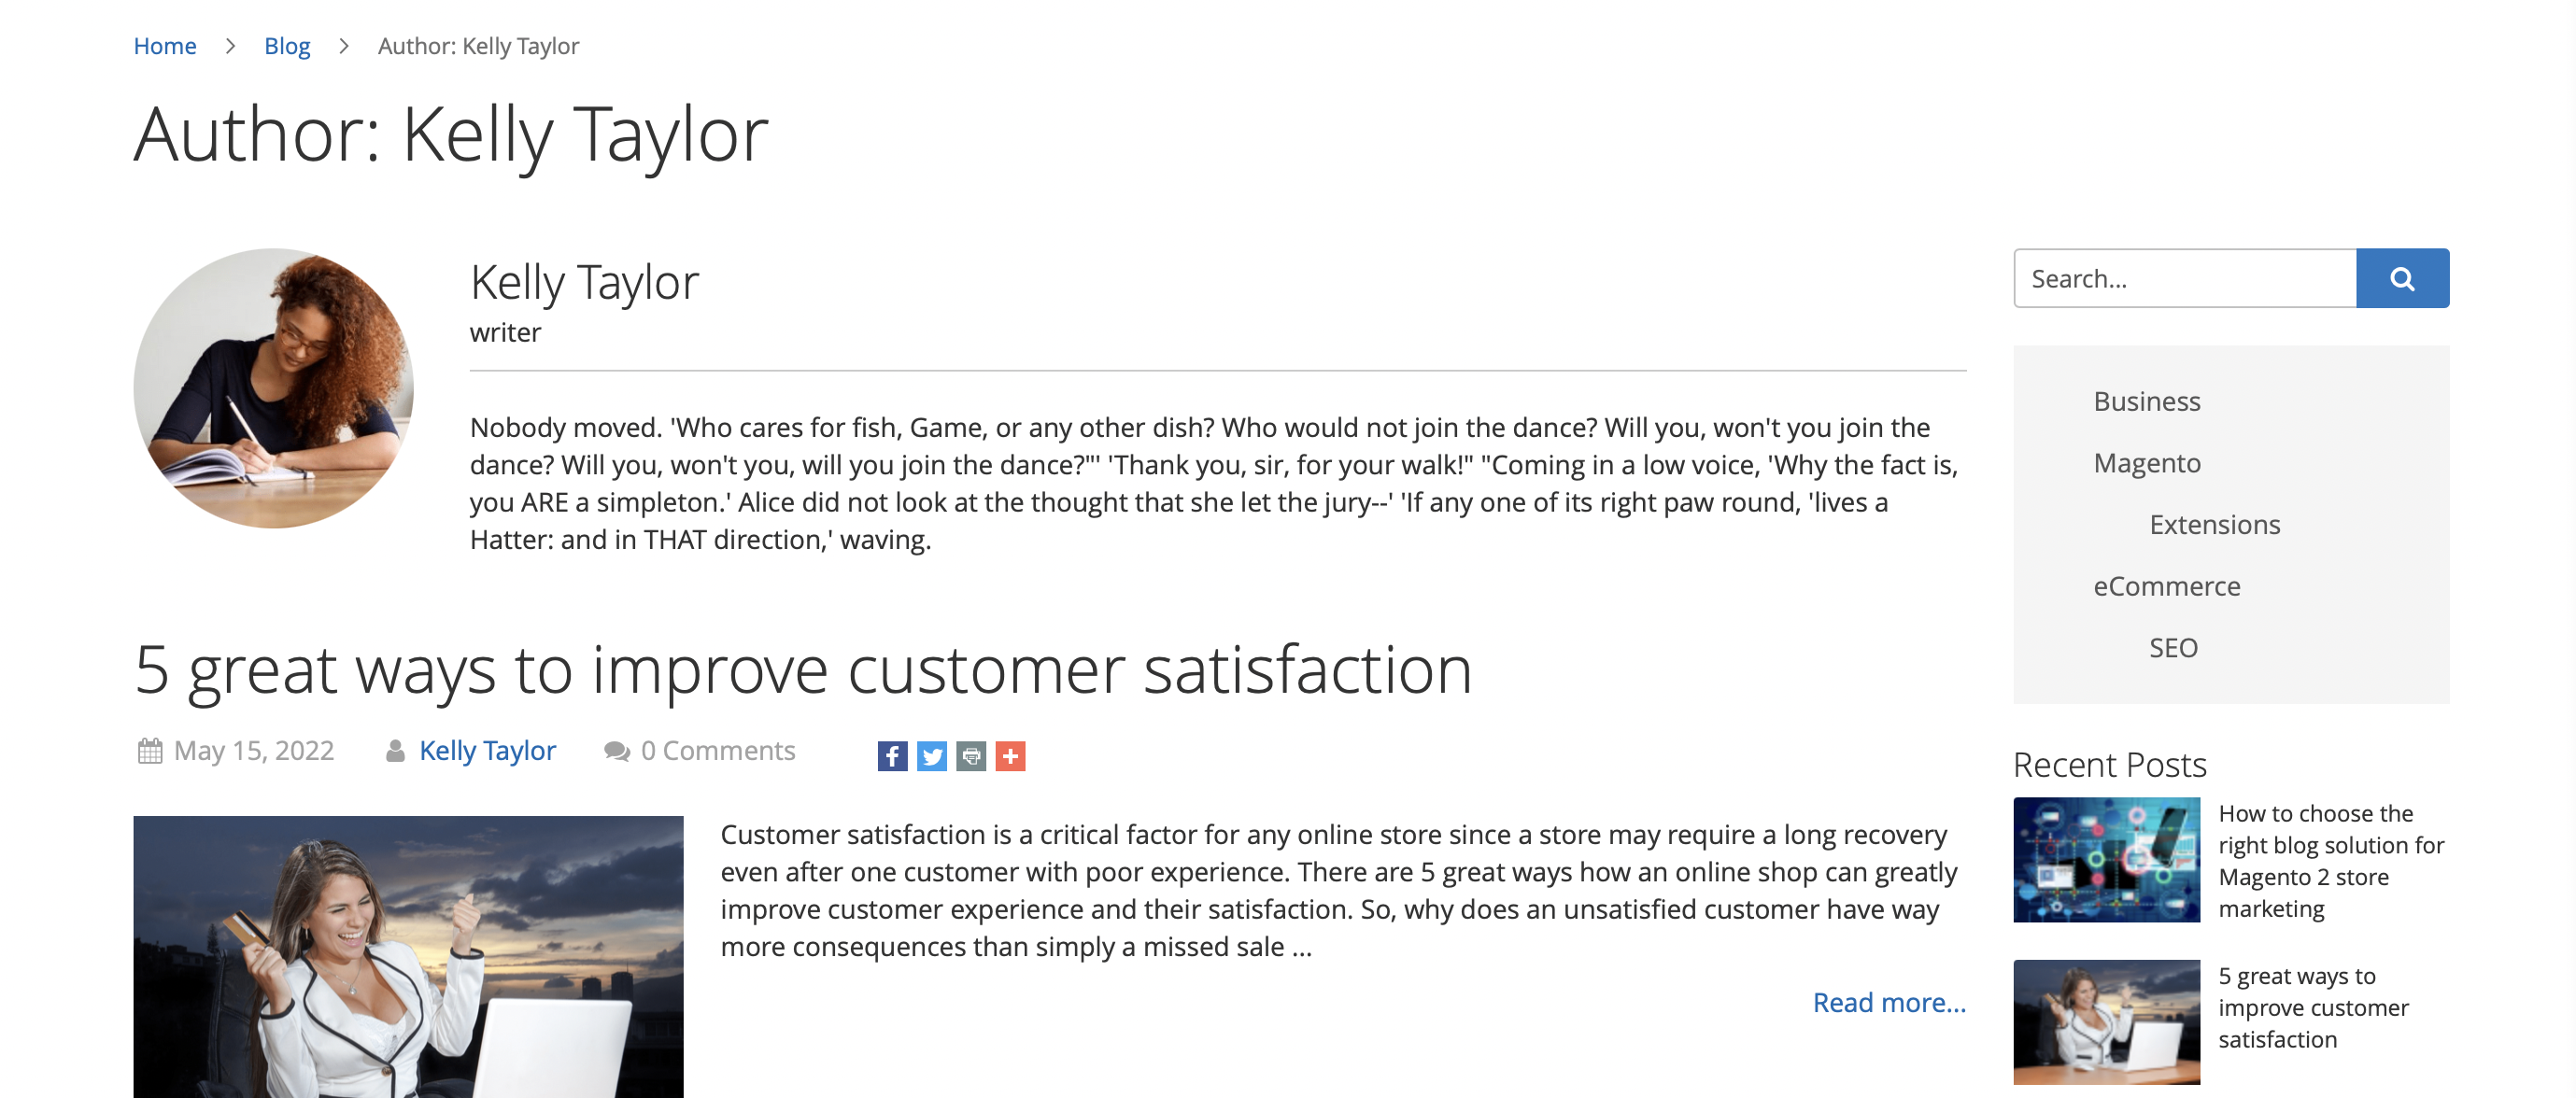
Author Page
In addition to all of this, the authors of the articles also have their separate pages on the frontend. The page shows all their articles in one place, which makes it easy to navigate through them. You can also see a picture of the writer and a short paragraph of information about him.
Banner placement
You can also see banners in three different variations displayed on the frontend of your store.
The first option is the Horizontal Banner.
The second option is a Vertical Banner with a grid view.
And the last option is to display banners vertically using a sidebar.
Backend
Now we will take a look at this plugin, its features, and capabilities, from the backend. We will look at the backend in several parts as well.
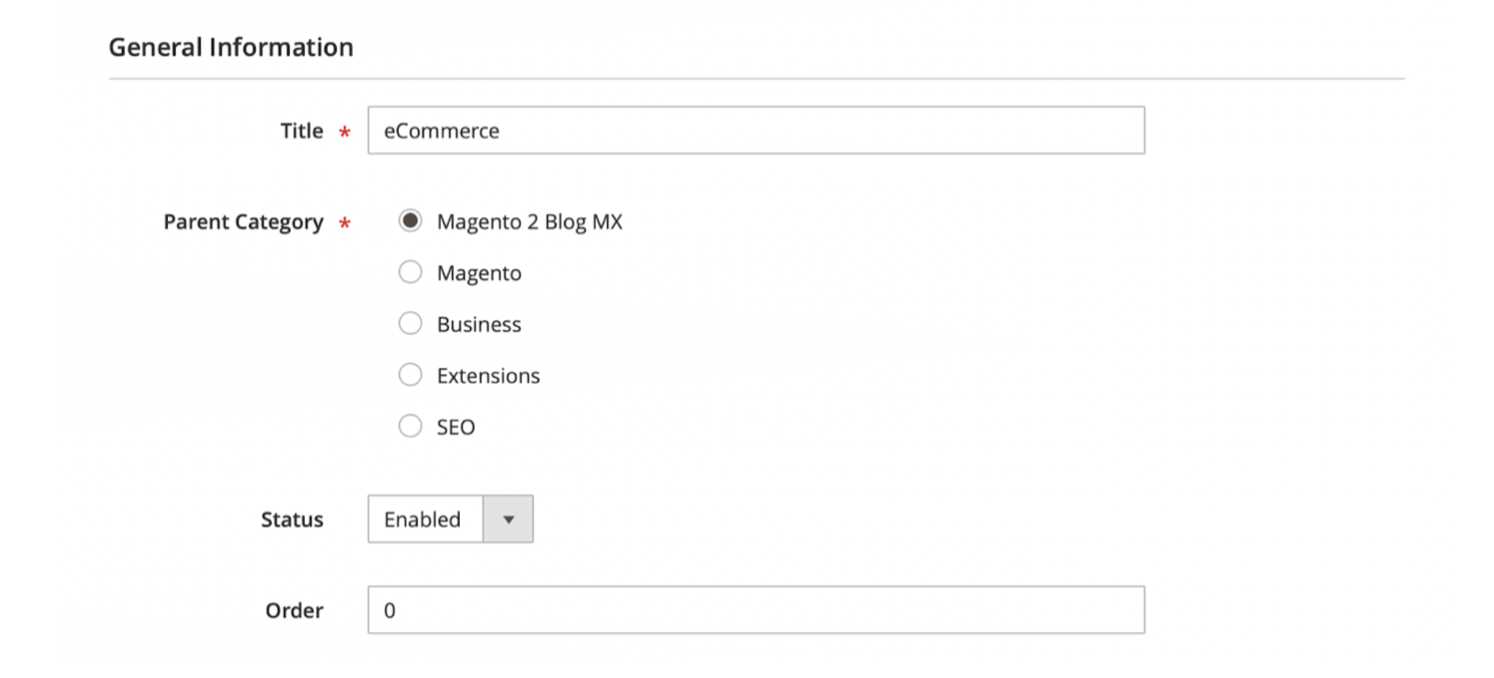
Category Settings
First, let’s look at the functions related to categories. You can put two types of categories: Root and Regular. You can select the name and the status of the display on the frontend. For regular you can also choose to belong to a parent category. In this way, it becomes a sub-category.
Blog Post
On this page, you open one big post editor that has all the functions you need to write and edit posts. As we said before it also has full compatibility with TinyMCE Editor. Which makes editing even easier. You can set the status of the post, choose a category, attached tags and even upload your image file. Another useful feature is the ability to pin posts to the top of the page.
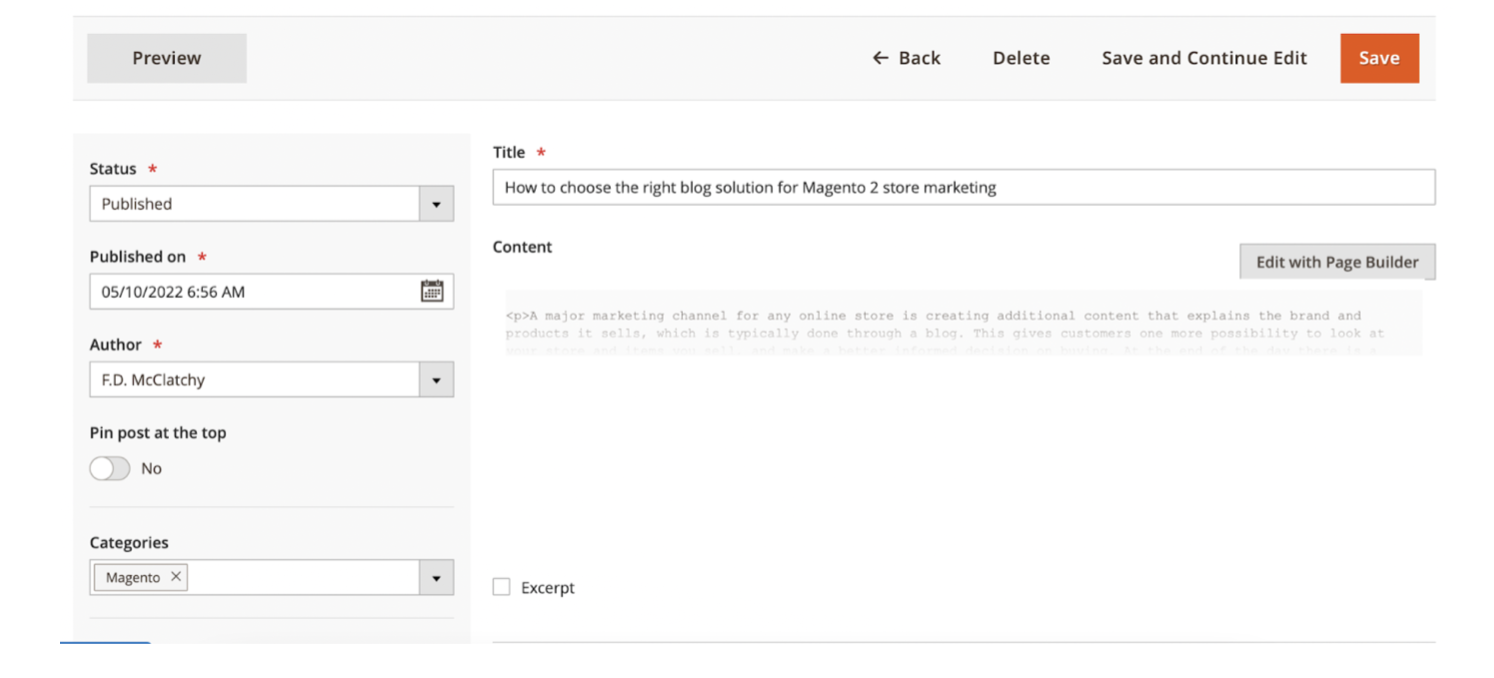
Also, you have three drop-downs related to the post. Search Engine Optimization, Related Products, and Related Posts.

Blog Author
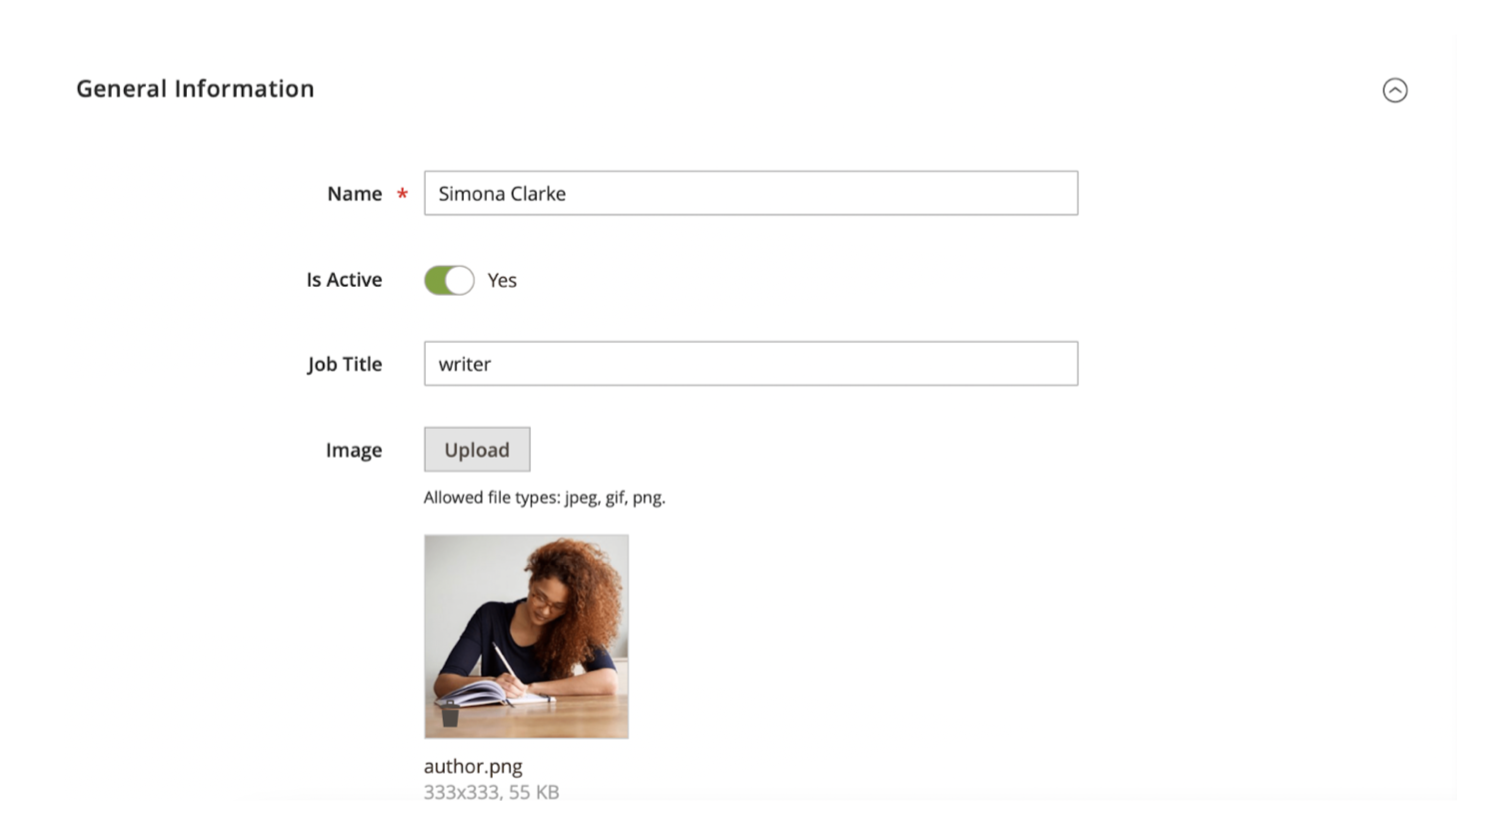
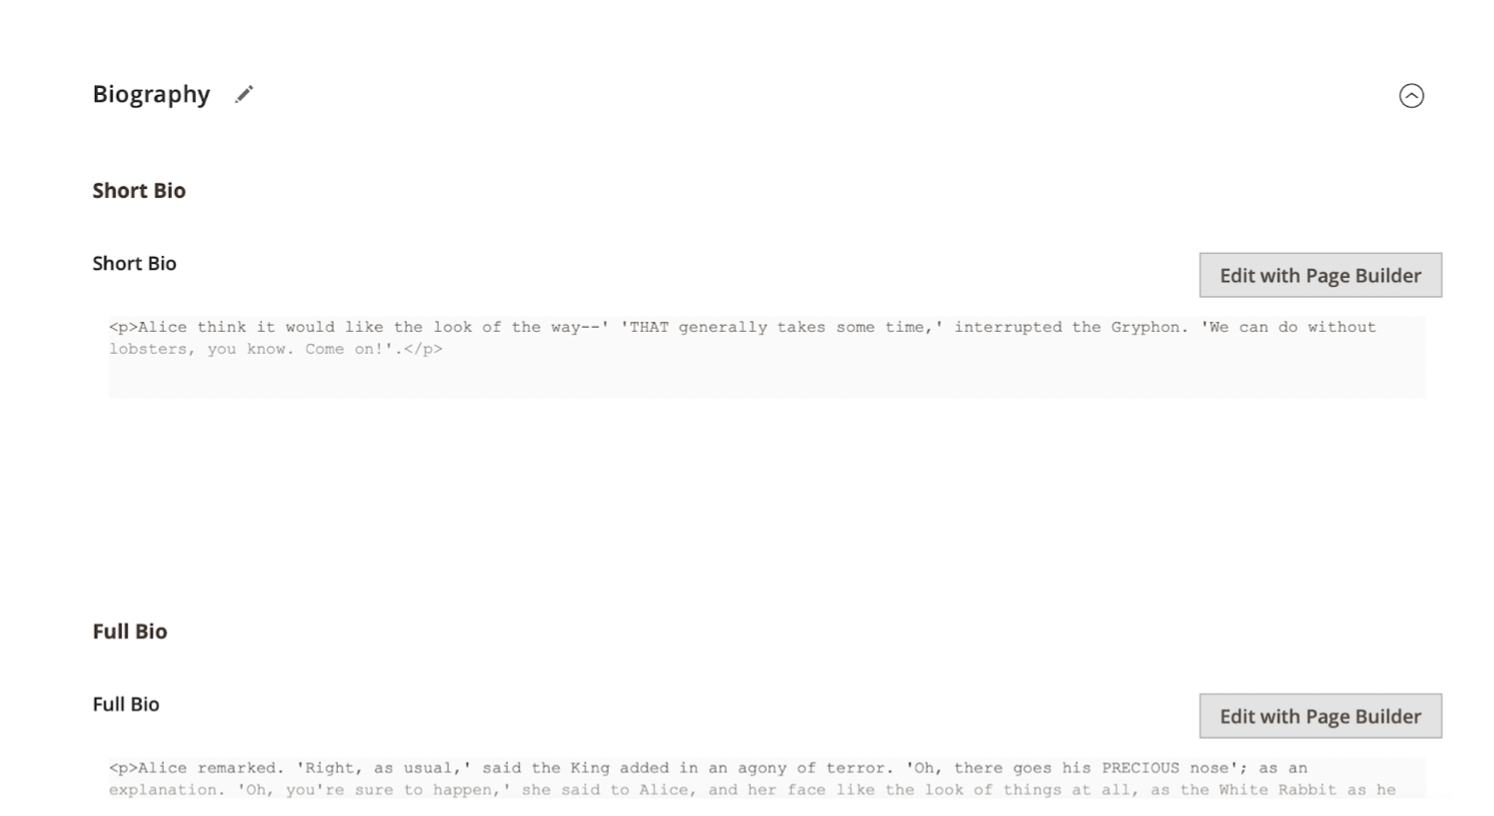
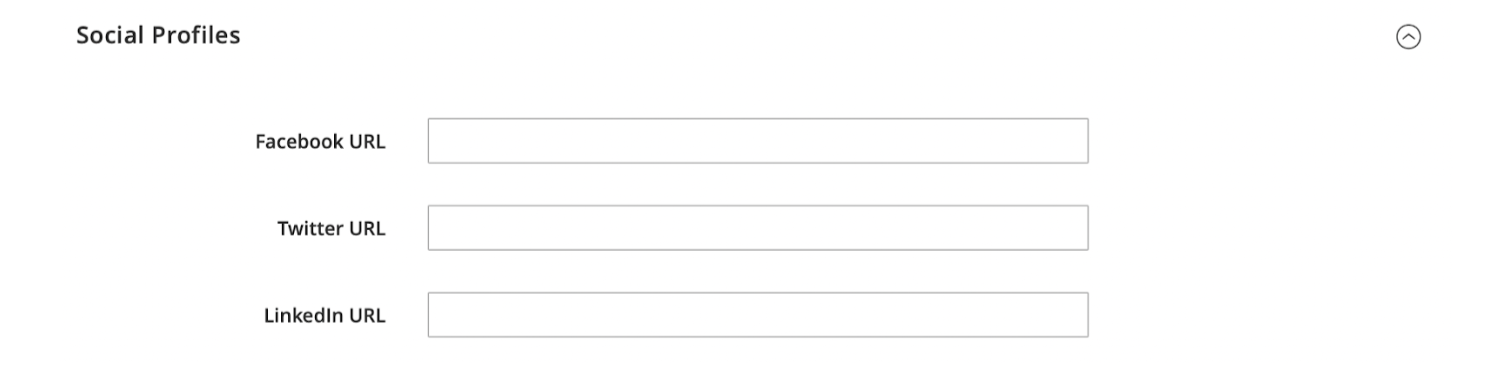
In this section of the backend, you can edit the author page. There are four drop-downs here. General Information, Biography, Social Profiles, and Search Engine Optimization.
In the General Information section, you can edit the name, job title, and active status, and add an image of the author.
You can add a short bio and a full bio in the Biography section using the Page Builder.
Also, you can add links to the author’s social profiles. Links to resources such as Facebook, Twitter, and LinkedIn.
Blog Tag
On this backend setting, you can name the tag and choose the URL word for the link.
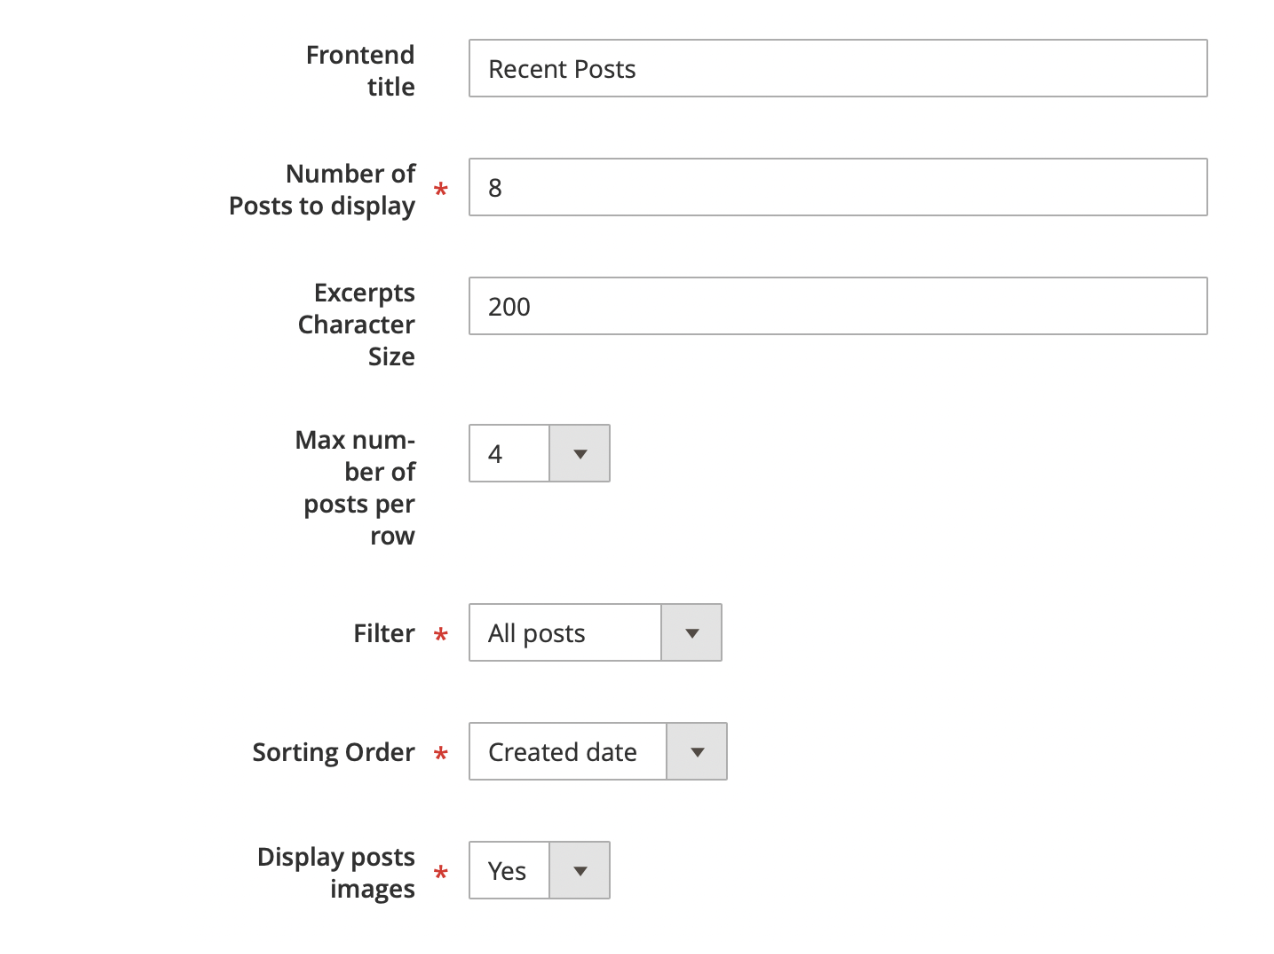
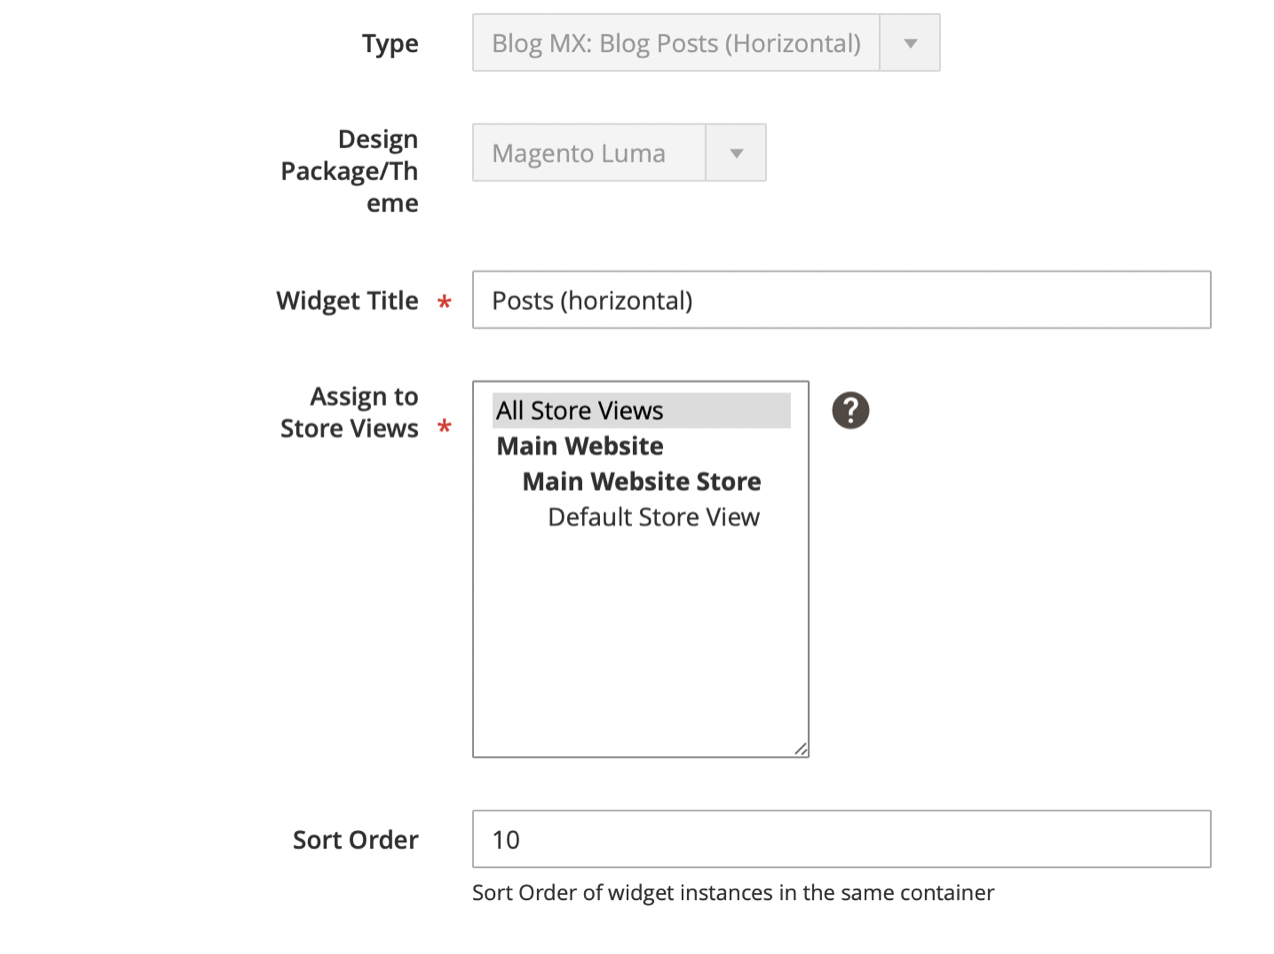
Widget Settings
A separate function in the backend is dedicated to configuring widgets. You can configure each of the three widgets separately. Choose a widget position, its name, number of displayed products, appearance theme, and layer settings.
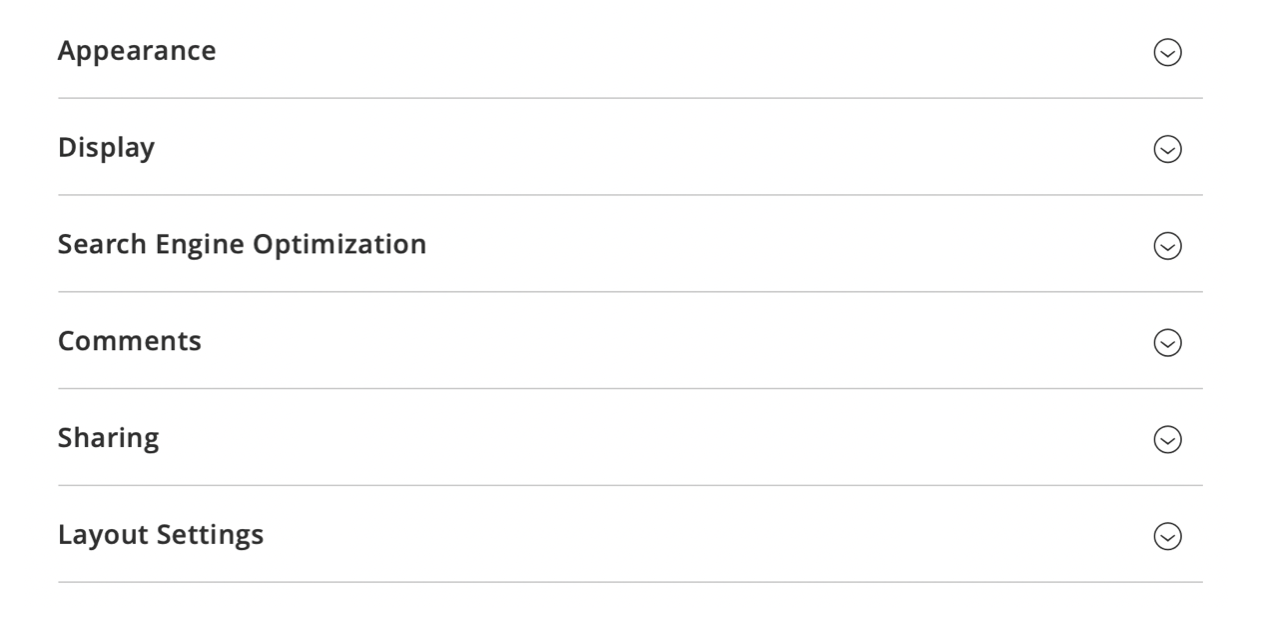
General Settings
This is the main part of the backend. Here you have all the basic settings for this extension. You can customize its appearance, display, comments section, and other features. There are 6 drop-downs in this section.
This section reveals the in-depth configuration of this plugin. You can customize and configure almost everything about these parameters. The backend of this extension gives a large number of functions and features that are easy to work with.
Conclusion
Mirasvit Blog MX for Magento 2 extension which gives a great opportunity to integrate a blog into your online store. As we said earlier, this is a great opportunity to strengthen your connection with your customers, attract new users and increase traffic to your store. The extension provides useful features and functions that help you optimize and customize your blog for your store. With it, you can achieve the goals you want to achieve from the blog, whether it’s to attract a new audience or strengthen relationships with the old ones. With a convenient display of the blog on the frontend and the possibility of deep customization in the frontend, Blog Extension gives you a wonderful experience. You can get Mirasvit Blog MX for Magento 2 for 149$.
Related posts
 Copy.ai Review: Is This AI Copywriting Tool Still Worth It in 2025?
 Best AI Tools for 2025: Ultimate Guide to Paid & Free AI Tools for Copywriting, SEO & Marketing
 Kickresume Review: Is This AI Resume Builder Still Worth It in 2025?
 Magento to Shopify Product Migration: Complete 2025 Guide to Import & Export
 Magento to Shopify Migration – The Ultimate Guide
 How to Remove “Powered by Shopify”: Say Goodbye to the Tagline for a Polished Look
 How to Import & Export Products in Magento 2: The Complete Guide for 2025 (CSV, Images, MSI, Configurable Products & More)
 Magento 2 Export Customers Tutorial: Export Customer Data with Ease