
Exploring Magento 2 Backend: dotdigital Engagement Cloud

Magento 2 provides a potent built-in tool aimed at professional, personalized communications and in-depth analysis. Meet dotdigital Engagement Cloud gives – a third-party solution that is seamlessly integrated into your e-commerce storefront. In the following article, we shed light on its basic functionality. You can find more admin screens described in this blog post: Magento 2 Commerce In-Depth Review. Also, check what’s the difference between Magento editions and how to close this gap: Magento 2 Editions Compared.

With dotdigital Engagement Cloud, you can chat with customers, create highly customizable email campaigns, synchronize contacts, automate and schedule various processes, as well as generate reports. In this article, we focus on how to set up Magento 2 Engagement Cloud, create your first campaign, and configure dotdigital chat.
Table of contents
- 1 How to Set Up Engagement Cloud in Magento 2
- 2 How to Create an Engagement Cloud Campaign in Magento 2
- 3 How to Import & Export Data Between dotdigital and Magento 2
How to Set Up Engagement Cloud in Magento 2
Before going any further, it is necessary to sign up for a free account. It’s the only way to get started with the dotdigital Engagement Cloud. Then, follow the instructions below.
Sign Up for a Free Trial
- First of all, go to Configuration of your admin section situated under Stores -> Settings.
- Here, you should choose Accounts from DOTDIGITAL in the left panel.
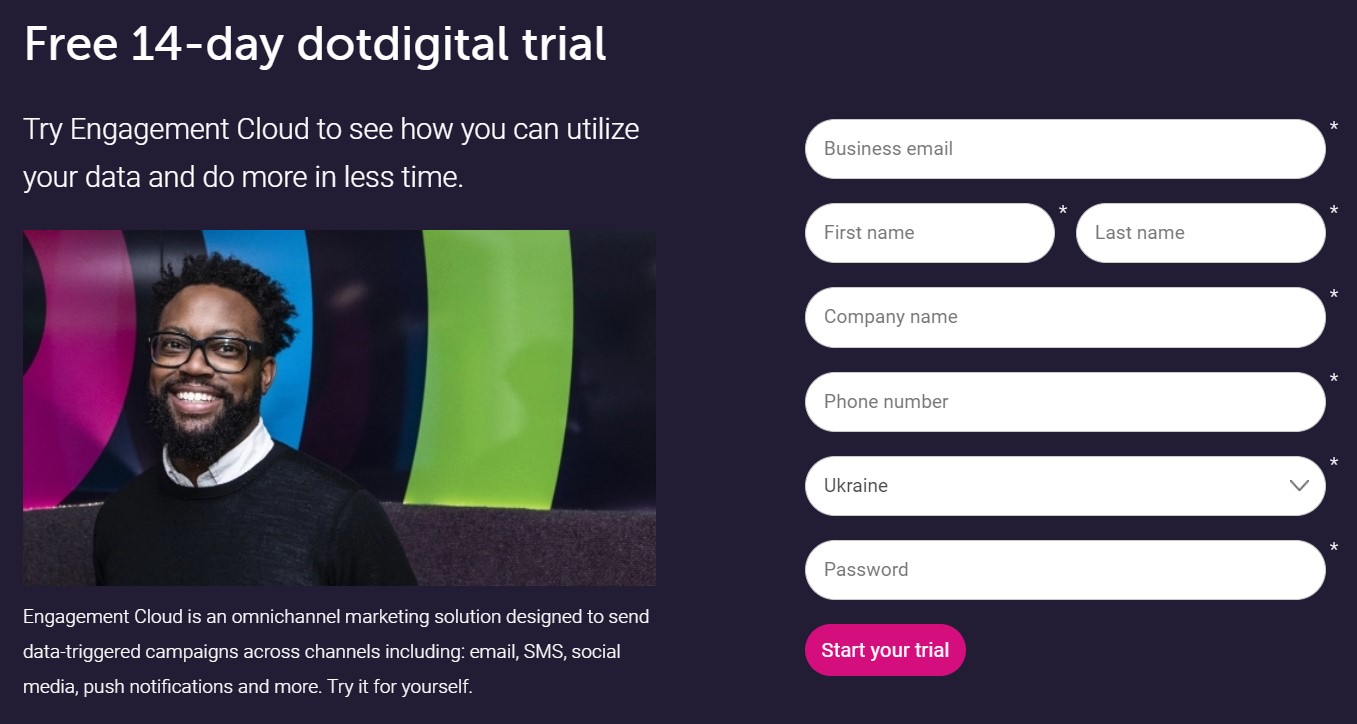
- A banner is displayed on top of the section with the Start free trial button. Click the button.
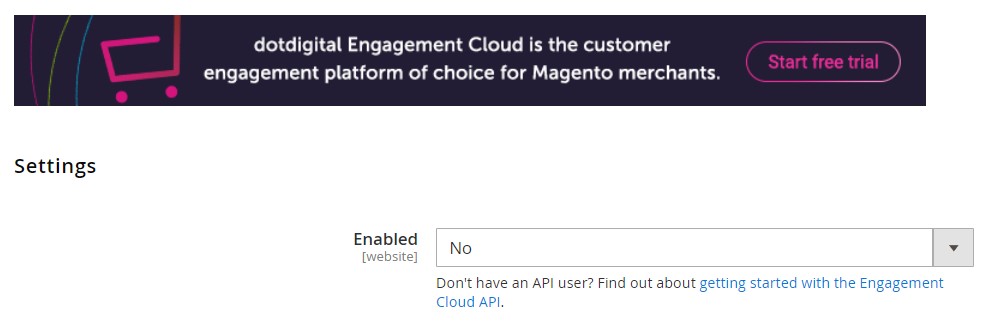
- A new form pops up. After filling it up, click Create an Account.
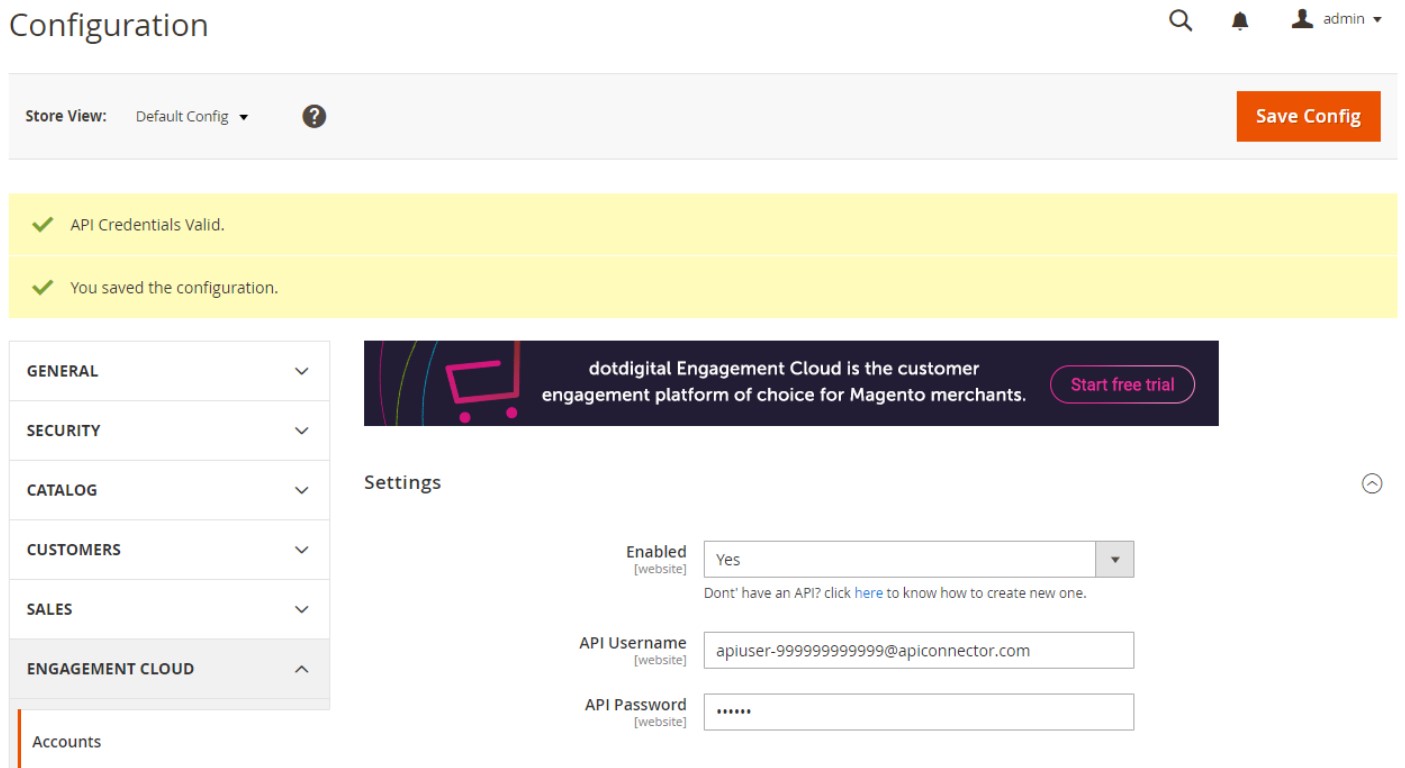
- The process usually takes some time. When your new account is created, the congratulations message appears. Close it. If everything is ok and dotdigital is enabled, you will find your API Username and API Password in the Settings section.
- Don’t forget to Save Config and refresh invalid cache when prompted.
Set Up dotdigital Chat
Now, when you can leverage the free trial, it is time to enable dotdigital Chat – a smart, customizable widget that significantly simplifies the communication between your customers and team. The Chat widget provides the ability to answer product questions rapidly, reducing calls to customer support.
Although dotdigital lets you display the Chat widget on all pages of your store, a customer can hide it from view and restore it by clicking.
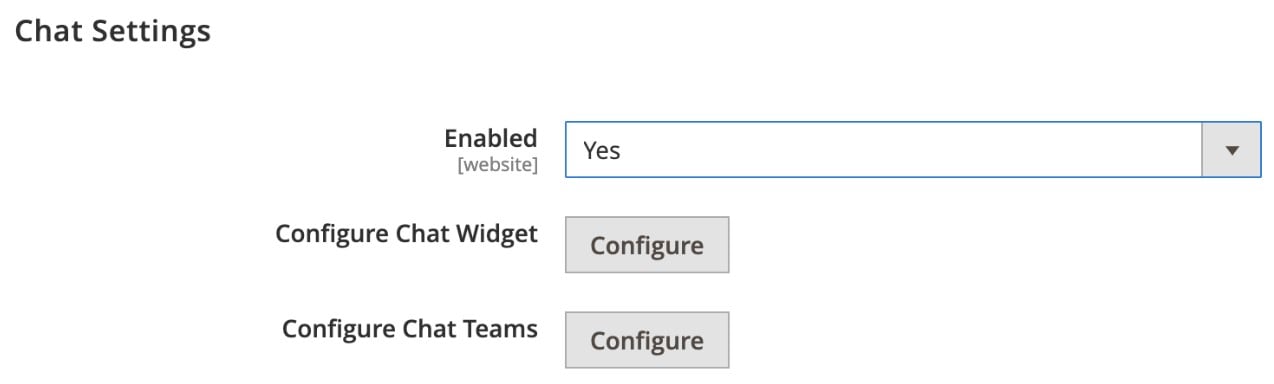
The Chats screen lets you access all chats related to your account. You can also manage your conversations in real-time. The corresponding section is available in the Magento Configuration under DOTDIGITAL. To start working with the instrument set Enabled to Yes and save the new configuration in Chat Settings. However, it is not the end. You need to configure a chat widget to enable the new feature on your storefront entirely.
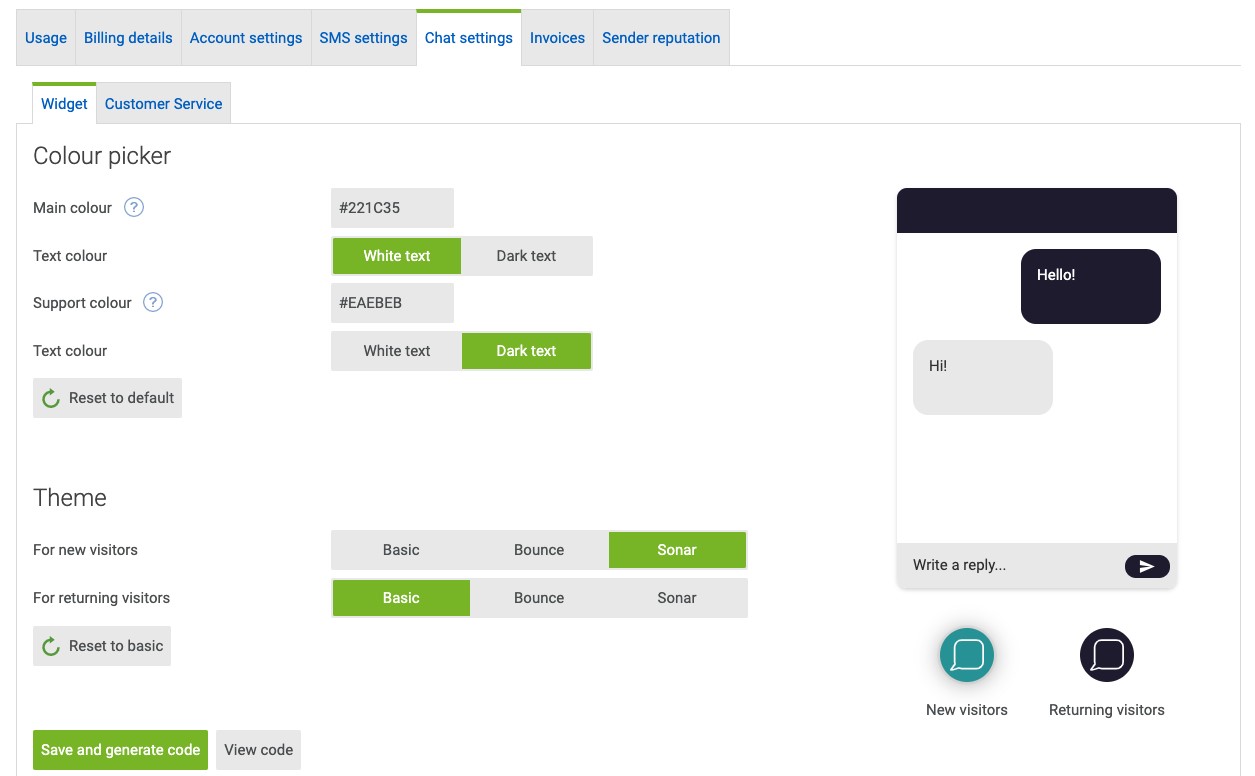
- Click the Configure button in front of Configure Chat Widget in the Chat Settings section.
- Configure the visual appearance of the dotdigital chat. Note that all changes are displayed on a diagram to the right.
- Hit the Save and generate code button when complete.
- Now, you can set up your Chat Teams. Click the Configure button in front of Configure Chat Teams in the Chat Settings section. Save the work.
How to Create an Engagement Cloud Campaign in Magento 2
With the dotdigital Engagement Cloud, you get an alternative view on how email campaigns may look. The platform delivers a large selection of professionally-designed templates for a variety of promotions and events. Furthermore, it is possible to customize them or design them from scratch.
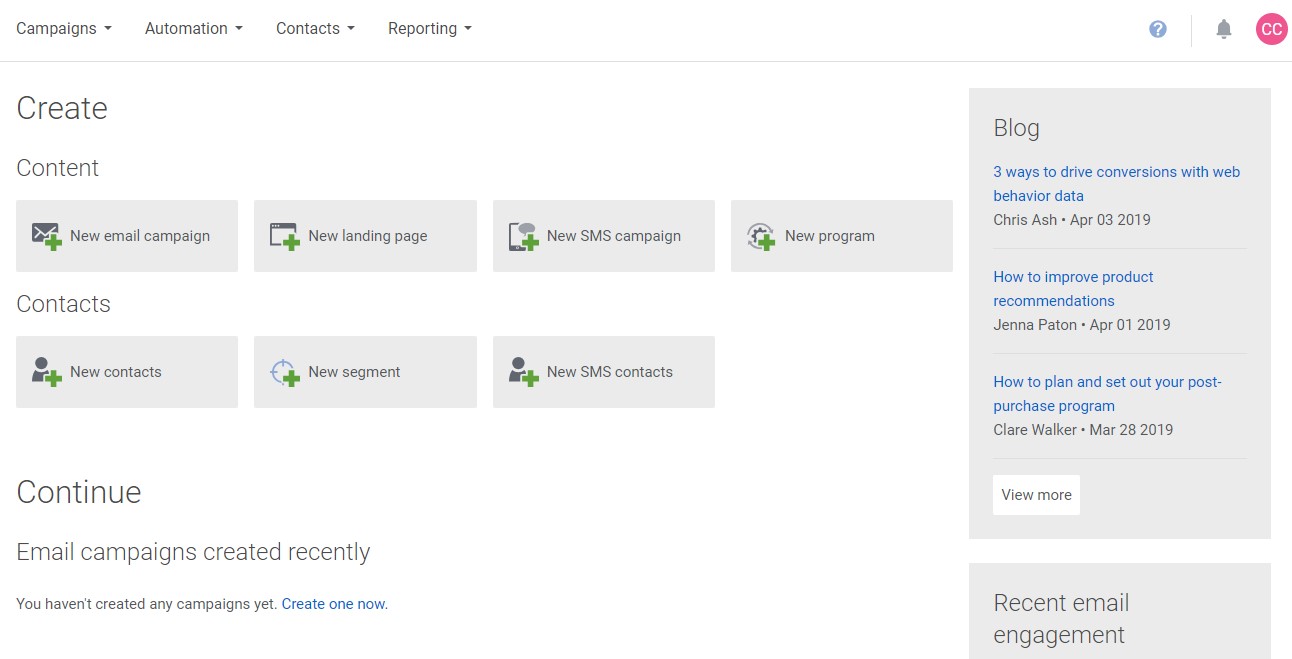
You can create a new dotdigital Engagement Cloud campaign on the Create page (New email campaign) or in the main menu under Campaigns (New Campaign).
Go to the Choose a Template page and open the Free Templates tab. Scroll through it to find the template you want to use. Next, follow these steps:
- Hover over the template’s thumbnail image. Preview it. If the chosen theme follows your expectations, select it.
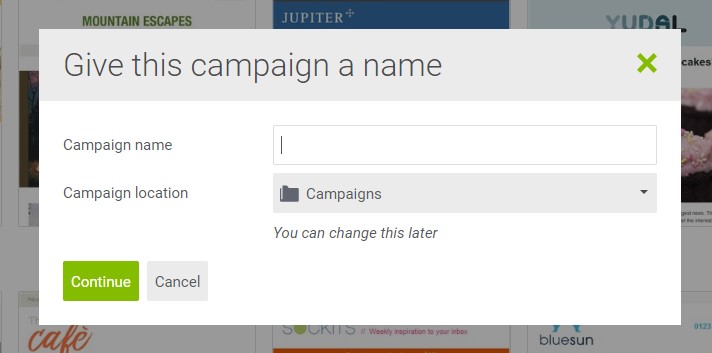
- Enter the name of your new campaign and specify its location.
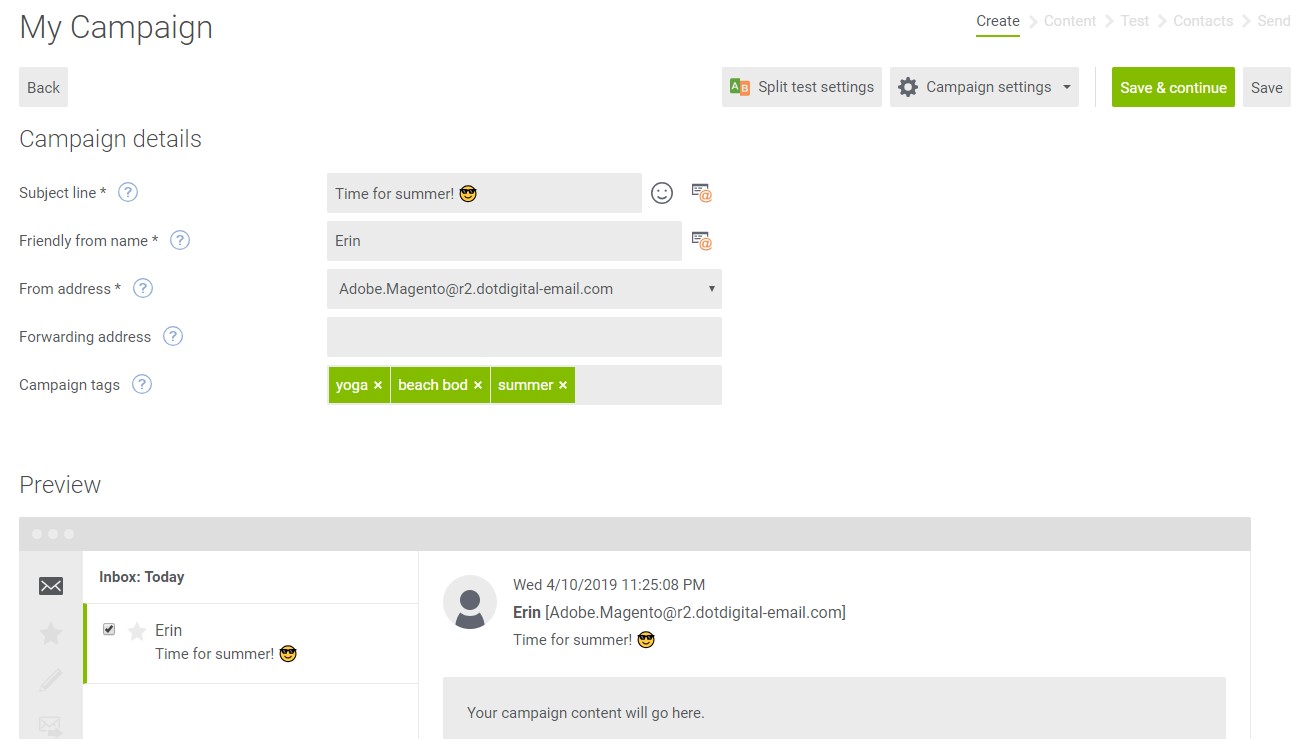
- Click setting up your campaign and specify the required information under Campaign Details.
- Preview the message and save the work if you are satisfied with the result.
Add Campaign Content
Since the content editor relies on building blocks, you can easily streamline each type of content that can be added to the template. dotdigital offers the Build tab of the sidebar on the left, displaying the selection of building blocks. Use the drag and drop interface to place them into position. Let’s explore the main template sections and tools.
Preheader
dotdigital lets you fill in space above the header with a brief message. Click the text box to enter the text. Still, you can delete the placeholder text.

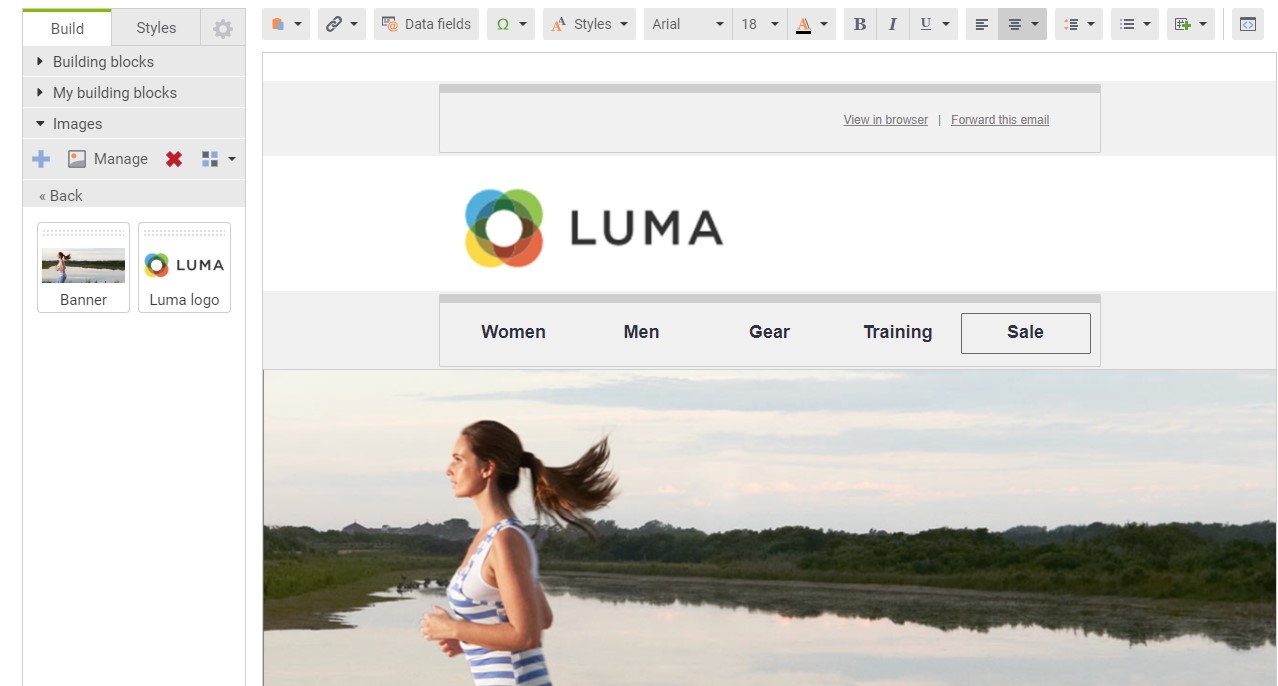
Logo & Images
To add your logo to the template, go to the Build tab and expand its Images section. Click Manage and then click here. Now, you can choose the image you want to add to the template and drag it to the header to replace the placeholder image.
![]()
Besides, it is possible to organize your images by adding an unlimited number of folders (New folder in the upper-left corner) and creating their hierarchy.
Text
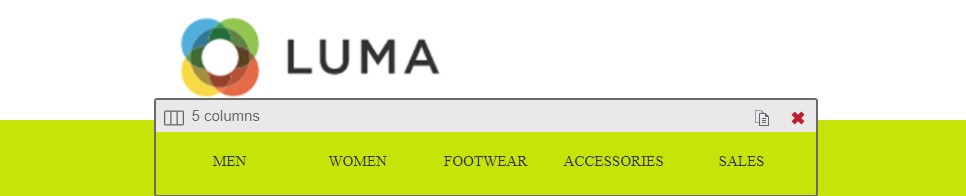
The template’s next section, which is a building block with a multi-column layout, represents the menu of your store. You can edit each cell separately formatting the text it contains.
You can view the multi-column layout by clicking the menu area. The sidebar under Layout contains the Columns building block.
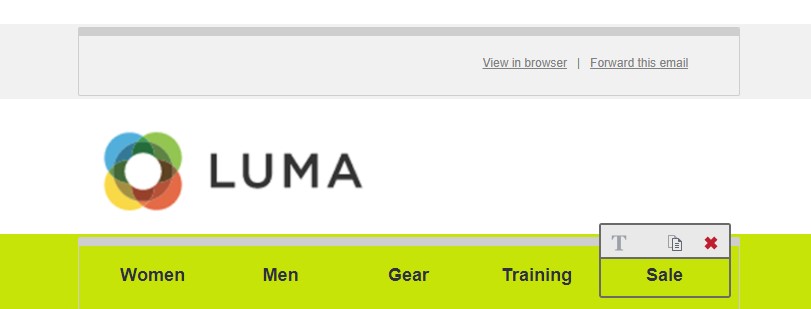
You can utilize the toolbar to edit the parameters of each cell individually. dotdigital lets you change the font, size, and style of the text.
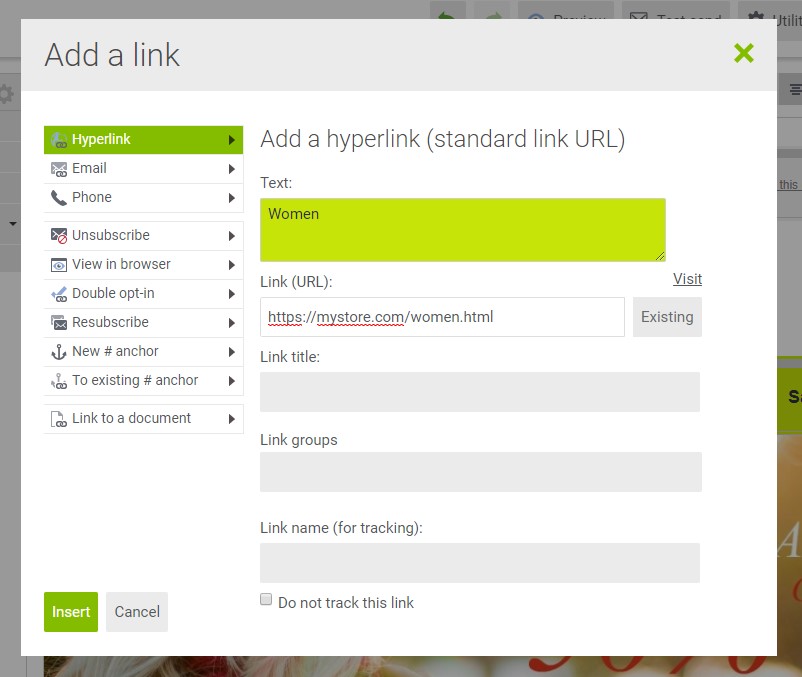
Links
dotdigital provides the ability to link each menu option in the template to your store. You can simply copy the full URL of your Magento 2 website and add it to the selected text using the Hyperlink tool. Paste the link in the Link (URL) field, specify the Link title, and add the Link name for tracking. Click Insert when complete.
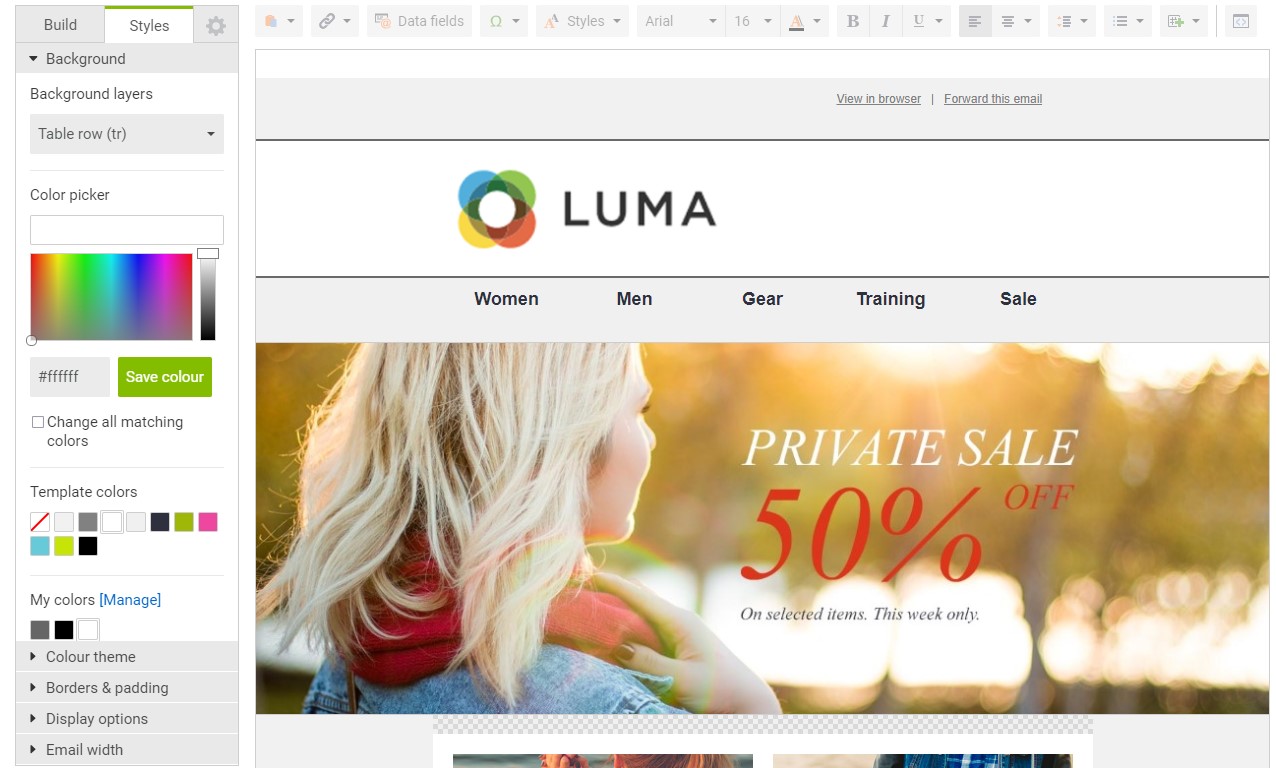
Background Color
You can also change the background color of your dotdigital campaign for Magento 2. Go to the sidebar and choose the Styles tab. Hover over the menu background to highlight the entire row. Specify the hexadecimal code for the new color under the color picker. The systems let you save any color to the sidebar section My colors.
Banner
To add a banner to the template, go to the Build tab and expand its Images section. Click Add Image and select a banner image you want to upload. The system will display the image in the sidebar. Now, you can drag it to replace the corresponding placeholder image.
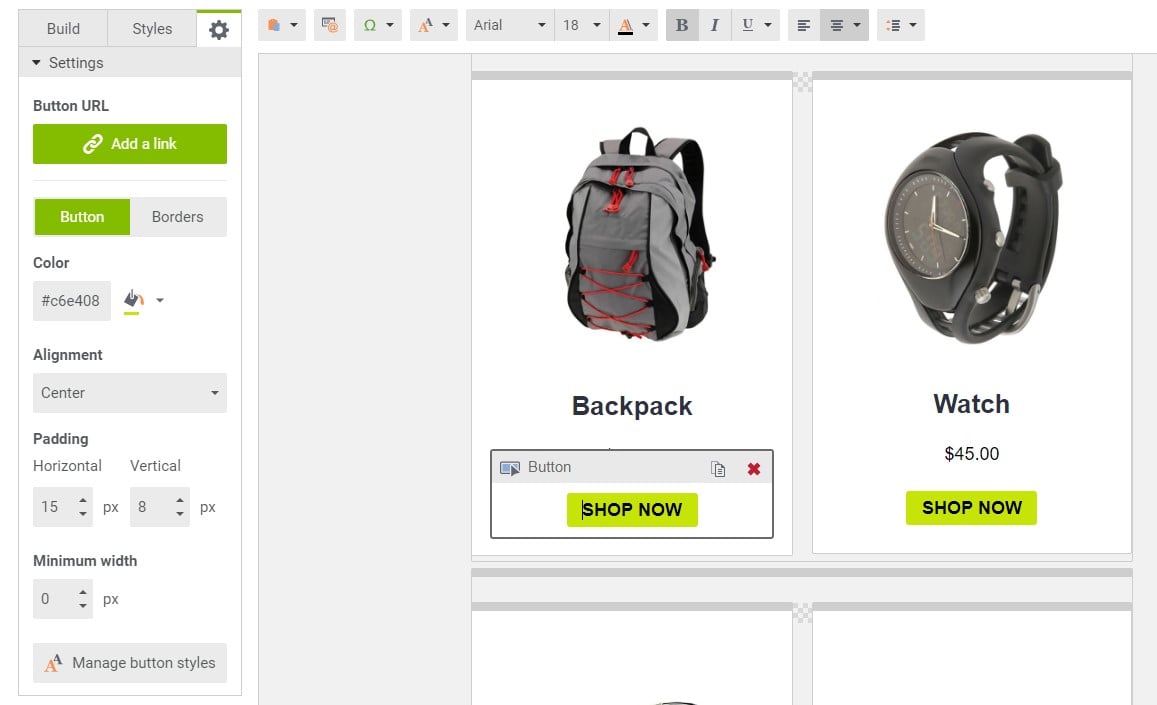
Featured Products
Since the dotdigital Engagement Cloud is built into Magento 2, you can incorporate data from your e-commerce store into a template. To add featured products, do the following:
- Upload their images.
- Edit the corresponding text, updating the price as a text field.
- Update each product button: add a Button URL with a product address, update its color and format. That’s it!
Delete Blocks
To delete a block from a template, hover over its outer container and click Delete.

Social Media Links
You can place social media links in your dotdigital template in its Sharing block with the social media placeholders.
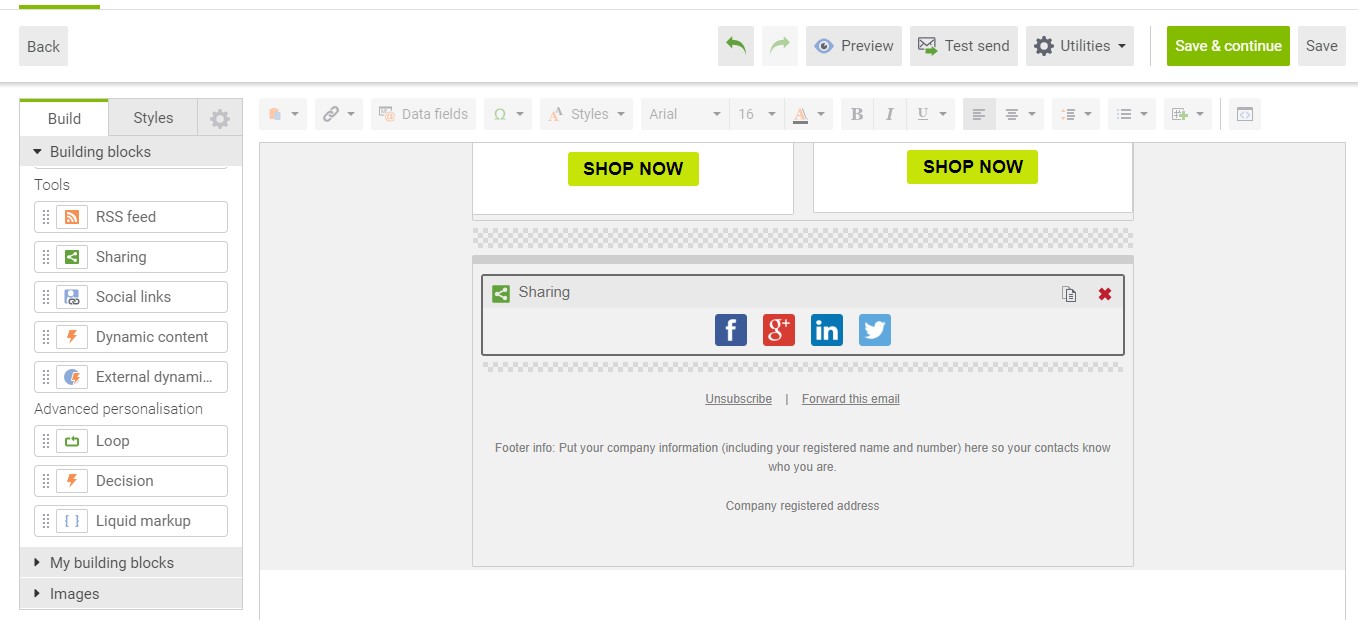
Go to Tools of the building blocks sidebar and drag the Social links block below the Sharing block.
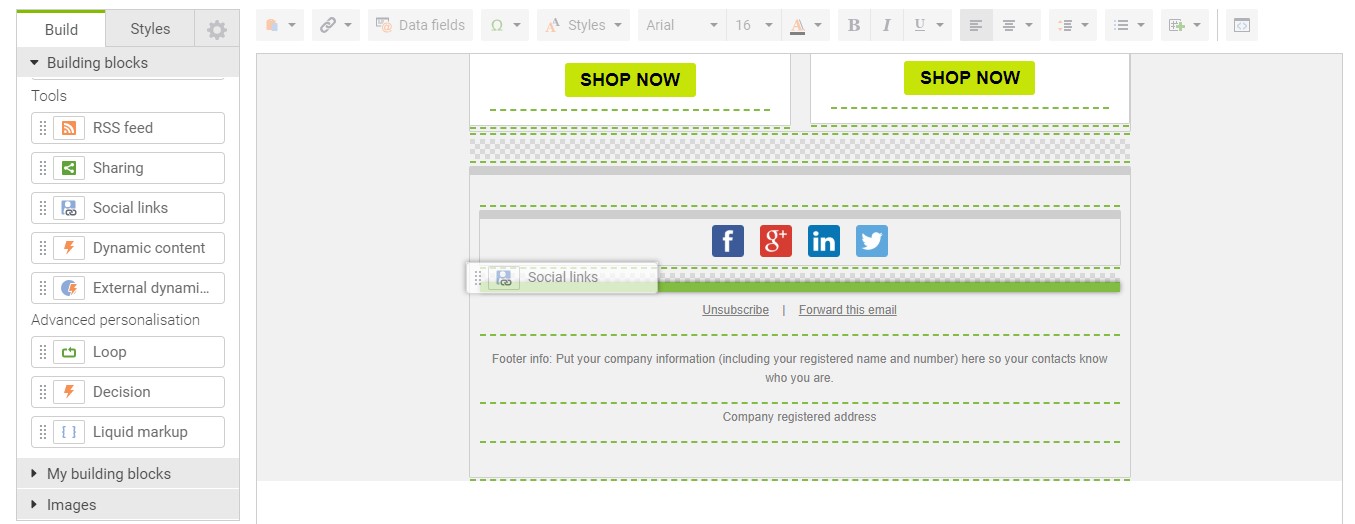
Open the Social links settings by clicking the empty building block. Now, you can choose social networks to include in the template. Select the corresponding checkboxes. Next, it is necessary to paste the URL of your company profile page for each social link.
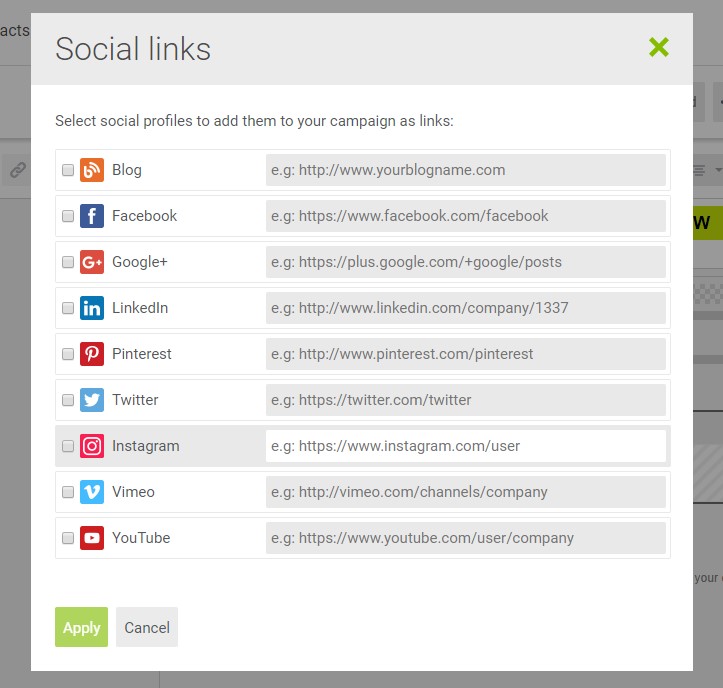
It is also possible to adjust the format and spacing of the buttons.
Magento 2 Engagement Cloud provides the ability to customize the footer according to your preferences or following the legislation. It is even possible to place an unsubscribe mechanism there. Although it is recommended to keep the Unsubscribe and Forward this email links as they are to prevent their code from changing, you can still format the text any way you need.
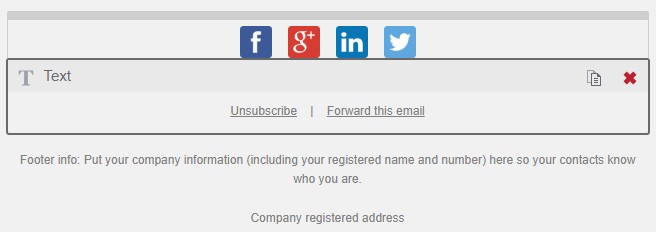
At the same time, you can add your company information by clicking the Footer info text block as well as editing the Company registered address text block. Click Save when complete.
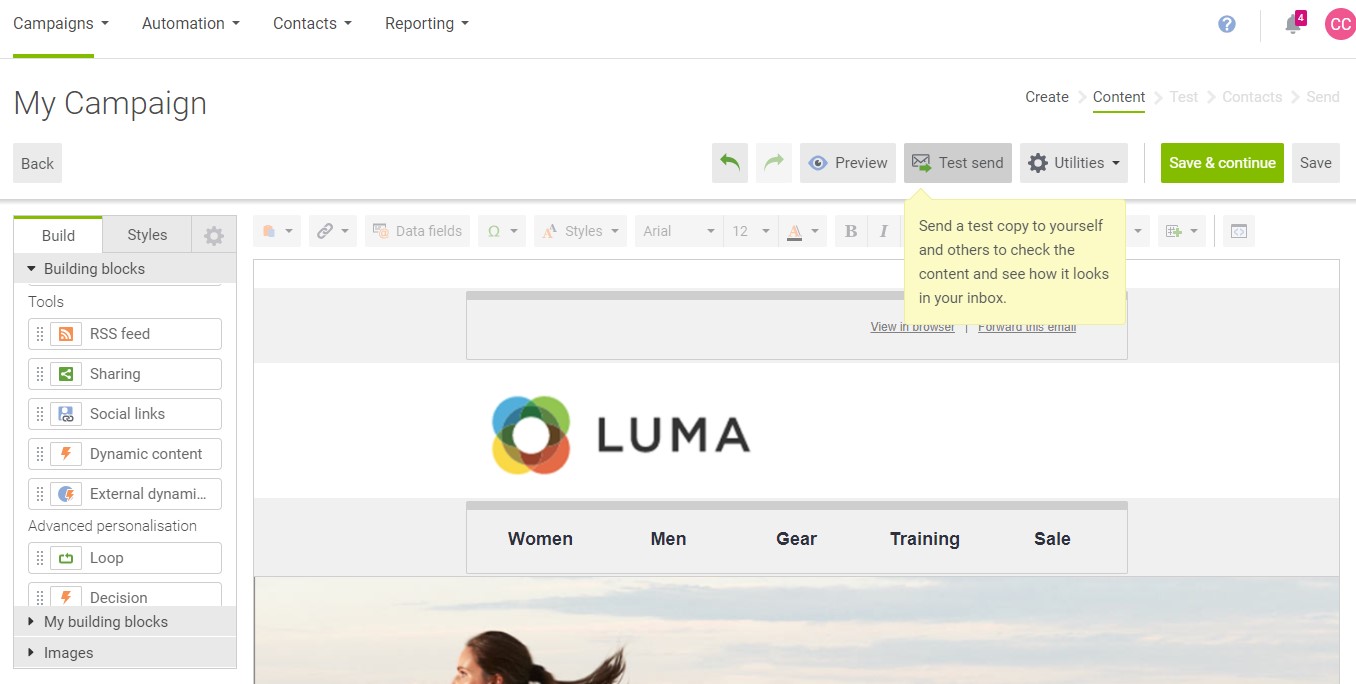
How to Test the Magento 2 Engagement Cloud Campaign
Before sending any emails to customers, you can preview your campaign by sending a test message to your email address. Click the Test send button at the top of the template screen above the header.
dotdigital provides the ability to choose an output type for your test campaign launch. It can be HTML, plain text, or both.
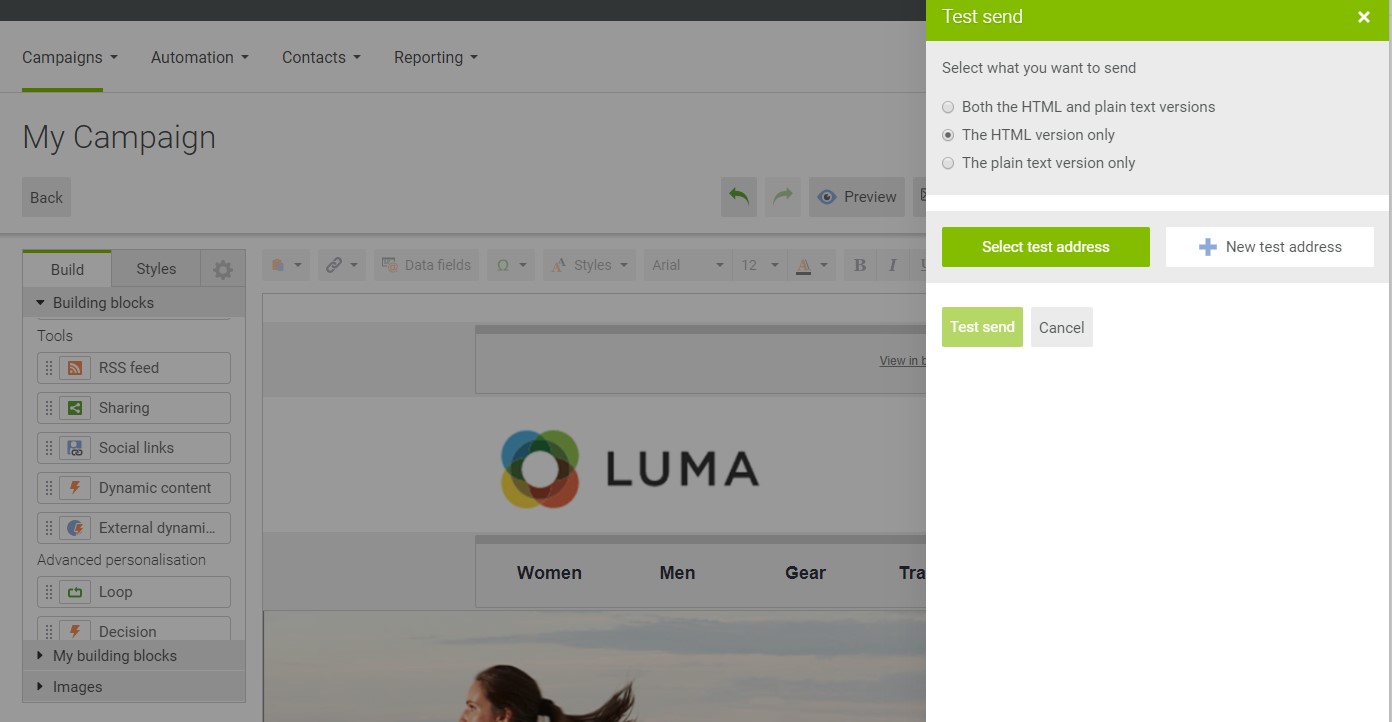
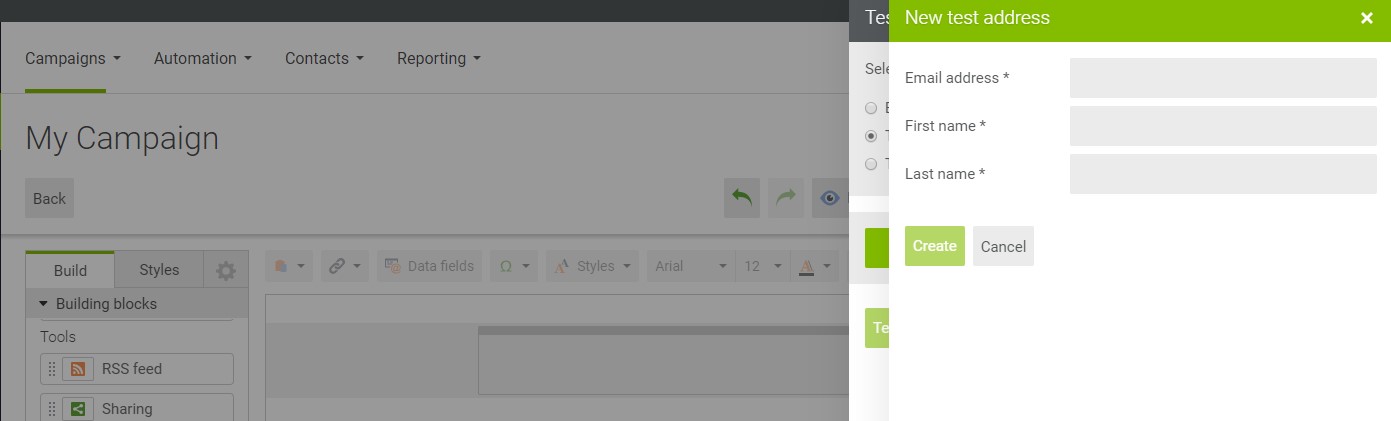
Now, you can drop the message to the address associated with your account. Hit the Select Test Address button to do that. Still, you can add more addresses. Hit the New Test Address button and specify contact details. Click Create to deliver the test email campaign using more contacts. Note that the number of recipients is unlimited.
Click Test Send to see how your email looks. You may also be prompted to click Save and send
How to Review a Summary Report for Engagement Cloud in Magento 2
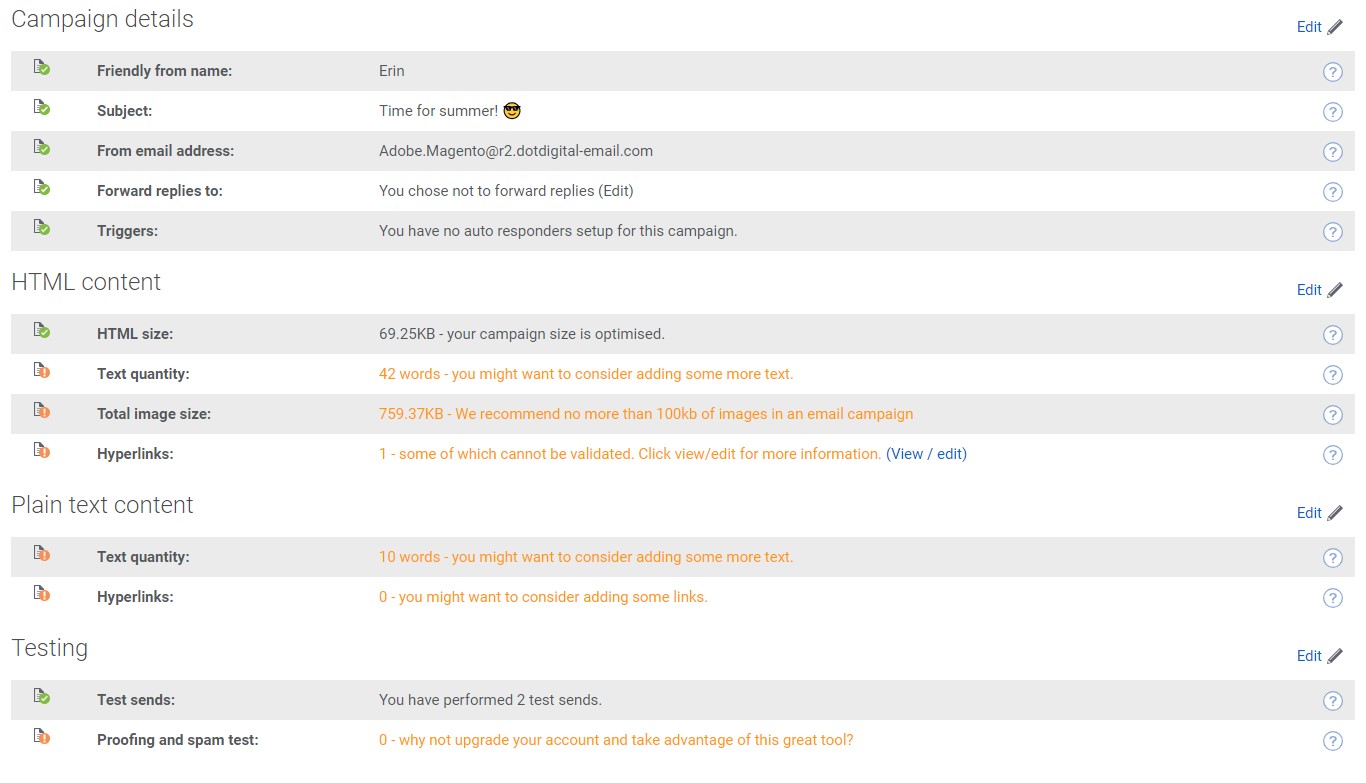
The system relies on summary reports to validate the campaign, list errors, as well as suggest areas for improvement. Besides, there is a selection of Marketing Automation reports, but they are not discussed in this article.
So, to review a summary report for a dotdigital Engagement Cloud campaign in Magento 2, visit the Campaigns menu and open the My Campaigns screen.
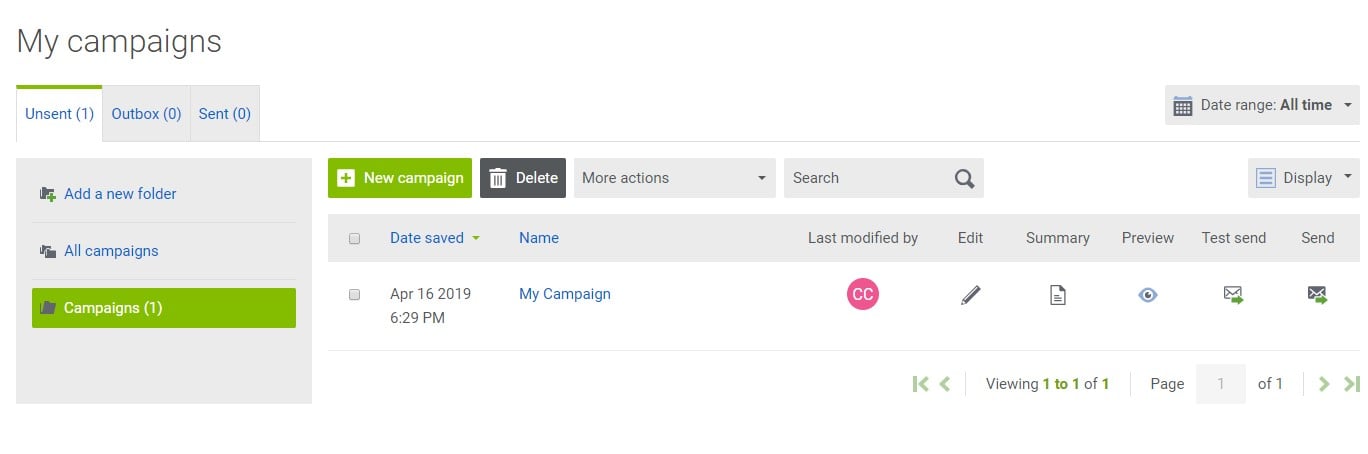
Click the Summary icon in the record for the campaign you want to view. The system will display its summary report. Tips, recommendations, and improvements are highlighted with the red text.
How to Add a Personal Note to the Campaign
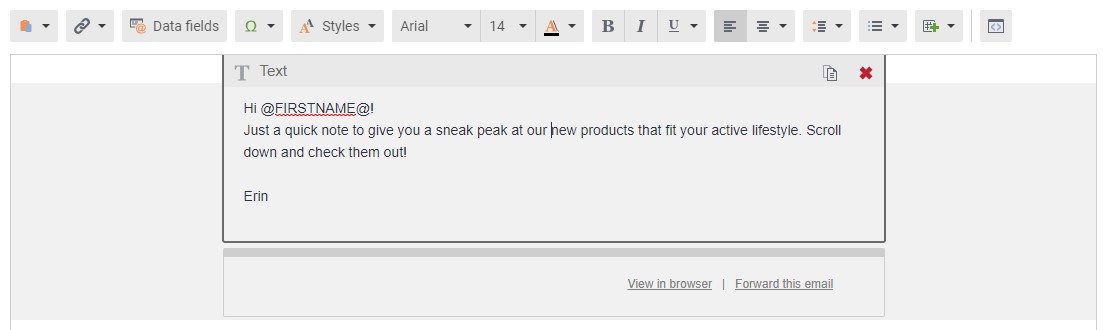
Now, let’s see how to improve your campaign by adding a personal note. You should use the Build tab of the sidebar under Building blocks. Move a Text block to the top of the template, as shown below.
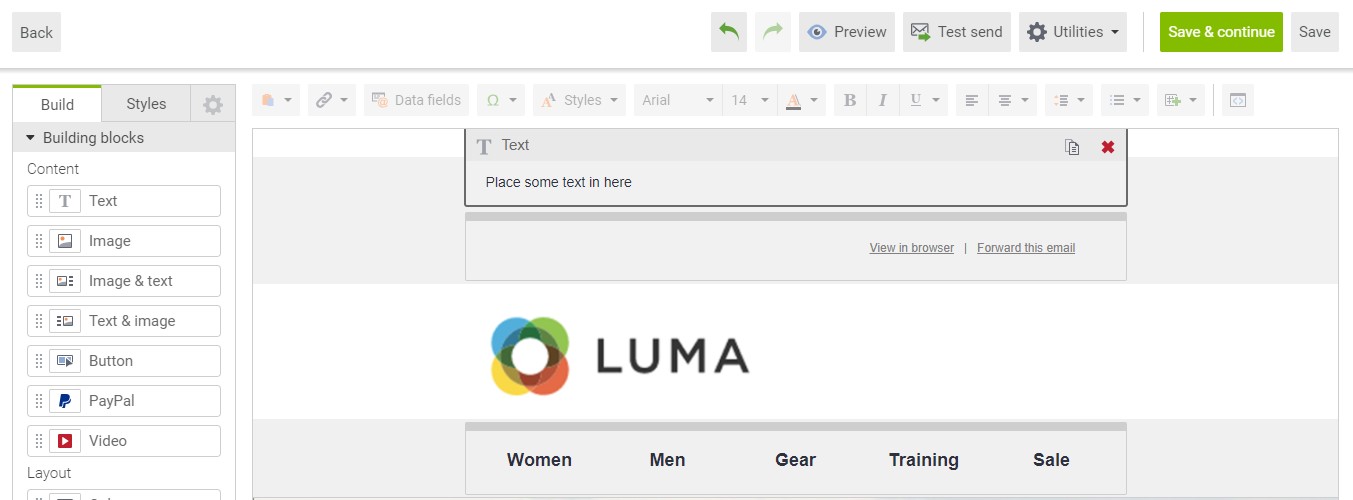
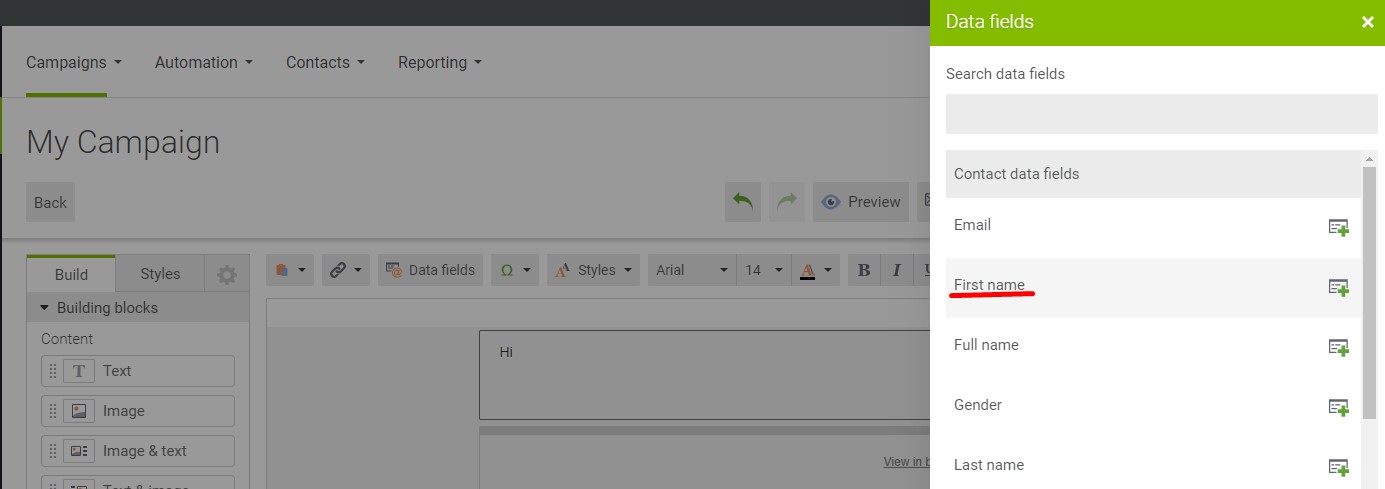
Enter a hello message followed by a blank space. Now, you can click the Data Fields button, which is situated in the toolbar above the template. The system now displays the list of data fields. Select First name.
Add a note to accompany your dotdigital Engagement Cloud campaign in Magento 2. Don’t forget to save your work.
How to Preview the dotdigital Campaign in Magento 2
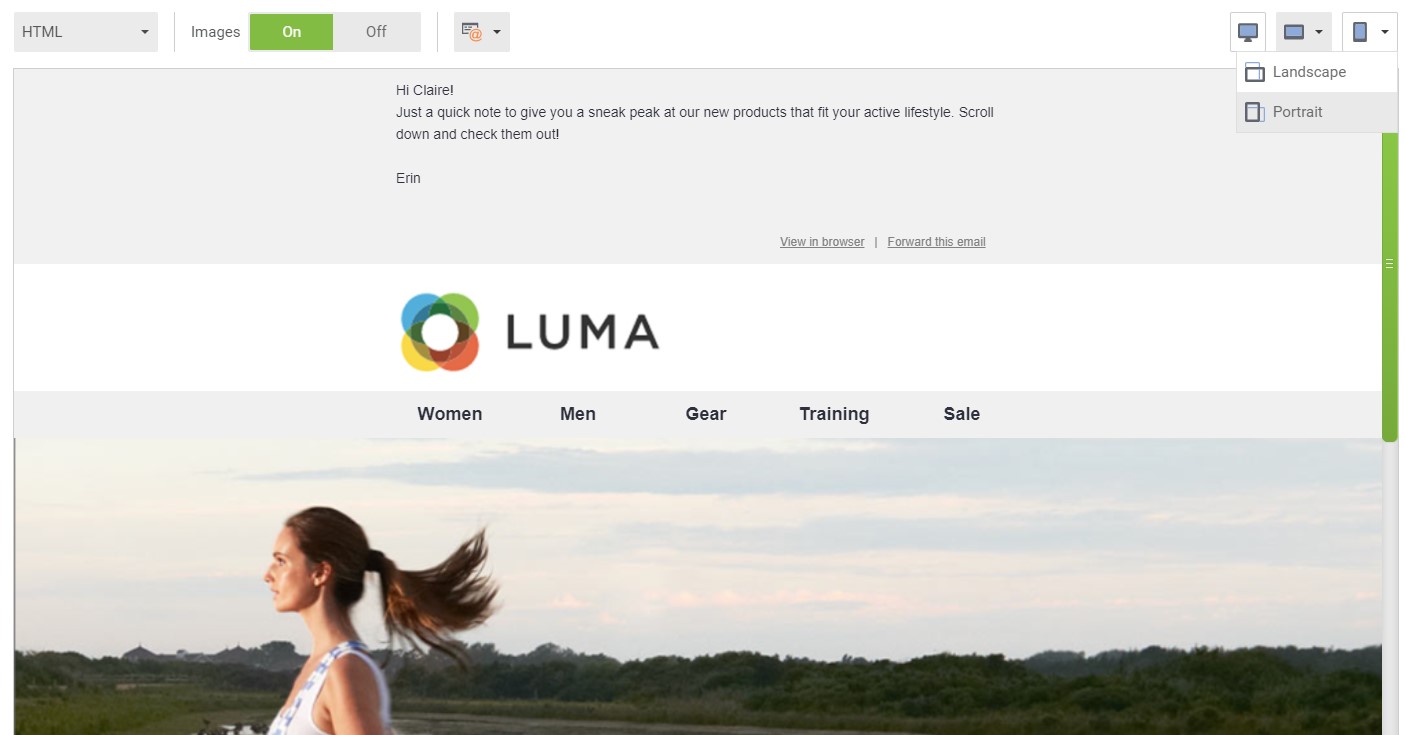
Previewing your new campaign created in dotdigital is a straightforward task. Hit the Preview button above the workspace. The upper-right corner of the preview window contains controls that enable you to switch between different screen options. Thus, you can verify whether your campaign looks equally well on desktop and mobile devices.
Congratulations! You’ve activated your dotdigital Engagement Cloud account in Magento 2 and created your first campaign. Discover more information regarding the functionality of the tool here:.
How to Import & Export Data Between dotdigital and Magento 2
The information between Magento 2 and dotdigital is transferred automatically as part of the Engagement Cloud. You can freely import and export all the necessary entities. However, Magento 2 isn’t beneficial when it comes to transfers to other marketing solutions. Still, you can rely on the Improved Import & Export extension and other third-party solutions to freely sync data between them. Let’s see how Improved Import & Export works, connecting your e-commerce website to other external platforms.
Automated Data Transfers
Automated data synchronization lets you leverage two different instruments: update schedules and triggers. In the first case, the extension offers a list of predefined intervals. At the same time, you can specify a custom span to start import/export processes automatically. As for triggers, they enable import/export processes automatically when certain conditions are met.
Configuring a schedule looks as follows:
Mapping
Besides, the Improved Import & Export extension addresses different issues that occur due to different mapping standards. The module offers the following instruments:
- Presets – you get the ability to map attributes automatically by just applying predefined schemes that match attributes for you;
- Manual Matching – at the same time, there is an opportunity to edit attributes manually in the Magento backend;
- Attribute Values Mapping – you can leverage a similar section to match attribute values;
- Attribute Values Editing – modifying multiple attribute values simultaneously right within the module is possible as well;
- Filters – the extension lets you narrow down the selection of exported data by applying additional filtering parameters;
- Category Mapping – you can effortlessly connect imported products to the existing categories or create missing ones on the go;
- Attributes On The Fly – creating attributes and values automatically during import processes is another substantial advantage of the extension.
Mapping presets function as follows:
Extended Connectivity Options
Integration with external systems and platforms is no longer a problem for Magento 2 since the Improved Import & Export extension supports various file formats and sources, including CSV, XML, ODS, JSON, and Excel. Besides, it is possible to import them in a compressed state due to the support for ZIP and TAR.
When it comes to data sources, the plugin lets you move data using a local or remote server or cloud storage. Besides, you can import files by URL.
The Improved Import & Export extension also enables flexible API integrations, providing the ability to create and maintain connections of any complexity.
If all these features are not enough, you can also streamline Google Sheets as a source of updates. Transfer data from this service right to your Magento 2 store without creating files and converting them into a supported format.

You can discover more information about the extension by following the link below and contacting our support:
Get Improved Import & Export Magento 2 Extension
Related posts
 Adobe (Magento 2) Commerce and Cloud (Enterprise Edition) Specific Features
 Magento 2 B2B Company Guide: Revealing Company Structure & Import
 How to Import Customers & Customer Addresses to Magento 2
 Magento Open Source and Adobe Commerce 2.4.7 Release Notes
 Amasty ChatGPT AI Content Generator for Magento 2
 CopyAI Review 2023
 How To Bulk Import Products In Shopify: CSV Description & Step-By-Step Guide
 Magento 2 Release Notes