How to import unique custom option titles for specific store views in Magento 2

Magento 2 allows for having different titles for the same custom option in different store views. Thus, it brings an additional layer of diversity if you use several storefronts. However, you may not be able to import specific titles for particular store views. In this situation, you have to deal with additional editing after importing the product update file. Fortunately, it is possible to avoid these unnecessary chores with the help of Improved Import & Export. Below, we explain how to import unique custom options titles for specific store views in Magento 2.

Unique custom option titles cannot be imported for specific Magento store views
Let’s suppose you have a product update that contains custom option titles. Importing them to your e-commerce website doesn’t seem problematic. However, major difficulties occur when your custom option titles should be unique per each store view.
In the worst-case scenario, you will have to recreate them manually or at least import the same titles for all store views and then apply changes afterward. But what if there is a way to do everything in a couple of clicks? That’s what this article is about.
How to import unique custom option titles for specific store views in Magento 2
You can use the Improved Import & Export extension to import unique titles of Custom Options to specific store views of your Magento 2 website.

To achieve this goal, you need to prepare your product import file in a specific way. Add a row for All store views where the store_view_code attribute is empty. Next use the same order for custom options in all rows (for the same product) for the ‘custom_options’ attribute.
As a result, there is no need to use the ‘option_id’ attribute, meaning that you can disable the ‘Include Option ID’ feature during import.
Let’s explore a tiny example to illustrate the requirements for your product import file. Below, you can see a data file with three rows and three columns:

The first column is ‘sku’. Each row is dedicated to the same product according to the SKU specified there – TST-GrpBnd-Simple-1.
Next, there is the ‘store_view_code’ column. It is empty for the first row, which is the row for All store views. Following the conditions mentioned above, the store_view_code attribute here is empty.
The next two rows of the ‘store_view_code’ column indicate specific store views to transfer unique custom option titles. In our example, we are going to update the ‘default’ and ‘another_store’ store views.
The ‘custom_options’ column is where all the magic happens. In the first row, we specify the update for All store views. It contains general custom options as they should be displayed on the frontend.
In the next two rows (or more if you need to update more store views with custom option titles), you can see unique custom option titles for specific store views.
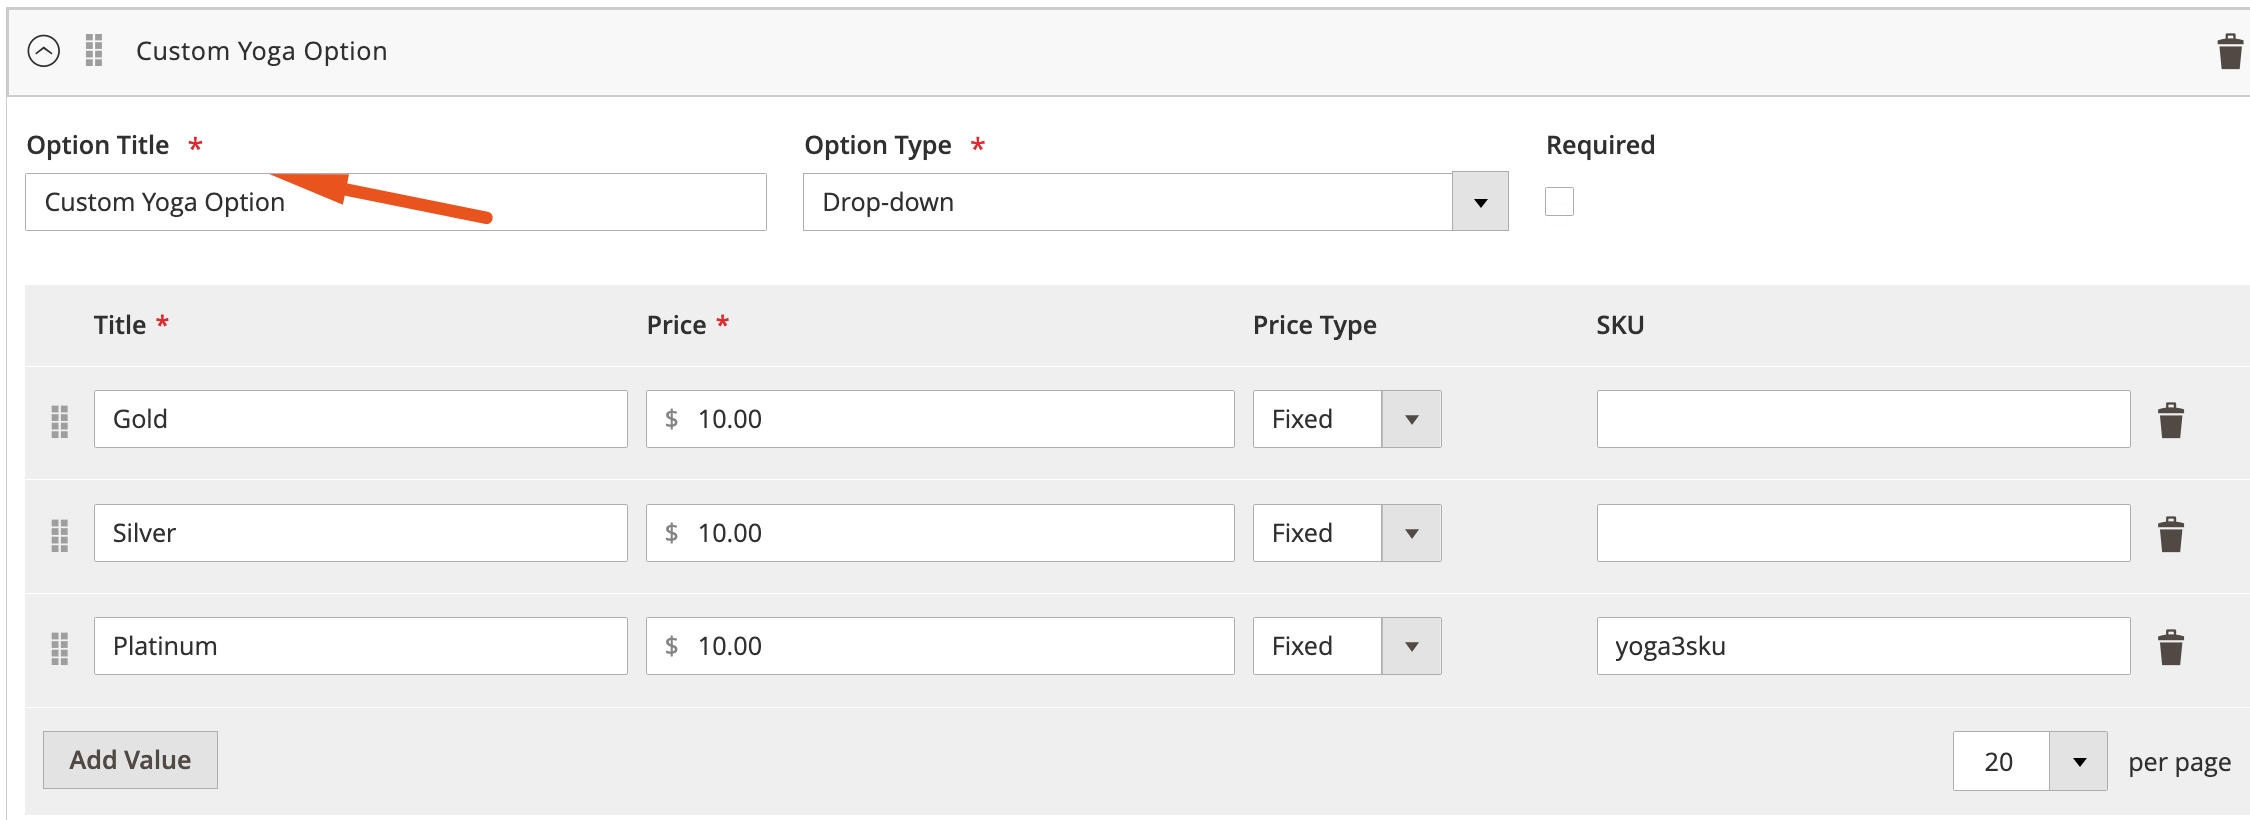
For all store views, your custom option name is Custom Yoga Option. For the ‘default‘ store view, it is called Custom Yoga Option Default. As for ‘another_store‘ the custom option name here is Custom Yoga Option Another.
The same is about custom option titles: Gold, Silver, and Platinum for all store views; Gold Default, Silver Default, and Platinum Default for the ‘default‘ store view; and Gold Another, Silver Another, and Platinum Another for ‘another_store‘.
Note that the order of options is crucial: it should be the same for all store views. If ‘Custom Yoga Option’ is the option that you want to update and it is the first option in the row for All store views, then it should be the first option in the row for the ‘default’ and ‘another_store’ store views as you can see in the image above. So, the structure of options for all store views should be replicated for the specific store views that you are going to update with unique custom option titles.
That’s it! We hope this information will help you import custom option titles for specific Magento 2 store views without any headaches!
In addition to the ability to update unique custom option titles per specific store view in Magento 2, the Improved Import & Export extension lets you use a cron-based schedule to automate this process. You can use different file formats, including CSV, XML, XLSX, and JSON, and sources, such as Google Sheets, Dropbox, Google Drive, etc. Furthermore, it is possible to apply mapping to third-party data to transfer information from any external source right to your e-commerce website. The module also provides the ability to run API-based import and export processes. Follow this link to learn more about the Improved Import & Export extension:
Get Improved Import & Export Magento 2 Extension
Also, check our Magento 2 Cookbook for more useful tips.

